You don’t need a mirrorless camera to come home from a trip with photos you actually want to keep. Learning how to take better vacation photos with a phone comes down to four habits: clean the lens, frame deliberately, control the light, and back the files up. Most of it takes about ten minutes to set up and about two seconds per shot.
The phone in your pocket already handles nearly everything daylight travel throws at it. What makes the difference isn’t a longer lens or a tripod — it’s knowing which setting to open, where to stand, and what to do when the sun is behind your subject.
Below is the process I use, in the order I use it, from the night before the flight to the last night in the hotel.
Table of Contents
- What You Need
- Step-by-Step: How to Take Better Vacation Photos With a Phone
- Prepare your phone before the trip
- Clean the camera and check the first shot
- Choose a composition that looks better
- Control brightness and difficult lighting
- Keep the subject sharp and the shot steady
- Capture people, food, and moving vacation moments
- Review and edit without losing the memory
- Back up, organize, and share your photos
- Common Mistakes and Easy Fixes
- Frequently Asked Questions
- Should I buy a camera for my vacation or use my phone?
- How do I back up photos while traveling when Wi-Fi is bad?
- What are the best free apps for editing vacation photos on a phone?
- How do I take sharp photos at night with just my phone?
- Which phone camera mode should I use for each scene?
- What accessories actually help phone travel photos?
- Conclusion
What You Need
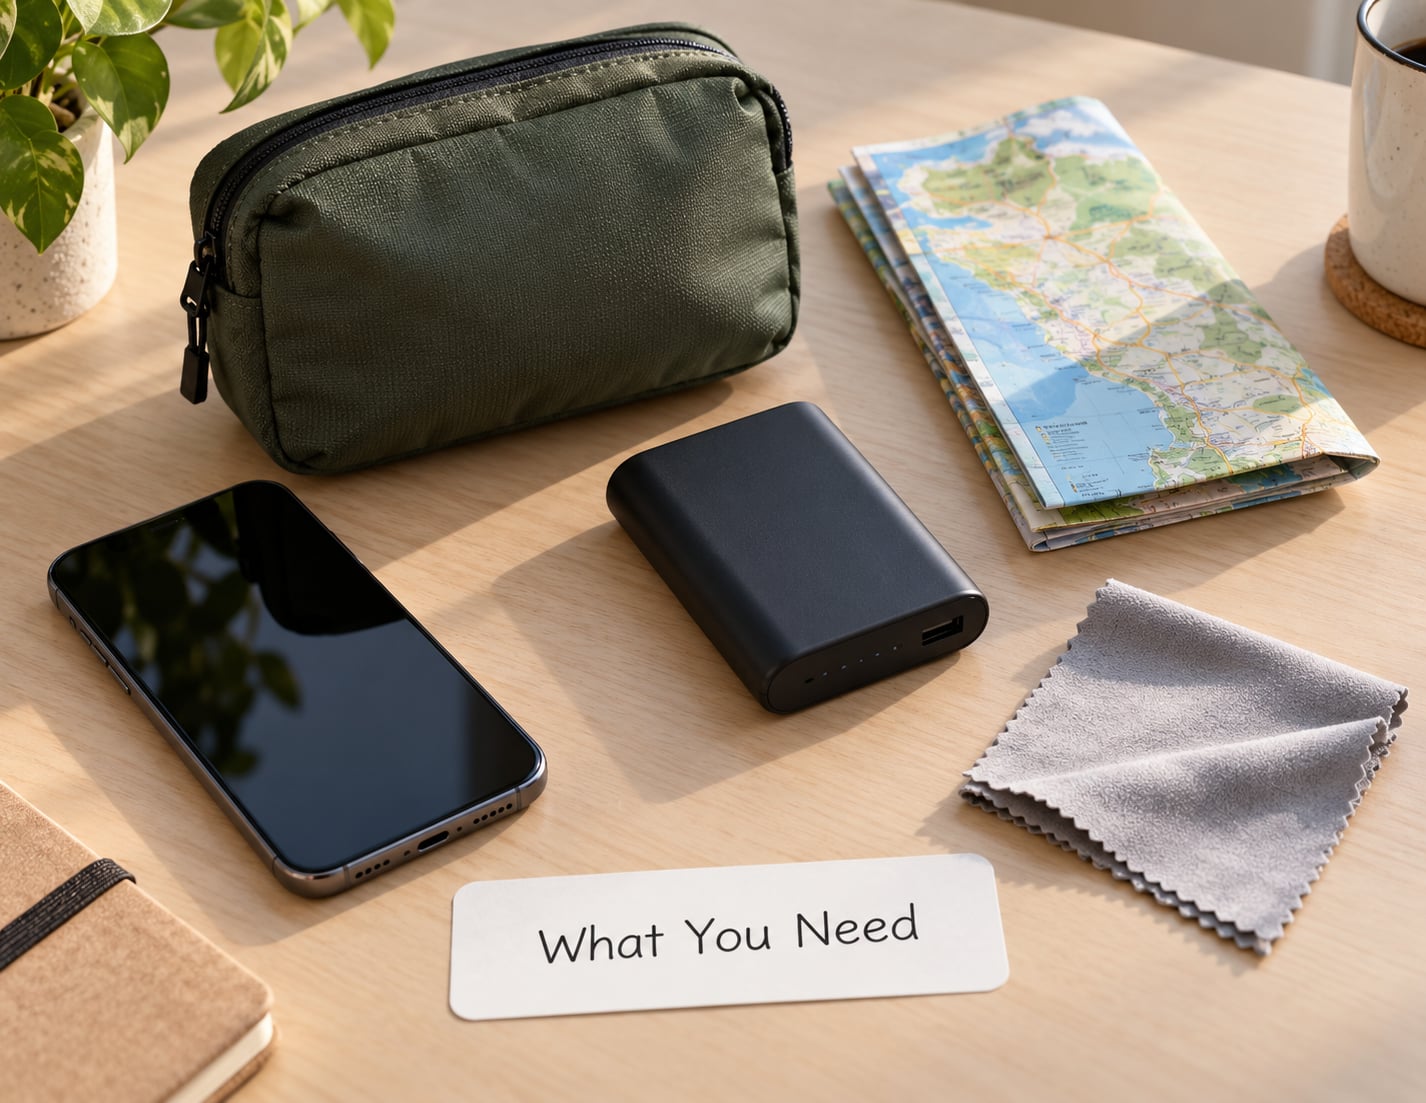
Start with what you already own. A phone from the last four or five years has more than enough camera for landscapes, meals, portraits in decent light, and night shots when you hold still.
Add three cheap things before you spend anything on the rest.
- A microfiber cloth. This fixes more bad photos than any other item on this list. Pocket lint and fingerprints kill contrast, especially at night.
- Free storage. Delete or move old files until you have at least 15 to 20 GB open. A camera that can’t save the shot is the one failure mode that ruins a day.
- A charged battery and a cable. Vacation days are long, and GPS plus a bright screen drains a phone faster than people expect.
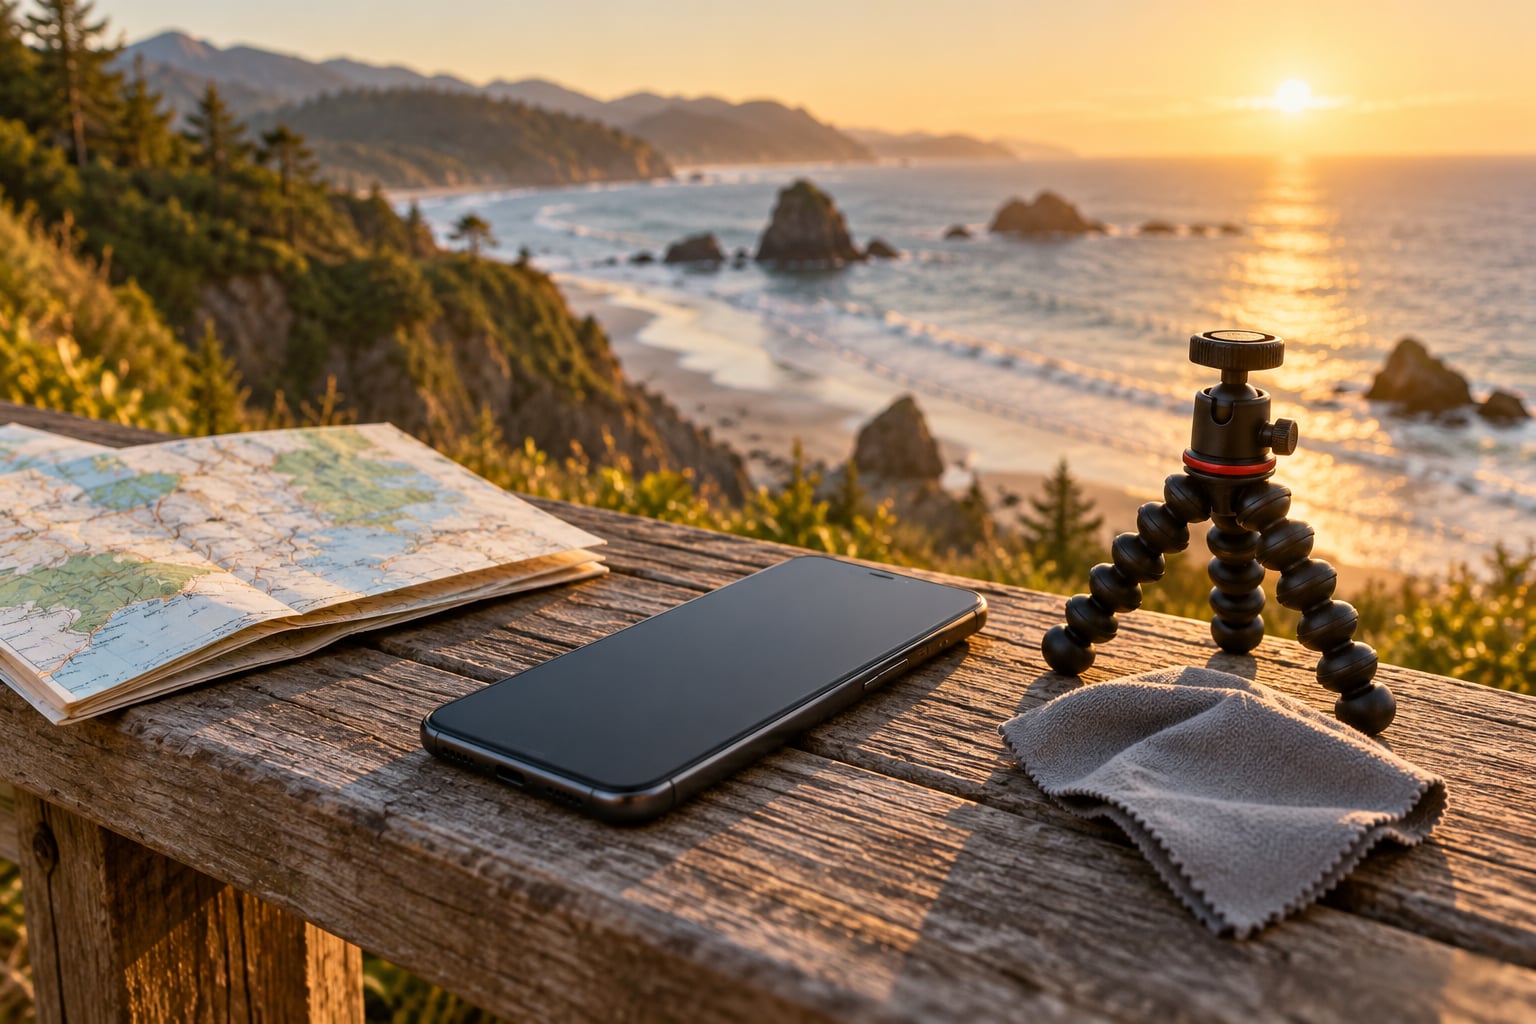
Two optional items earn their space. A small tabletop tripod or a flexible leg mount — both inexpensive and light enough to forget in a side pocket — lets you shoot night scenes, group shots, and self-portraits without asking a stranger to hold the phone. And a cheap remote or wired earbud button releases the shutter without shaking the phone, which matters more for sharpness than most people expect.
Skip clip-on lenses for most trips. They soften the corners and cost you the optical quality your phone already has.
Step-by-Step: How to Take Better Vacation Photos With a Phone
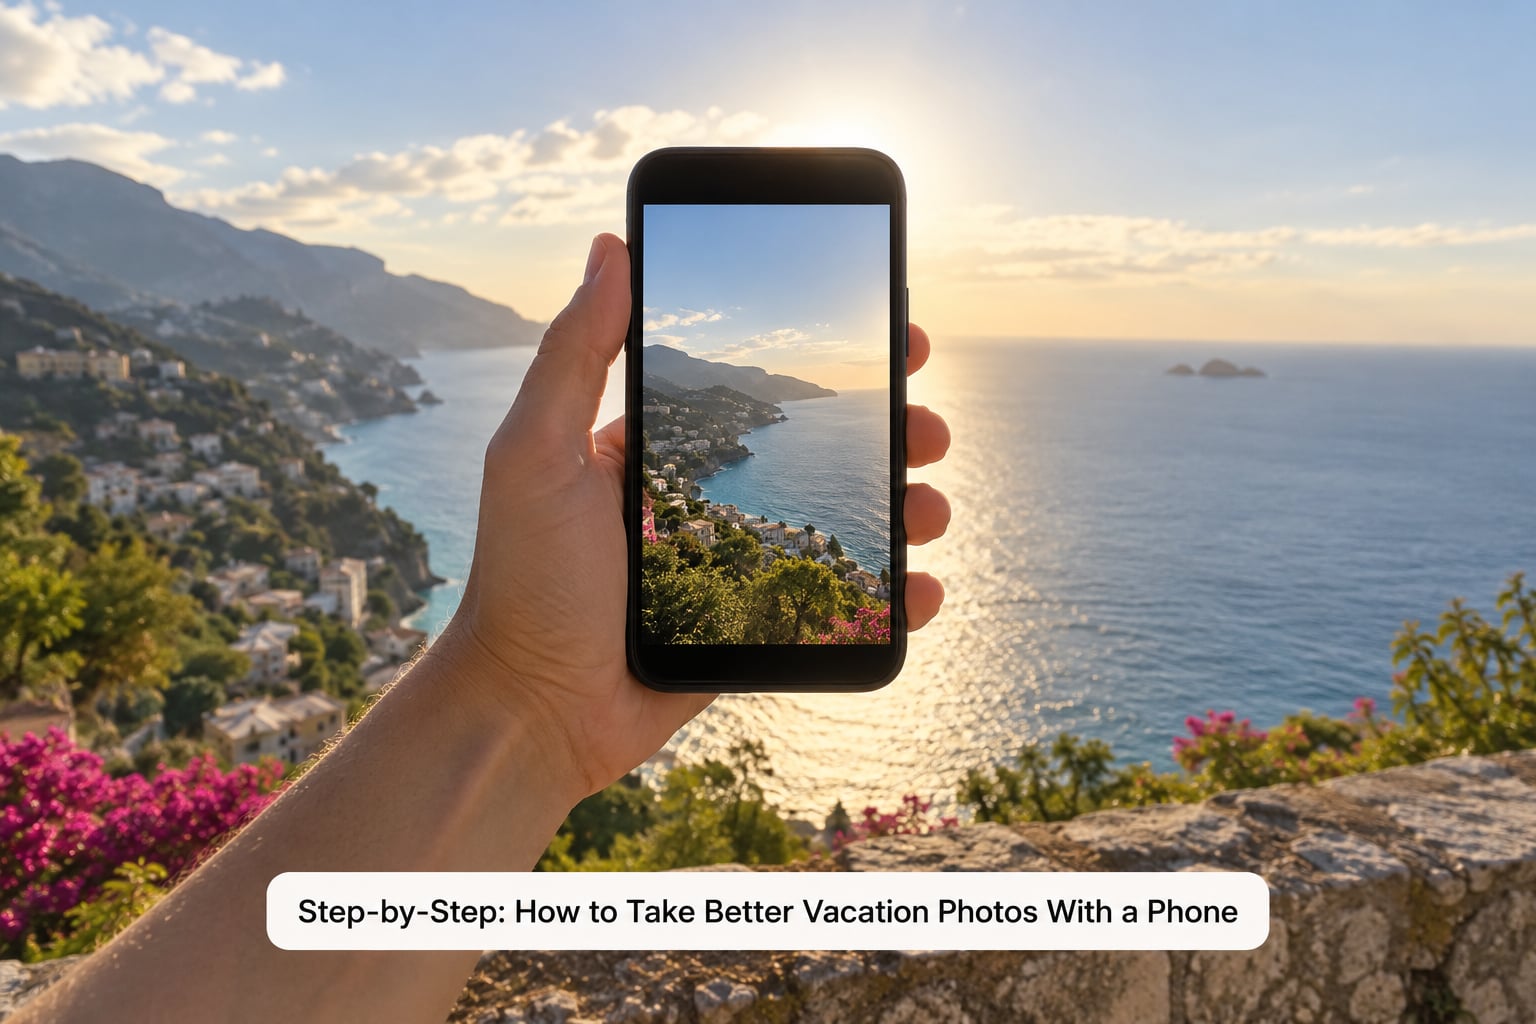
Prepare your phone before the trip
Do this the night before you leave, not at the gate. Check your camera app settings, clear the cache, and confirm your date and location preferences are right so files sort correctly when you get home.
Turn on the grid. On iPhones it’s Settings, then Camera, then Grid; on most Androids it sits inside the camera viewfinder settings, often behind a small icon near the top of the screen. The grid gives you rule-of-thirds lines and a level horizon indicator, and it costs nothing to leave on.
Two other settings matter on a trip. Leave HDR on — it handles the blown-out skies and dark doorways that are unavoidable on holiday — and make sure burst mode is bound to the volume buttons so you can fire several frames one-handed.
Clean the camera and check the first shot
Wipe the rear lens with the cloth before you leave the hotel, and again whenever you change bags. Then take one test shot and zoom into it at 100%.
Look at three things: is the subject sharp, are the highlights solid white or blown out, and is there a smudge or a dead corner? On iPhones, tap the Live Photo button off if you’d rather save storage and avoid the odd frame where a person is blinking. Fixing a smudged lens once at 9 a.m. saves the whole morning.
Choose a composition that looks better
Composition is where most vacation photos fall apart. You point the phone at the thing you came to see, put it in the middle, and take the shot.
Four moves fix that almost every time. Put the horizon on a third line rather than dead centre. Get something in the foreground — a railing, a plant, a person’s shoulder — so the shot has depth. Look for lines that lead into the frame, like a path, a wall, or a row of windows. And use people or a known object for scale; the same cathedral reads as small when a person stands beside it.
Then move your feet. Walking ten steps left or right almost always beats any editing app, because it separates your subject from the messy background.
Control brightness and difficult lighting
Harsh midday sun is the hardest light you’ll fight on a trip, and it’s the default for most sightseeing hours. Faces under the brow go dark, skies go white, and colour washes out.
Three habits fix it. Turn your subject toward the light rather than shooting into it, so faces are lit rather than silhouetted. Tap and hold on the brightest part of the frame — a white wall, a sky — to lock exposure lower, which preserves the highlight instead of clipping it. And shade is your friend: an awning, a doorway, or the shadow of a building is better light than full sun.
For backlit subjects, tap the face to focus, then pull exposure up with the sun control. Portrait mode with a couple of feet of daylight in front of the person also lifts a dark face, though it blurs edges at short distances.
Golden hour — the hour after sunrise and the hour before sunset — is the light most worth planning around. It’s softer, warmer, and far more forgiving. A sun-position app like Sun Surveyor or PhotoPills tells you exactly when that window opens at your destination, so you can pick your sightseeing order around it.
Keep the subject sharp and the shot steady
Tap the subject to focus, then check the little sun icon that appears and drag it to set brightness. On both iPhone and Android, a long press usually locks focus and exposure, so the setting sticks when you recompose.
Shake is the other half of blur. Brace your elbows against your ribs, hold the phone with two hands, and breathe out before the shutter. For night shots and low light, lean the phone against something solid or use the tripod — a two-second timer also helps.
For anything moving — a boat, a bird, a person walking — switch to burst mode and hold the button. You’ll get several frames and pick the one where the eyes are open.
Capture people, food, and moving vacation moments
For portraits, shoot at a distance you wouldn’t normally tolerate and crop in afterwards, which is the digital equivalent of a longer lens. Ask before photographing strangers, and in many places, ask before photographing people at prayer, ceremonies, or markets.
For food, get close enough that the plate fills the frame, shoot from about 45 degrees rather than straight down, and turn off the flash. Window light beats overhead light nearly every time. Napkins, menus, a glass of wine, or your fork in the shot add scale and story.
For motion and street scenes, move. Walk a few steps past the subject and shoot slightly ahead of them. Panoramic mode genuinely helps with tall buildings and wide waterfronts, as long as you keep the phone level and move it in one slow pass.
Video is worth knowing too: shoot short clips rather than long ones, keep the phone level, and leave room on both sides of your subject so you can crop later.
Review and edit without losing the memory
Editing should fix a photo, not redesign it. The moves that matter are crop and straighten, a small exposure lift, a nudge to warmth, and shadows pulled back if the shot is dark.
A fast workflow: pick your keepers, apply the same adjustment to all of them, then stop. Lightroom Mobile and Snapseed both cover roughly everything most travelers need, and both handle a whole batch at once so the trip looks like one coherent set instead of a pile of unrelated frames.
Two rules keep photos looking natural. Don’t push sharpness or saturation hard — vacation photos already have saturated skies. And leave the sky in a straight line; a slanted horizon reads as sloppy instantly.
Back up, organize, and share your photos
Decide your backup before the first night, not after something goes wrong. The 3-2-1 approach is simple: three copies of every file, on two different kinds of storage, with one copy somewhere away from home.
In practice, for most trips that’s the phone, a laptop or hard drive you keep in your bag, and cloud storage that uploads automatically over the hotel or café Wi-Fi. Set the cloud upload to run only on Wi-Fi if your data allowance is tight. Many travelers also cull nightly — ten keepers, twenty keepers — so the backup set stays small and manageable.
Before you share anything publicly, check the photo for license plates, room numbers, house numbers, and school uniforms of minors. It takes five seconds and it avoids an awkward message later.
Common Mistakes and Easy Fixes
These seven account for most disappointing vacation photos I’ve seen.
Smudged lens. A fingerprint kills the whole image. Fix: wipe with a cloth before every shooting session, not after you see a bad photo.
Blurry subject. Almost always shake, and the fix is elbows in, two hands, a breath, and a timer for anything dim.
Blown-out highlights. Tap the brightest area to lock exposure down before shooting. HDR on will help further.
Digital zoom. Pixels get invented and edges turn to mush. Walk closer or use the optical or ultra-wide lens instead.
Cluttered background. Shift your position a few steps before you blame the camera. A wall, a doorway, or a clean sky makes an ordinary subject look deliberate.
Over-editing. Heavy saturation and sharpening destroy skin tones and skies. A small, consistent adjustment looks far better than a heavy one-off.
No backup. The phone gets dropped, stolen, or dropped in a river. Copy files nightly to a second device and let one copy live off-site.
Frequently Asked Questions
Should I buy a camera for my vacation or use my phone?
For most trips, your phone is enough. It is already in your bag, weighs almost nothing, and handles daylight landscapes, food, portraits, and night scenes well if you hold steady. A dedicated camera earns its place when you plan real wildlife, long-distance zooming, large prints, or low-light shooting as the main point of the trip. Buying a body without a good lens usually makes photos worse, not better.
How do I back up photos while traveling when Wi-Fi is bad?
Treat Wi-Fi as an accelerator, not the plan. Copy each night’s shots to a laptop or hard drive in your luggage, which needs no internet at all, and let cloud upload run overnight on hotel or cafe Wi-Fi when it is available. Keeping one copy in a bag and one off your phone covers the two failures that actually happen: losing the device and losing access to your cloud account.
What are the best free apps for editing vacation photos on a phone?
Lightroom Mobile and Snapseed both do nearly everything travelers need and both are free at a basic level. Lightroom gives you tone controls, a crop-and-straighten tool, and batch edits so one adjustment applies to a whole set. Snapseed is lighter, fast on older phones, and has strong selective edits. Pick one, learn five adjustments, and use the same ones across the trip.
How do I take sharp photos at night with just my phone?
Clean the lens first, then brace the phone with both hands or lean it against something solid. Use the night mode, which stacks several frames, and hold still until it finishes rather than moving the phone. Turning on the flash at a distance makes everything behind your subject go black, so leave it off and use night mode or a tripod instead.
Which phone camera mode should I use for each scene?
Portrait mode for a person with a blurred background at more than a few feet of distance. Night mode for anything dim, using a tripod or stable surface. Macro mode for close-up detail like flowers or textures. Panorama for tall buildings and wide waterfronts, keeping the phone level. Standard mode with HDR on for almost everything else. On many Androids these live in an Extra or More menu beside the viewfinder.
What accessories actually help phone travel photos?
A small tripod or flexible leg mount is the most useful item, because it makes night scenes, group shots, and self-portraits possible. A remote shutter or wired earbud button is next, since it removes shake at the moment of capture. A microfiber cloth is nearly as important and costs almost nothing. Clip-on lenses and gimbals rarely pay off unless you already shoot video seriously.
Conclusion
Start with five things tonight. Wipe the lens and clear 20 GB of storage. Turn on the camera grid and leave HDR on. Learn where tap-to-focus and the exposure slider live on your phone. Plan one golden hour session around the place you most want to photograph. Then copy each night’s shots to a second device before you sleep.
That routine covers most of what separates a phone photo you’ll keep from one you’ll forget. Once it’s in place, you can stop thinking about the camera entirely and get back to the trip.