Harsh midday light is not a problem you solve with gear. Knowing how to shoot photos in harsh midday sun comes down to three habits: move your subject into shade, meter off the brightest thing in the frame, and use the contrast instead of fighting it.
The method below works with any camera, mirrorless body or phone. Budget about ten minutes for the whole process once you have it in your fingers. It is the approach that gets you usable travel photographs at noon, when you cannot wait for better light.
Table of Contents
- What You Need
- Step-by-Step
- 1. Find or Create Better Light
- 2. Protect Your Camera from Glare
- 3. Set Exposure for the Highlights
- 4. How to Shoot Photos in Harsh Midday Sun with Camera Settings
- 5. Use Contrast Creatively
- 6. Compose for Strong Shadows
- 7. Choose the Right Color Treatment
- 8. Check the Result Before Moving On
- Common Mistakes
- Frequently Asked Questions
- Can you photograph people in the harsh midday sun?
- What ISO is best for a sunny day?
- What is the sunny 16 rule in photography?
- How do you fix blown highlights in editing?
- Is a polarising filter worth it in harsh midday sun?
- Do black and white photos work better in harsh midday sun?
- Conclusion
What You Need
Short version: whatever camera you already own, a hat, and five minutes of walking. The list below is ordered by how much it actually changes your results.
- Any camera with manual or aperture-priority mode. A phone is fine. Manual control of exposure is the only genuinely essential item.
- A lens hood. Costs almost nothing and kills a surprising amount of flare and edge softening. A hand held in front of the lens works in a pinch.
- Something to make shade with. A lightweight scrim, a beach umbrella, a jacket, a paper hat. You can also use the shadow of a building, a bus shelter or a bridge.
- A reflector, or anything white and flat. A white wall, a sheet of poster board, a car roof, a pale stone wall. The reflector fills the shadow side of a face so the dark sockets under the eyes lift.
- A phone or watch with a compass and a sun position app. It tells you where the shade will be in twenty minutes, which matters more than anything else on this list.
Skip anything marketed as a harsh-light miracle. There isn’t one. The results come from where you stand and how you expose, and the gear only makes that easier.
Step-by-Step
1. Find or Create Better Light
Walk before you raise the camera. Overhead sun between roughly 10 AM and 4 PM puts your subject’s shadow directly underneath them, which is the least flattering place to put a face.
Open shade means shade with sky visible above and no hard sun edge. A doorway, an arcade, a deep window, a stand of trees with dense foliage, the north side of a building. Move two steps and watch the shadow edge soften.
If there is no shade anywhere, make your own. A wide-brimmed hat held by a companion above your subject is the oldest travel trick there is, and it still works.
2. Protect Your Camera from Glare
Harsh light makes lenses and screens behave badly. Fit the hood, keep the front element shaded with your hand, and hold the camera slightly to the side so your own finger is not in frame.
Glare from water, shop windows and car paint can wash out a third of the image even when the exposure is perfect. Change your angle a few degrees rather than lowering exposure to compensate.
If you are checking images on the rear screen, cup your hands around it or switch on the live view brightness boost. A screen you cannot read in daylight will have you reshooting for the wrong reason.
3. Set Exposure for the Highlights
Meter off the brightest part of the scene, not the average. White sand, pale stone, water, a white shirt and skin all clip before the midtones go dark.
Switch to spot metering or centre-weighted metering. Aim at the brightest area, then lock it with auto lock if your camera has that option. If you have a grey card or the back of your hand, meter off that instead and dial in exposure compensation from there.
Most photographers working this light land between minus one third and two thirds of a stop below the reading the camera suggests. Then check the histogram and look for a spike at the far edge of the scale.
4. How to Shoot Photos in Harsh Midday Sun with Camera Settings
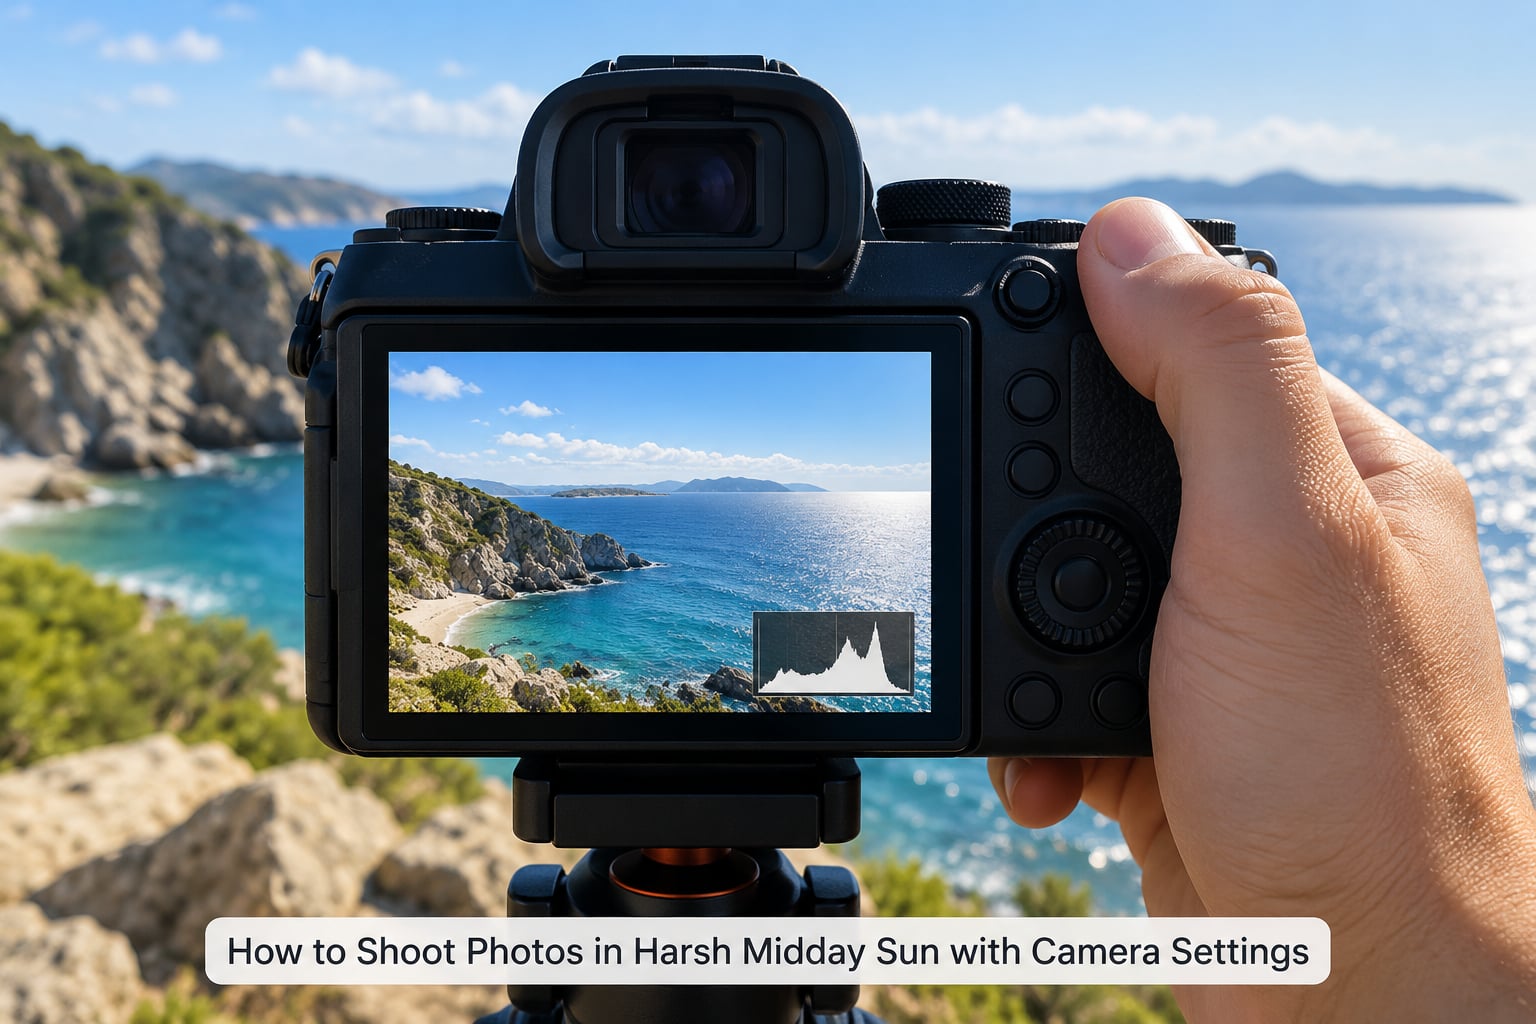
Start at ISO 100 to 200, f/8 for an even spread of light across the frame, and a shutter speed the camera picks to match. On many bodies that lands somewhere around 1/1000s in full sun, which is fast enough for people walking and slow enough for a tripod-held scene.
If the light is falling on a face or a moving subject, open up to f/2.8 to f/4 and let the shutter run. Watch the histogram rather than the shutter number.
| Subject | ISO | Aperture | Shutter | Exposure |
|---|---|---|---|---|
| Scenery, no movement | 100 | f/8 to f/11 | 1/125s or slower | -0.3 to -0.7 |
| Portrait or street | 100 to 200 | f/2.8 to f/4 | 1/500s to 1/1000s | -0.7 to -1.3 |
| Animals and sports | 400 to 800 | f/5.6 | 1/2000s or faster | -0.7 |
| Silhouette | 100 | f/8 | 1/1000s | Meter on the sky |
On a phone, tap the brightest region of the screen to set exposure, pull exposure down one or two stops with the sun icon, and hold two fingers on the screen to lock focus and exposure. Shoot in Pro or RAW mode if your phone has it. That is the whole gap between phone and dedicated camera in this light.
5. Use Contrast Creatively
You will not make every surface equally bright, so stop trying. Expose for the subject, let the shade fall where it falls, and look for the shapes that only exist because of the hard light: the hard edge of a shadow across a wall, the triangle of light under an arch, a lit hand against a dark sleeve.
Contrast is also a depth cue. A subject separated from a background by a difference in brightness reads as further away, which makes cramped street scenes look wider.
Convert to black and white later. Removing colour takes away the distraction of a mismatched wall or a rust stain and leaves only tone, which is where the interest already is.
6. Compose for Strong Shadows
Strong shadows make good lines. Look for the diagonal cast across a floor, the striped shadow of a railing, the repeating pattern of a fence. Put that line in the frame deliberately rather than letting it land across your subject’s face.
Simple backgrounds work. Harsh light has low tolerance for clutter because everything is evenly lit and equally loud.
Fill the frame with the subject instead of empty sky. A large patch of featureless white sky is wasted space that you cannot rescue later. Crop tighter and the same exposure looks far stronger.
7. Choose the Right Color Treatment
Set white balance to Daylight or Daylight Cloudy around 5200K to 5600K and turn auto white balance off. Auto white balance often leans too cool in strong sun, which leaves skin looking greyish and lifeless.
Shoot RAW if your camera allows it. Bright sun pushes red and blue channels close to the clipping point, and RAW files hold noticeably more colour detail there than JPEGs do.
In editing, pull the highlights down, add a little contrast, and stop there. Dragging shadows up hard brings out noise you cannot remove, and heavy saturation turns midday colour into something that looks like a filter.
That said, white balance is a creative dial. Setting a cooler tone on a warm stone building or warming a shadowed street gives you a look, not just a correction.
8. Check the Result Before Moving On
Run this list before you put the camera down: is the subject sharp, are the brightest areas fully white or textureless, is there flare across one corner, does a shadow edge cross the face, is the colour natural, is the subject placed well.
Reshoot anything that fails. Fixing a clipped highlight in software is not possible, and no amount of editing makes a soft frame sharp.
Once the subject is still, take one extra frame at a slightly different angle. The light will shift noticeably in the ten minutes you spent on the first one.
Common Mistakes
- Trusting the built-in meter. The camera aims for an average that will ruin a scene with bright sky and dark ground. Fix: switch to spot metering and meter the brightest area.
- Photographing straight into the sun. This gives you flare, haze and a dark subject. Fix: put the sun behind you, or behind your subject and meter for the face.
- Filling the frame with empty sky. A big white area is the most unrecoverable thing in a photo. Fix: aim down, tilt the camera, crop tighter.
- Leaving a subject in an ugly shadow. The band of light across the eyes and the dark chin is the classic midday portrait mistake. Fix: move into open shade, use a reflector, or turn them so the shadow falls behind them.
- Correcting an overexposed frame. Clipped highlights hold no data. Fix: dial exposure compensation down and reshoot while you still have the light.
- Trusting auto white balance. Fix: switch to Daylight, around 5200K to 5600K.
- Shooting at noon because that is when the light is best. The sun is rarely best at noon. Fix: use a sun position app to check when the light turns, then wait or return.
- Raising shadows in editing. Heavy shadow recovery adds visible noise in a file that already has little shadow detail. Fix: lower the exposure a stop more next time.
One more that catches people out: heat shimmer. On hot days, long lenses see moving air above hot surfaces like tarmac, sand or water. Distant subjects go soft and wobbly no matter how fast the shutter is. Shorter focal lengths, a lower angle, and shooting in the cooler part of the day all help.
None of that changes the order of operations. Learning how to shoot photos in harsh midday sun is mostly about making those three moves a habit before you start fiddling with dials.
Frequently Asked Questions
Can you photograph people in the harsh midday sun?
Yes, and you do not need a flash. Turn the subject so the sun is behind them, step them into open shade, or hold a white reflector below the face to lift the shadow side. Meter with spot metering on the skin and come down about a stop to protect pale foreheads. If the subject is squinting badly, shoot from slightly below eye level and ask them to look just past the camera.
What ISO is best for a sunny day?
Keep ISO as low as your camera will shoot cleanly, usually ISO 100, and raise it only when you need a faster shutter speed for movement. On a sunny day at f/8, ISO 100 will still give you a shutter speed fast enough to freeze a walking person. If you must stop down to f/11 or f/16 for depth of field, expect to raise ISO rather than accept motion blur.
What is the sunny 16 rule in photography?
The sunny 16 rule is a way to get a correct exposure without a meter: set shutter speed to 1 divided by the ISO, set aperture to f/16, and the camera should land close to a correct exposure in bright sunlight. On digital cameras it is mainly a starting point rather than a rule, because you can check the histogram immediately. Use it to get into the ballpark, then fine-tune with exposure compensation.
How do you fix blown highlights in editing?
You usually cannot. A blown highlight has no recorded data, so raising it back only produces flat white. Mild clipping in a RAW file often recovers well with the highlights slider. JPG highlights are clipped permanently at capture. The prevention is exposure compensation below zero and metering the brightest part of the scene before pressing the shutter, not a slider afterwards.
Is a polarising filter worth it in harsh midday sun?
It helps more than anything else you can screw on the front. A circular polariser cuts glare off water, wet roads and leaves, deepens a blue sky and reduces haze, and it also acts as a mild neutral density filter that helps with skies and bright surfaces. It costs roughly a stop or more of light, so compensate with exposure compensation. It cannot help with a face in open shade.
Do black and white photos work better in harsh midday sun?
They often do. Strong light gives you exactly what monochrome conversion wants: hard edges, deep blacks, bright whites and strong shape. Most midday colour shots look flat and slightly muddy because the light has flattened colour differences. After converting, check the black point and white point, and dodge or burn locally if the tones sit bunched in the middle of the range.
Conclusion
Start with three moves and the rest gets easier. Find shade or make it, protect the highlights with spot metering and a little negative exposure compensation, then check the histogram or the brightest area before you touch colour or composition.
Everything after that, the reflector, the white balance setting, the black and white conversion, is refinement on a frame you already exposed properly.