Good family vacation photos come down to three things: soft natural light, standing close enough that nobody is a smudge, and asking for movement instead of holding a pose. Learn how to take good family photos on vacation and you can do all three with the phone already in your pocket, in about ten minutes a day.
The disappointing holiday album usually comes from the same three failures. Harsh overhead sun, digital zoom from far away, and a frozen row of people saying cheese. Every one of those is fixable without new equipment, which matters because most of the gear debate online is wasted effort. On camera forums the consensus is blunt: the best camera is the one you actually use.
Table of Contents
- What You Need
- Step-by-Step: How to Take Good Family Photos on Vacation
- 1. Choose the Right Camera or Phone
- 2. Pick a Time of Day That Works for Everyone
- 3. Find Soft, Even Light
- 4. Frame the Scene Before Calling Everyone Together
- 5. Use Simple Poses That Feel Natural
- 6. Take Several Shots at Each Important Moment
- 7. Review, Save, and Back Up the Best Images
- Common Mistakes and Quick Fixes
- Frequently Asked Questions
- Is a phone good enough for family vacation photos?
- What is the best time of day to take family photos on vacation?
- How can I photograph children without making them pose all the time?
- How many family photos should I take while travelling?
- How do I back up vacation photos without losing them?
- Should I use flash when taking family photos outdoors?
- Conclusion
What You Need
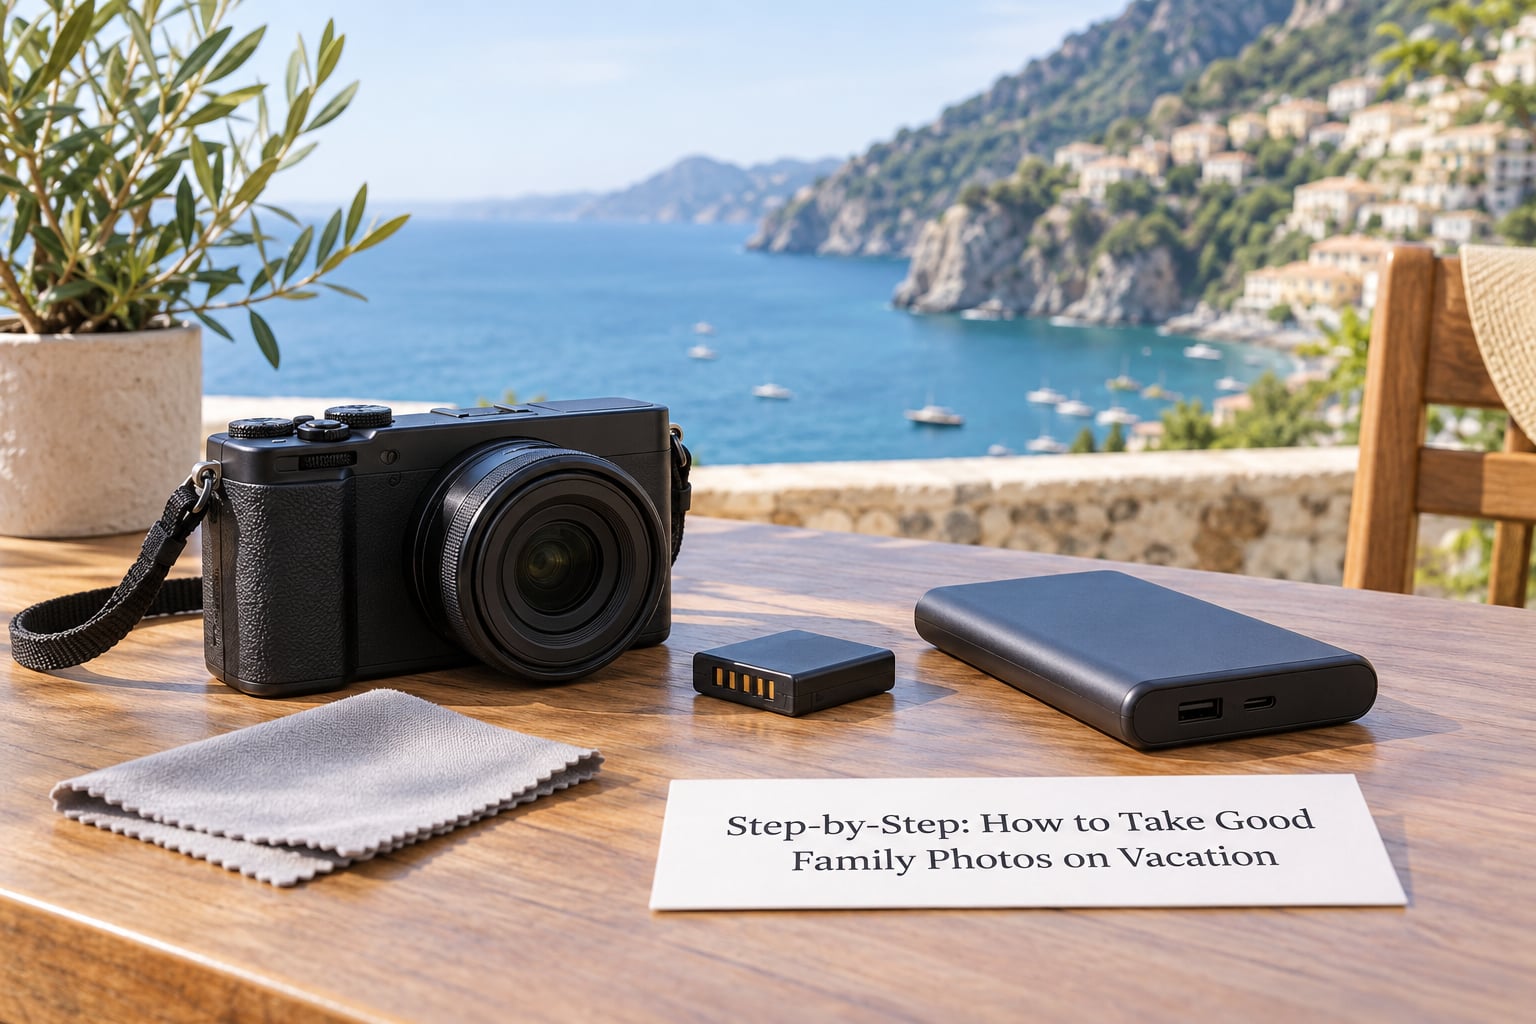
A recent phone or a compact camera. That is the whole list. Everything below is optional or consumable.
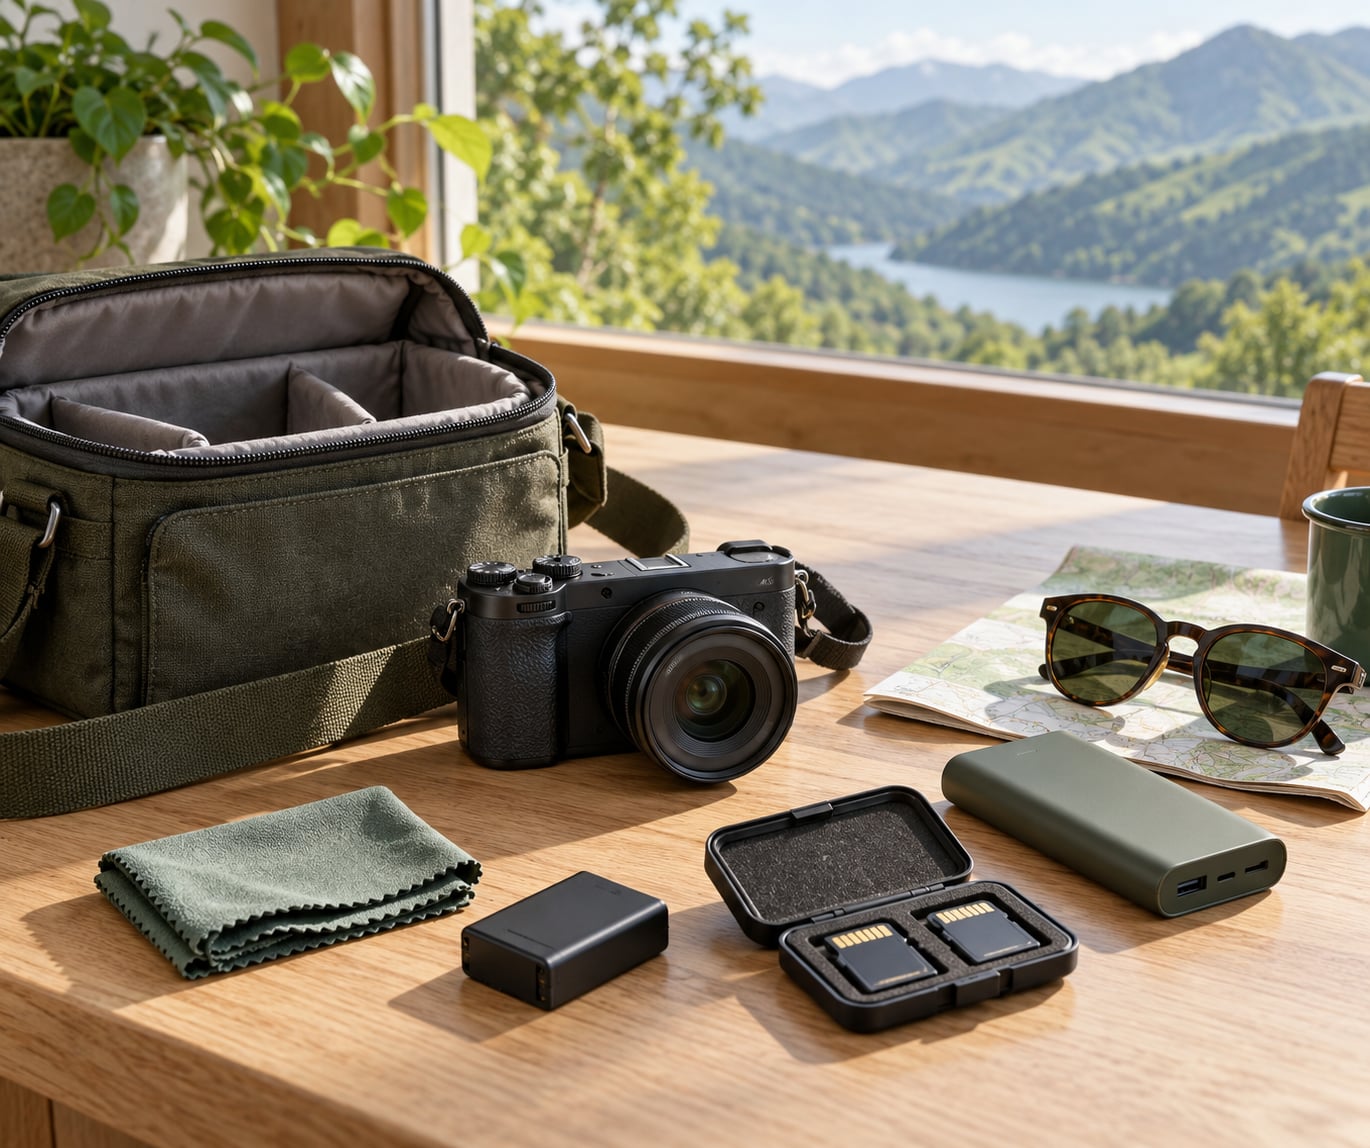
- A camera you will actually carry. A three-year-old phone with a good main lens beats a heavy body you leave in the hotel. Travellers who lug full camera kits report regretting the weight more than they enjoy the images.
- A pocket lens cloth. A smeared lens is the most common reason a phone photo looks soft. Wipe it before every location.
- Cleared storage. Delete old videos before you fly. Half-finished clips are the usual reason a full card blocks new shots at the exact moment you need one.
- Charge for the day ahead. A power bank in the bag costs nothing in attention and saves the trip when the battery dies at the overlook everyone wanted.
- One idea for each outing. Write down three moments worth shooting that day. People who plan two good shots take far better photos than people who wander hoping something happens.
- Optional: a small tripod or a stable surface. A mini tripod, a wall, a railing, or a stack of suitcases. It matters because the person taking the photo is usually missing from it.
If you pack all of that, you have everything needed to shoot a full trip.
Step-by-Step: How to Take Good Family Photos on Vacation
1. Choose the Right Camera or Phone
Use whatever shoots well in dim light and holds still at your typical distance. On a phone, that means the main rear lens, not the smallest one on the block.
Before the trip, spend ten minutes with the camera you will use: clean the lens, check that storage is clear, find burst mode and the self-timer, and turn on the grid so you stop holding horizons crooked. Turning the flash off matters too. An automatic flash outdoors fires at full strength, blows out faces and flattens everything behind them.
A recent phone is a real answer here, not a compromise. Travellers on the photo forums consistently report good results from recent iPhones with no extra gear at all. Where a phone has no physical shutter, tapping the viewfinder locks focus and exposure, so hold it steady for a beat before you shoot.
Never use digital zoom. When you pinch to 2x on a phone, you are cropping a blurry picture and calling it closer. Walk over instead. You know the step worked when the frame is filled without the image looking soft at the edges.
2. Pick a Time of Day That Works for Everyone
The best light and the best behaved children are rarely on the same schedule, so plan around the people. Early morning is the easiest win: the light is soft, beaches and viewpoints are empty, and everyone is usually awake from swimming or breakfast.
Late afternoon into sunset is the second easiest. The hour before sunset is called golden hour, and the light is warm and low. Blue hour, the short window just after sunset when the sky is still bright but the sun is gone, gives you cool tones for cityscapes and restaurant shots.
Midday is the hardest, and pretending otherwise is how albums end up with squinting faces and dark eye sockets. If that is your only window, move to shade, wait for a cloud, or shoot in a doorway or under an awning.
You know you picked well when nobody is squinting and nobody is being dragged away from something they want to do.
3. Find Soft, Even Light
Light direction decides more about your photos than any camera setting. Faces look best when the light comes from the side or slightly in front, at eye level or above, with no hard shadow underneath the nose and chin.
Harsh midday sun sits directly overhead and drops shadows into eye sockets. Backlighting happens when the sun is behind your subject, which puts their face in shadow and blows out the sky. Open shade, the soft light under an awning, a tree canopy or a hotel balcony overhang, is the fix for both.
Three quick checks before you press the shutter. Put your hand in the light and look at the palm: if it is squinting, the light is too hard. Turn around and check that nobody is standing under a hat brim or against a white wall. On an overcast day, treat the whole sky as one enormous softbox and shoot anywhere without shadows.
You know it worked when the skin tones in the preview look even from one side of the face to the other.
4. Frame the Scene Before Calling Everyone Together
Compose first, gather the family second. Set up the shot while they are still doing whatever they were doing, then call them in once the frame is ready.
Walk to where the shot will live and look behind your subjects. A bin, a stranger’s elbow, a bright sign or a tree trunk sprouting from the back of someone’s head will drag attention straight out of the picture. Three steps sideways usually fixes it. Look at the base of every object in the frame, not just the faces.
Get low. Shooting from a crouch puts the camera at a child’s eye level and instantly separates the group from the background. Shooting from above makes everyone look small and gives you a lot of pavement.
Leave room in the direction someone is looking or walking. Empty space on the side they face makes a natural frame. A path, a railing, or a row of palm trunks already leading into the frame gives you a leading line, and the rule of thirds puts the faces off the dead centre without anyone having to aim.
You know the frame is right when you could describe the picture in one sentence.
5. Use Simple Poses That Feel Natural
Three poses cover almost every family and every location. Walking together along a path or along the shoreline. Standing close in a loose cluster with shoulders touching and someone holding the smallest child. Sitting or standing around a shared activity, such as building a sandcastle, eating ice cream or leaning on a railing looking at something.
Movement beats position. Ask for a walk rather than a stance, and take the picture on the third or fourth step, when people have stopped thinking about the camera.
Skip the word cheese. Instead ask someone to say the other person’s name, ask the kids to whisper a secret to their grandparent, or tell everyone to look at the person who is missing from the group. Those give you a real expression rather than a posed grimace.
Work the age differences instead of fighting them. Toddlers run, so lie down at their level and shoot while they play. Tweens and teens cooperate more readily when they hold the camera or take a short clip. A reluctant partner usually agrees to one frame, so spend that frame well.
For groups of five or more, take a burst and pick one face later. In a shot with six people there is a good chance somebody blinked, and in a burst of ten there is usually one where everybody is fine.
6. Take Several Shots at Each Important Moment
Arrivals, first swims, the table at dinner, one landmark, one walk at dusk. That is a full trip of family photos, and each one deserves a burst rather than a single frame.
How many shots is a lot? More than feels silly. On a beach day most families take 200 or 300 frames and keep 20. The cost of an extra burst is nothing compared to coming home with one blurry photo of a milestone.
Short clips sit alongside stills well. A few seconds of movement often captures something a still cannot, and phones make them free. Use Action mode or stabilisation for anything involving running water, jumping or a moving subject.
Mix wide shots with close ones. Get the whole group in the landscape, then walk in and fill the frame with two faces. The tight shots are the ones that end up framed on a wall.
You know you have enough when you have a wide, a mid shot and a close-up of each person at each location.
7. Review, Save, and Back Up the Best Images
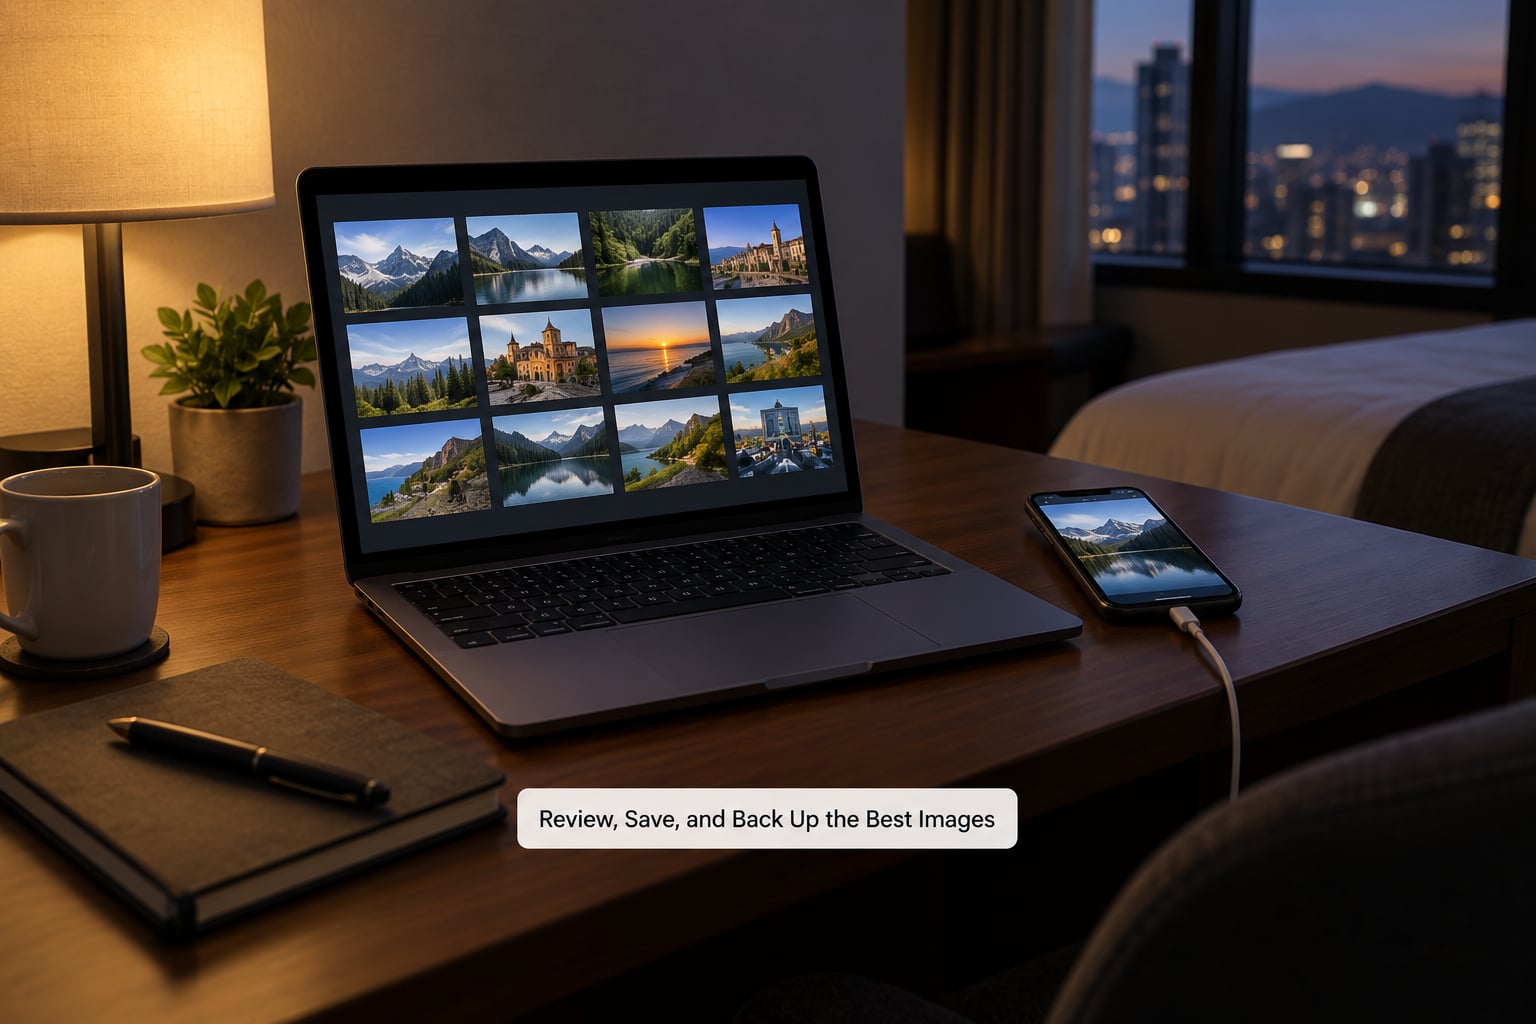
Zoom in on the image right after you shoot it. Tap the face and check that the eyes are sharp, then glance at the edges of the frame for clipped feet or a stray branch. Three seconds of checking saves a day of discovering problems after the trip.
Flag your keepers, keep the originals, and delete nothing until the day is safely stored somewhere else. Editing apps help with a heavy-handed crop, a straightening nudge and a warm adjustment, but light you did not fix on location cannot be fully recovered later.
Backups take five minutes a day. Turn on automatic photo sync to the cloud before you leave, so the camera roll copies off the phone as you shoot. Keep the phone on airplane mode in flight, which stops background uploads from draining the battery. Once you land, open the album and confirm your files are actually there rather than assuming.
A second copy is worth the trouble. A second phone, a laptop with the cards copied over, or a portable drive kept in a different bag will do it. Nobody has ever lost a vacation album to a single failure, but plenty have lost one to a sand-dusted phone in a pocket.
You know the routine worked when you can free up space on your card without losing anything you care about.
Common Mistakes and Quick Fixes
- The camera focused on the background. Tap the face on the screen before shooting, or single-point focus on the nearest eye. On a camera, half-press the shutter on the subject’s face first.
- Hard shadows under chins and eye sockets. Move everyone into open shade, or wait for a cloud to pass. Turn the flash off.
- Subjects look soft and grainy. They were shot in low light at high zoom. Move closer, find more light, or shoot in a mode that combines several frames for a cleaner image.
- Somebody is hidden behind a lamp post. Walk to a new spot and re-check the background before you call anyone over.
- Everyone looks stiff. Give them a job. Hold something, hug someone, walk ten steps. Ask for the shot twice, once right after they settle, when they have stopped performing.
- Framing changes wildly from shot to shot. Turn on the grid and keep the horizon on the same line each time.
- The battery died or the card filled up. Clear old video before the trip, carry a power bank, and check storage the night before.
- Photos were lost or deleted. Sync to the cloud, keep one second copy on a different device, and never delete an original before the backup is confirmed.
- So much photographing that nobody enjoyed the day. Pick two moments a day and leave the camera down the rest of the time.
Three quick wins if you only change one thing: turn the flash off, walk closer instead of zooming, and shoot in the hour before sunset or right after breakfast.
Frequently Asked Questions
Is a phone good enough for family vacation photos?
Yes, for almost every situation. Recent phones handle dim light, burst shooting and video well enough for family trips. Use the main rear lens, clean it often, avoid digital zoom and turn the flash off. Bring a real camera only if you already know how to use it and enjoy carrying it.
What is the best time of day to take family photos on vacation?
The hour after sunrise and the hour before sunset give the softest, warmest light and both windows suit children better than midday does. Overcast days are easy too, since the whole sky acts as one big soft light source. If midday is your only option, shoot in open shade.
How can I photograph children without making them pose all the time?
Stop asking them to pose. Get low to their eye level and photograph them mid-play, then ask them to walk toward you and shoot on the third step. Giving them a role, such as carrying something or feeding the dog, keeps hands busy and attention away from the lens.
How many family photos should I take while travelling?
Far more than feels reasonable. Most families take a few hundred frames over a week and keep a few dozen. The real target is variety rather than volume: one wide, one mid shot and one close-up of each person at every location you planned, plus short candid clips of meals and walks.
How do I back up vacation photos without losing them?
Turn on automatic cloud sync before you travel and confirm after landing that files have actually uploaded. Keep a second copy on another device, such as a laptop with the cards copied over. Use airplane mode in flight so background uploads do not drain the battery, and delete nothing until both copies exist.
Should I use flash when taking family photos outdoors?
Almost never in daylight. An automatic flash outdoors fires at full strength, blows out faces and flattens the background. Find open shade or turn everyone so the sun is behind you. Flash helps only indoors or at a night event where there is very little ambient light.
Conclusion
Start with one thing tonight: clean the lens, clear the storage and turn the flash off. On the first morning, find a spot in open shade and shoot one relaxed walking moment, then one standing frame with everyone close together.
That is genuinely all it takes to learn how to take good family photos on vacation. Good pictures come from soft light, people who are actually enjoying something, a few different framings at each place, and a backup you verified. Expensive gear changes none of those four things.