A transit app is a mobile or web tool that plans a public transport route for you, combining timetables, live vehicle locations and walking time into one door-to-door plan. Learning how to use a transit app to plan a trip takes about ten minutes to learn and about a minute each time you travel.
Here is the whole method in six steps. Search for your destination, confirm the starting point, compare the route options, check the departure time and any transfer, start step-by-step guidance once you are walking, and save the trip before you leave.
Most of the difficulty is not the app. It is entering a vague destination, then trusting a number that came from a scheduled timetable rather than a live feed. Both are fixable once you know where they come from.
Table of Contents
- What You Need
- Step-by-Step
- Choose the right transit app for your journey
- Set your starting point and destination clearly
- Compare routes by total time, transfers, and walking
- How to Use a Transit App to Plan a Trip Offline
- Check service alerts before you leave
- Set an arrival reminder and allow a buffer
- Common Mistakes
- Frequently Asked Questions
- Can I use a transit app without mobile data?
- How accurate are transit app arrival times?
- Do transit apps show tickets and fares?
- What should I do if I miss a connection?
- Can a transit app help with a day trip or road trip?
- Conclusion
What You Need
You need very little, and none of it is unusual. The list below is everything worth having ready before you open an app for the first time in a new city.
- An app that covers your city. Transit, Citymapper, Moovit, Google Maps or your local agency’s own app. Coverage varies far more than the marketing suggests, so check the city name before you rely on it.
- A phone or a browser. The Transit app asks for iOS 15 or later, or Android 8.0 or later. Every major planner also has a web version, which is the safest option on a borrowed or locked-down device.
- Location access. Without it, “current location” silently becomes a city centre guess and your walking times are wrong. This is the single most common beginner problem, and the one that quietly ruins a route.
- An account, sometimes. Basic planning usually works signed out. Saving favourites, sharing trips and buying a mobile ticket generally need a login, and a subscription is never required to plan a route.
- A payment method, if you plan to buy a ticket in the app. In-app ticket purchase exists only in cities that have integrated a payment partner, and it is a minority of them.
- Basic trip facts. The date, the time you need to arrive, how much luggage you are carrying, whether anyone needs step-free routing, and how many people are travelling with you.
That last line matters more than it looks. A planner given a real deadline will build a buffer into the route. A planner given a bare address will hand you the fastest option and let you discover the problem at the platform.
Step-by-Step
Choose the right transit app for your journey
Choose the app whose live data feed is best in the city you are actually moving through, not the one with the biggest download count. Every planner below is free at the basic level, and every one of them is strong in some cities and blank in others.
| Tool | Live data | Step-by-step guidance | First and last mile | Best for |
|---|---|---|---|---|
| Transit | Strong across North America, thinner in many countries | GO guidance with transfer and get-off alerts | Bikeshare, scooters, ridehail | Visitors who want one app to cover a whole trip |
| Citymapper | Good in the cities it covers, selective outside them | Detailed transfers and walking legs | Bikeshare, scooters, ridehail | Complex urban itineraries with several transfers |
| Moovit | Broad international coverage, quality varies by operator | Basic | Varies by city | Places with thin English-language coverage |
| Google Maps | Good where agencies publish live feeds | Simpler, less granular | Walking, cycling, ridehail | When you are already navigating by car or foot |
| Local agency app | Official for a single operator | Usually good for that network | Often limited | Daily riders on one specific system |
How you can tell it worked: search a well-known pair of points in the city, such as the main station and the central square, and check that the app returns a route with real stop names rather than a generic “walking distance” suggestion. Riders on forums like r/transit and r/uwaterloo generally land on Transit or Citymapper for planning and keep the agency app for the commute they know by heart.
Set your starting point and destination clearly
Enter the destination as specifically as you can, then confirm the start. “Museum” will return every museum in town; “Museum of Natural History, main entrance on Oxford Street” returns one.
Type an address, a station or stop name, or a landmark. Some planners also accept a long-press on the map to drop a pin, which is the most reliable method when the place has a large footprint, such as a stadium or a market with several entrances.
Then check three things before you read the results. The city is right. The travel date is right, because weekend and evening service is often much thinner than weekday service. And the starting point is where you will actually be standing, not the default “current location” if your location permission is off.
Some apps swap the arrows between the two fields. Tapping them swaps the start and the end, which is the fastest fix when a search returns a route that ends where it began.
How you can tell it worked: the route summary names the stop or station you will board at, and the walk at the start is short enough to be believable. A ten-minute walk to the first stop in a city you have never visited is a sign your starting point is wrong.
Compare routes by total time, transfers, and walking
Compare routes on three numbers, not one. Total door-to-door time, number of transfers, and total walking minutes. The fastest option on the screen is often the worst option in a heavy bag or in rain.
Expand the itinerary rather than trusting the summary line. You want to see every intermediate stop, the platform or bay where you change, the length of each walking segment, and the scheduled arrival time at each leg.
Look for a transfer buffer of at least five minutes on a scheduled timetable, more if you are carrying luggage or travelling with children. A one-minute connection only works when both legs run to the same clock, and they rarely do.
How you can tell it worked: you can say out loud where you change and which direction you board. If you cannot, the summary is not enough information to commit to.
How to Use a Transit App to Plan a Trip Offline
Offline planning works, but only if you set it up before you lose signal. Save the route first, then capture what you cannot re-fetch later.
- Save or pin the planned trip while you still have a connection, and open it once to make sure the details load.
- Download the region or city map where the app offers the option; some planners cache a corridor automatically once you view it.
- Screenshot each leg: the line or route number, the boarding stop, the direction or final destination, and the transfer point with its exit or platform number.
- Note the timetables you need, since a saved route is usually stored with live arrival data that cannot be refreshed without a connection.
- Turn on low-data or offline mode in the app settings so background map tiles stop eating your roaming allowance.
Know what you do not get offline. Live arrival predictions, service alerts, re-planning, and GO guidance all need a connection, and those are exactly the things that matter when something goes wrong.
How you can tell it worked: put the phone in airplane mode and reopen the saved trip. If the legs and stop names still appear, you have a usable plan. If it asks you to reconnect, you have a screenshot and nothing else.
Check service alerts before you leave
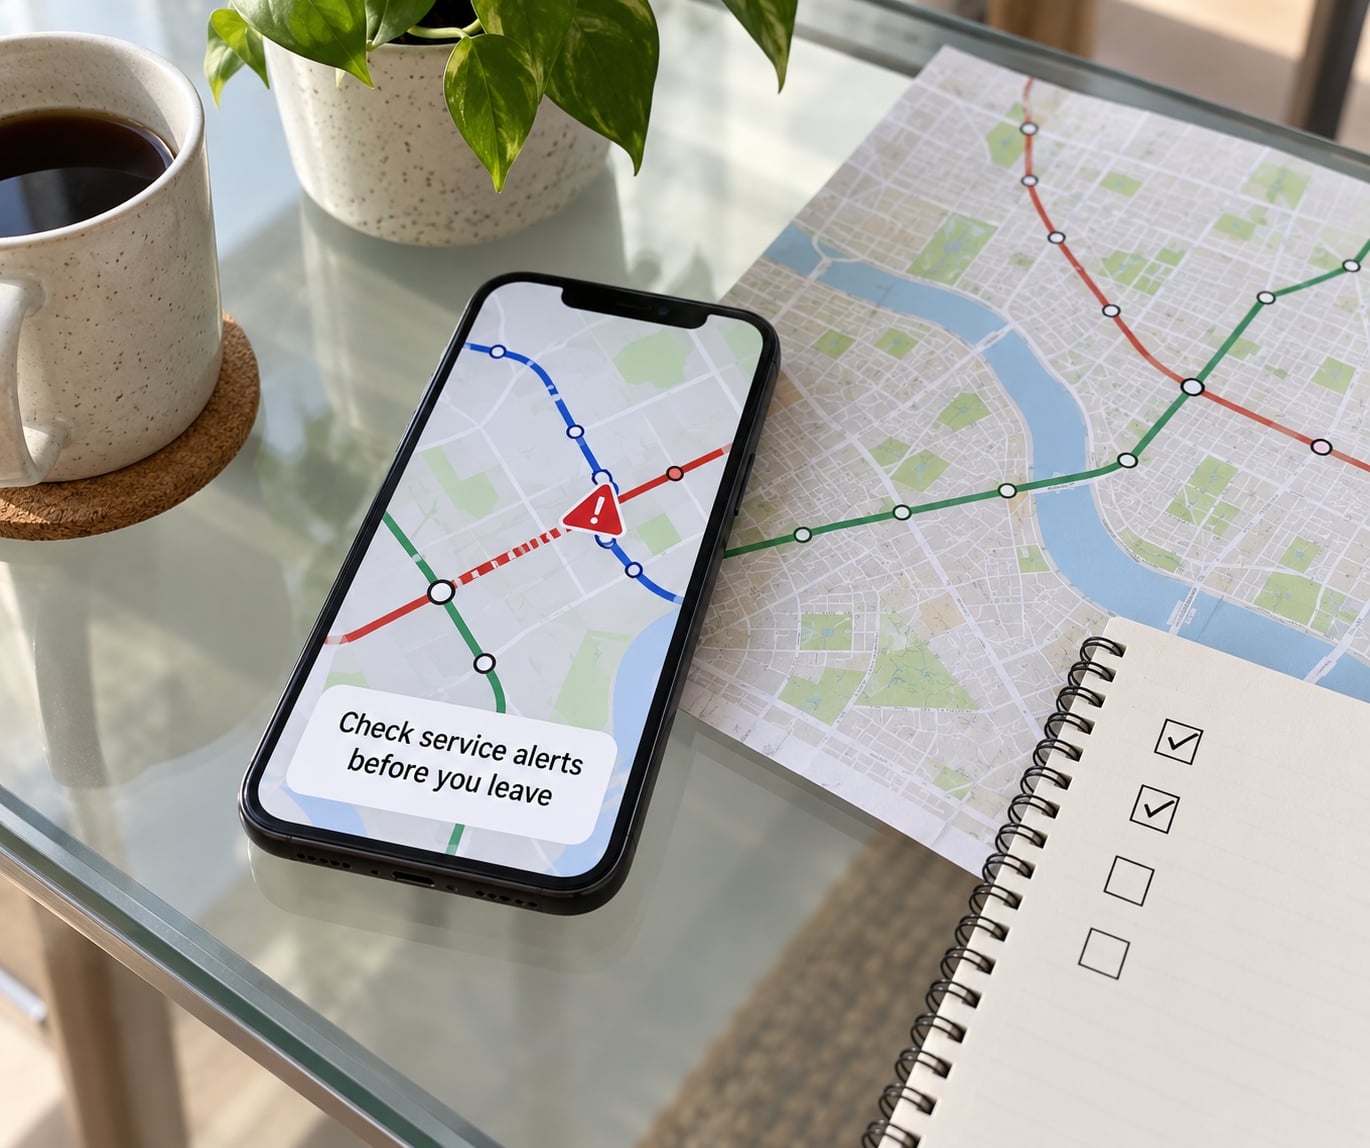
Check the alert feed and the route detail screen before you pick up your bag, not at the platform. Service alerts cover delays, cancellations, planned construction, missed connections, elevator and escalator outages, and last-service-of-the-night notices.
Look at three places: the alert icon on the line or stop page, the alert banner on the trip detail screen, and the operator’s own channel if the app is quiet. A planner can only show you what the agency publishes, so an empty alert list is not proof that service is normal.
Know when to come back to the app. Recheck the night before, again an hour before you leave, and once more when you arrive at the stop if the journey involves a tight connection. Riders on r/transit describe the same failure repeatedly: the predicted time looks confident and turns out to be wrong, with no explanation of where the number came from.
How you can tell it worked: you can name the one thing most likely to break your journey and what you will do about it. A route with no known risk is a route you can stop thinking about.
Set an arrival reminder and allow a buffer
Set a reminder with real slack in it, because the app’s arrival time is an estimate rather than a promise. Give yourself a buffer that covers walking to the stop, the walk through a station, a slow lift, and a short wait at the far end.
Practical numbers: add ten minutes to a one-transfer trip, fifteen if you are carrying luggage, and twenty if the walk involves an unfamiliar interchange or a long street crossing. On a service running every ten minutes, one extra minute of planning changes nothing. On a night bus that runs every forty, missing it by three minutes changes your whole evening.
Most apps let you set a departure alert, an arrival alert, and often a get-off alert that fires a few stops before yours. The get-off alert is worth switching on in an unfamiliar city, because stop names sound different when you are tired.
How you can tell it worked: your buffer is written down somewhere, and the app is on silent except for your route alerts, so a delay notification is not buried under notification noise.
Common Mistakes
Nearly every complaint about transit apps traces back to one of six mistakes. The first three are input errors, and the last three are expectation errors about where the numbers come from.
Mixing up departure and arrival times. One field means when you leave, the other means when you arrive, and the swap-arrow button between them is easy to hit. The fix is to read the label, not the position, and to confirm your deadline is on the right side of the screen.
Picking the wrong station or stop. Cities with two stations named Central, or a stop that exists in both directions, will happily plan you to the wrong one. Check the walking line on the map and the direction the service is heading before you walk.
Ignoring walking time. The first and last ten minutes are the parts riders skip, and they are the parts where plans fall apart. Add up the walking segments the same way you read the train time, and check the exit the transfer uses.
Treating a scheduled time as a live one. When an agency publishes a timetable but no vehicle positions, the app estimates arrivals by counting backwards from the schedule. That number can be several minutes out in either direction, and it is not evidence that a bus is broken. This is why accuracy varies city by city: dense metro systems with modern fleets publish live positions, while older regional and rural networks often publish only a schedule.
Trusting a stale screen. Pull-to-refresh matters. A board left open since you sat down can show a cancelled run for the next twenty minutes, and the fix is a refresh rather than a new search.
Leaving without saving anything. A trip that only exists inside the app disappears the moment your battery does. Pin the lines, save the stop, screenshot the transfer, and you turn a lost phone into a minor annoyance.
One more worth naming, because it is the most common reason people give up: a single badly wrong prediction. Riders describe losing trust in an entire app after missing one bus. The rational response is to treat arrivals as a range rather than a timestamp, and to keep a paper or screenshot fallback for the one leg you cannot afford to miss.
Frequently Asked Questions
Can I use a transit app without mobile data?
Partly. Route planning, pinned lines and timetables keep working if you downloaded or viewed the region beforehand, but live arrival predictions, service alerts, GO guidance and re-planning all need a connection. Treat a saved itinerary as your floor rather than a guarantee, and screenshot the boarding stop, the line direction and the transfer point before you lose signal.
How accurate are transit app arrival times?
It depends on the city and the feed behind it. Predictions come from a mix of published timetables, vehicle GPS positions and crowdsourced phone locations, so accuracy tracks the quality of local data. Dense metro networks with modern fleets are usually close. Regional and rural systems that publish only a schedule drift more. Treat any arrival time as a best estimate, not a promise.
Do transit apps show tickets and fares?
Fares, usually. Most planners show the fare for each leg and whether you need to tap in, tap out, or both, which is the detail that catches out visitors. Buying a ticket inside the app is limited to cities that have integrated a payment partner, and it usually requires an account and a card on file. Elsewhere, buy at a machine or from the driver.
What should I do if I miss a connection?
Do not panic, and re-run the search from where you actually are. Re-planning mid-journey is the one thing these apps do well, and the rerouted option is usually more reliable than the tight connection you missed. If nothing workable appears, walk to the staffed booth or ask the driver, who often knows the next departure before the app does.
Can a transit app help with a day trip or road trip?
For a day trip, yes. It is the easiest way to chain a train, a metro line and a walk without learning three timetables. For a road trip or a route with many stops, a transit app is the wrong tool, because its job is one origin, one destination, fastest route. Use a multi-stop itinerary planner for the route itself and a transit app for the city legs you land in.
Conclusion
Start with one search. Enter your starting point and destination in the app that covers the city best, and before you read anything else, confirm the city, the date and the starting point are right.
Then compare the results on three numbers: total time, transfers and walking minutes. Open the route you prefer and check the departure time, the transfer buffer and the alert feed, because a live number from a real vehicle feed behaves very differently from an estimate built off a printed timetable.
Finally, save the trip, pin the stop, switch on the get-off alert and put a buffer on your deadline before you leave the house. That last thirty seconds of setup is what turns a missed bus into a short wait.
Last reviewed: 2026