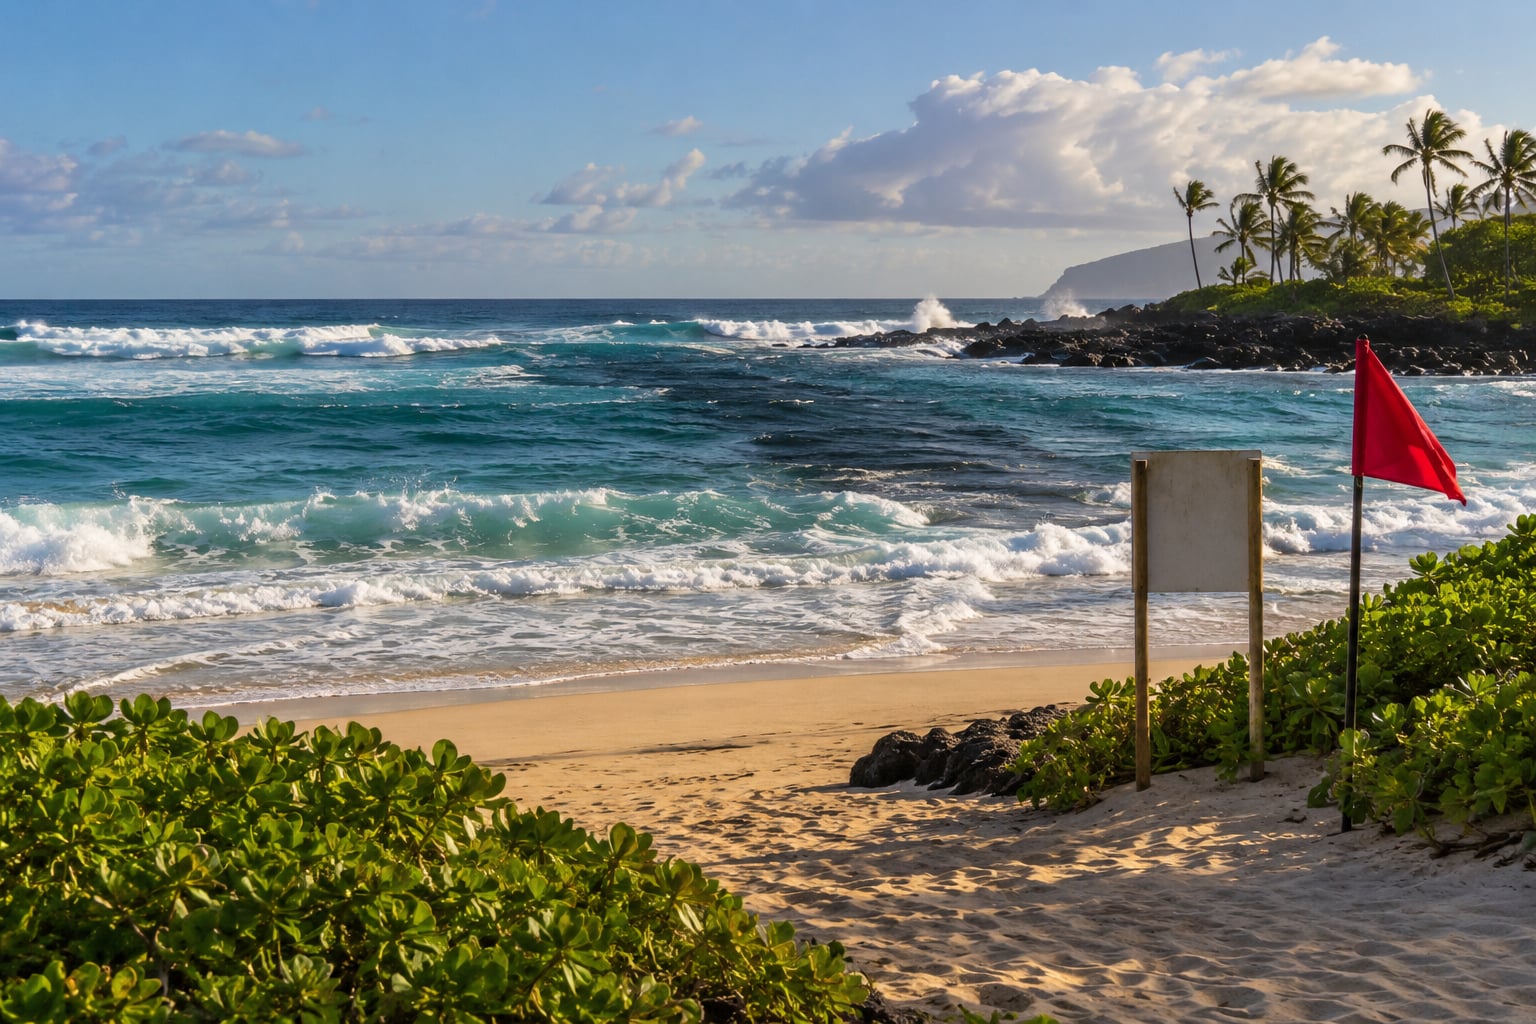
Hawaii beach safety for strong currents comes down to one habit: stop at the water’s edge, watch for at least 15 minutes, and check what the signs and the surf are telling you before you go in. A rip current is a narrow, fast-moving channel of water that flows away from shore through the surf zone, and it does not pull you under. It carries you out.
That single idea changes how you read everything else. Plenty of visitors treat calm water as safe water, then get moved by a current they never saw forming. Conditions on Hawaiian beaches shift by the hour, and a beach that was mellow at breakfast can be throwing 6-foot sets by midmorning.
This guide covers how to spot a current before you enter, how to read the posted warnings, what to do if you are caught, and how to help someone else without making things worse. Updated for 2026, and grounded in guidance from Hawaii’s state ocean safety program, NOAA, and county lifeguard services.
Table of Contents
- What Are Strong Currents and Why Do They Matter?
- Rip currents
- Shore break
- Longshore drift
- Wave sets and the undertow myth
- Hawaii Beach Safety for Strong Currents: What to Look For
- How Do You Read Hawaii Beach Warning Flags and Signs?
- How Do You Check Conditions Before Going in the Water?
- Watch the water for at least 15 minutes
- Read the surf forecast and the advisory
- Ask an authority, not another swimmer
- Pick your entry and your exit
- Match conditions to your actual ability
- Where Is Swimming Safer on Hawaii Beaches?
- How Strong Currents Change Across the Hawaiian Islands
- What Should You Do If You Are Caught in a Rip Current?
- How Can You Help Another Swimmer in Strong Currents?
- What Protection and Emergency Kit Should Visitors Carry?
- Frequently Asked Questions
- Are lifeguarded Hawaii beaches safe from strong currents?
- Can strong currents occur at a beach with no warning flag?
- Is it safe to swim in Hawaii if I am a weak swimmer?
- Should I enter the water to save someone caught in a rip current?
- What should I do after getting caught in a strong current?
- Conclusion: Check Conditions Before Every Swim
What Are Strong Currents and Why Do They Matter?
Strong currents in Hawaii come in a few forms, and only one of them is the dangerous one people usually picture.
Rip currents
A rip current forms where waves push water toward shore and the returning water finds a gap in the reef, a sandbar, or a break in the shoreline. All that water funnels through the gap and shoots seaward as a fast, narrow channel. Locals will tell you the flow in one of these channels is strong enough to move a large animal, so imagine what it does to a person. A rip does not drag you under. It drags you out, away from shore, and keeps doing it while you swim against it.
Shore break
The shore break is the zone where waves collapse right at the beach. On a reef-fringed shoreline it can drop onto shallow rock instead of sand, which is why depth is no protection. People drown in calf-deep water for exactly this reason: a wave knocks a standing person down, and the water carries them somewhere deeper.
Longshore drift
Waves arriving at an angle push water along the beach rather than straight in. This sideways flow is gentler than a rip, but it can slide you a good distance from your entry point and drop you into a part of the beach you never assessed.
Wave sets and the undertow myth
Waves rarely arrive one at a time. They come in groups with long lulls between them, which is why a beach can look completely unremarkable for ten or twenty minutes and then produce a set that takes people off their feet. The word undertow gets used for this, and it is misleading. There is a return flow under breaking waves, but the thing that sweeps people away from shore is the surface channel described above. Knowing the difference matters because the two call for different responses.
Hawaii Beach Safety for Strong Currents: What to Look For
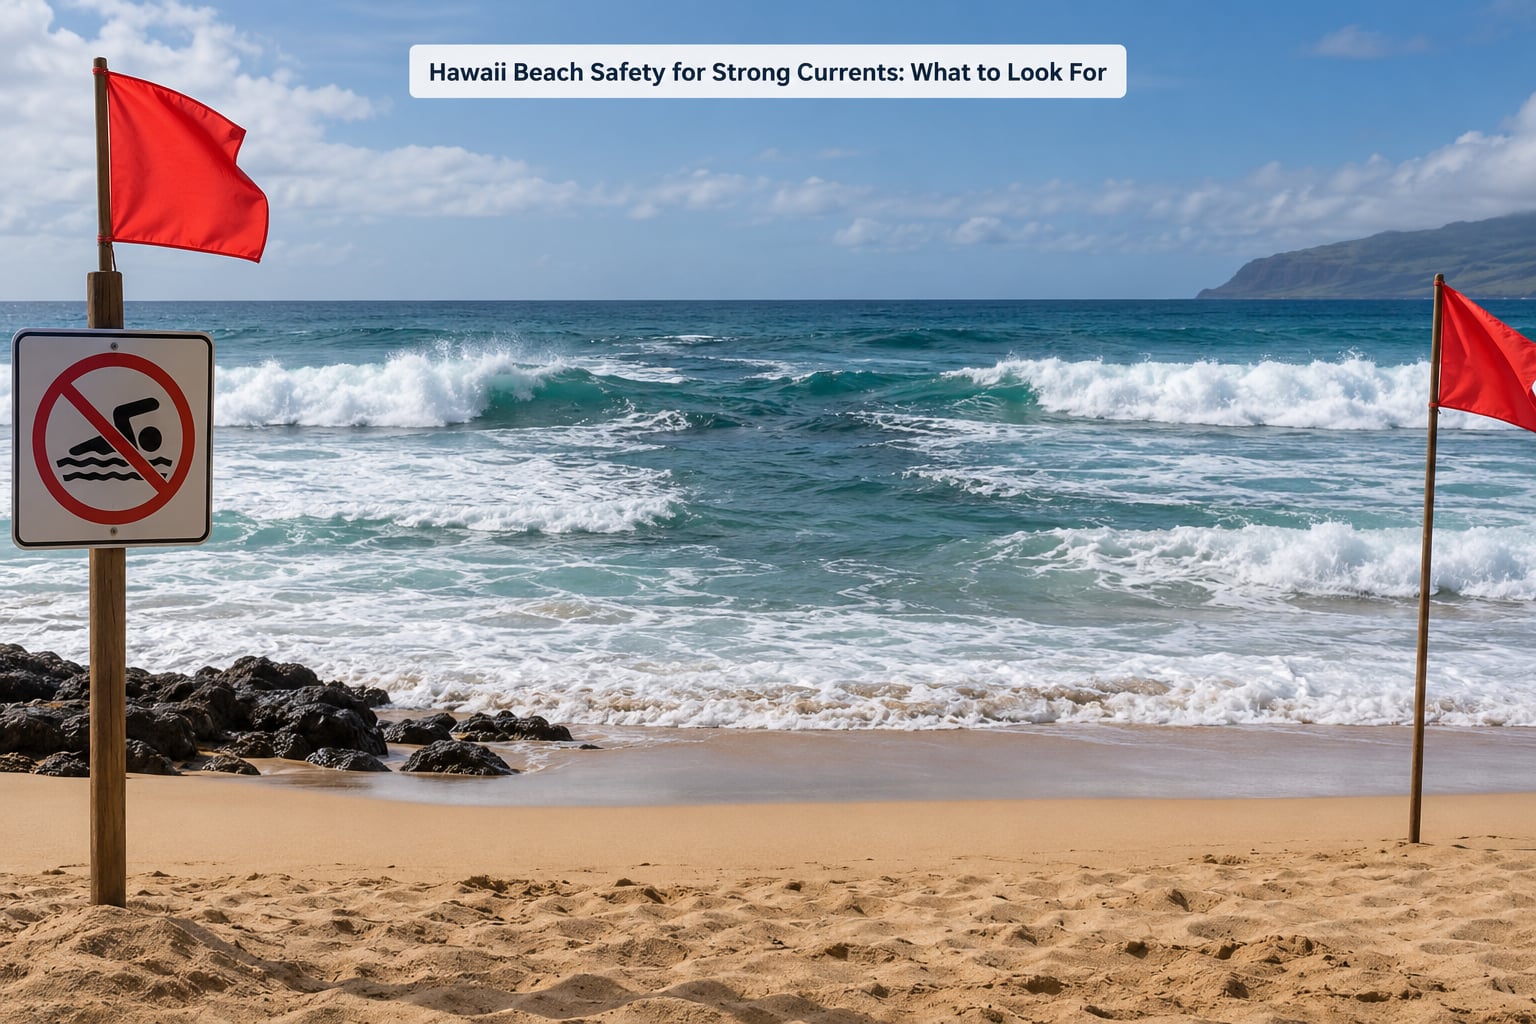
You can usually see a rip current before you enter the water. It looks like a patch of the ocean behaving differently from the ocean around it. Here is what to watch for.
- A seam of smoother, darker or murkier water cutting through the breaking waves, often with foam or a line of debris moving steadily away from shore.
- Uneven breaking. Waves that break cleanly on one side and then collapse weakly or not at all a short distance along, because the water is returning through a channel instead of rolling in.
- Floating objects moving away from you. Foam, seaweed, a bottle or a board drifting steadily offshore is one of the most reliable tells there is.
- A sudden drop or trench. If you are wading and the bottom drops away faster than you expected, stop. Standing water that suddenly becomes waist-deep is not a safe place to be.
- Visible channels between reef or rock. Gaps in the reef, passes near piers and jetties, and cuts in the shoreline all funnel water.
- Conditions that look different from the beach next door. A channel ten metres to one side of you changes the risk of the whole area, not just that patch.
- Posted warnings or flags already up. If something is posted, the answer is already written for you.
Turbulent, choppy water where the rest of the surf is smooth is another one. So is a wave pattern that keeps changing on a short cycle, because that usually means sets are running through the break rather than a steady, readable surf.
How Do You Read Hawaii Beach Warning Flags and Signs?
Warning placards at Hawaii beaches use a small standard set of symbols. The meaning is the same whether you read it on a sign, in a county brochure, or on a lifeguard tower.
| Warning | What it means | What to do |
|---|---|---|
| High Surf | Large breaking waves and a powerful shore break, including on the reef. | Stay out of the water, especially if you cannot handle a wave to the chest. |
| Strong Current | Conditions are pushing water hard through the surf zone. | Do not enter unless you are a confident ocean swimmer. |
| Sudden Drop Off | The seafloor falls away sharply, often over sand. | Wade carefully or do not enter. |
| Sharp Coral | Rock and coral surfaces that cut rather than cushion. | Wear water shoes, stay clear of the edge. |
| Waves Breaking on Ledge | Waves hit a ledge or shallow rock with little water above it. | Keep a large distance from the ledge or shoreline rock. |
Flags follow a simpler logic: red for conditions where you should stay out, yellow for caution where a warning sign should be up, green for calmer water, and purple or magenta for marine hazards such as jellyfish or sharks. A purple flag can sit at a beach whose surf is completely benign.
Two things outrank every sign. Instructions from a lifeguard outrank a flag, and an area that has been closed or posted as closed stays closed no matter how good it looks this afternoon. The absence of a warning is not a clearance. Plenty of Hawaii’s popular swimming beaches are not lifeguarded at all, so an unflagged beach may simply be unmonitored, not safe.
How Do You Check Conditions Before Going in the Water?
Do this in the same order every time, and it takes about 20 minutes.
Watch the water for at least 15 minutes
Sit or stand on the sand and watch a full set cycle, including a lull. Locals insist on this because rip currents can open and close inside twenty minutes, and because the calm patch you walked past may be the break between sets. If you only watched from the parking lot, you did not watch long enough.
Read the surf forecast and the advisory
Looking at the ocean tells you about right now. It does not tell you about the swell arriving from a storm thousands of miles away. Swells cross the North Pacific and can arrive on a bright sunny morning after a calm start, which is why regulars check the forecast the way surfers do. A high surf advisory or a beach hazard statement from the National Weather Service is the signal to skip the swim entirely.
Ask an authority, not another swimmer
Ask a lifeguard. They are on the beach, they can see the whole picture including what is offshore, and their answer accounts for this hour’s conditions rather than a memory from last year. Another beachgoer’s read is worth less than you might hope, because they may not have been watching the sets either.
Pick your entry and your exit
Decide before you go in where you will come out. If it is a lifeguarded beach, stay within sight of the tower, which is a real and enforced boundary. Avoid walking out onto shoreline rock at all; wave sets arrive there without any warning, and being swept off a ledge is the near-miss visitors describe most often.
Match conditions to your actual ability
Swimming well in a pool or a lake is not the same skill as handling a shore break. Be honest about whether you can float on your back in moving water, hold your head above a wave, and swim back from where you went in. If the answer to any of that is uncertain, watch rather than swim.
Swim with a buddy, during daylight hours, and be out of the water before lifeguards leave. Those four rules are on almost every official Hawaii ocean safety page, and they exist because most rescues happen when one of them is broken.
Where Is Swimming Safer on Hawaii Beaches?
Safer on any given day, not safer in general. That distinction matters, because the honest answer locals give is that no beach is reliably safe and conditions change hourly.
Sheltered coastlines behave differently from exposed ones. A bay wrapped by reef or headland breaks swell earlier and often holds calmer water near shore, but the same geometry creates powerful flow through the passes and cuts that feed the bay. An exposed shoreline with steady open swell can produce a clean, predictable shore break, or a very uneven one, depending on the reef underneath.
Harbours and inlets deserve their own warning. Channel markers, jetties and piers interrupt the normal flow, and water funnelling past a fixed obstacle can run faster than open-water conditions suggest. Reef passes and reef edges concentrate flow for the same reason. Look at the whole beach before you look at your patch of it.
How Strong Currents Change Across the Hawaiian Islands
Each island has its own coastline shape and its own exposure, and the pattern follows the seasons rather than a permanent ranking.
Winter brings large North Pacific swells that hit north and west shores hardest, including the Oʻahu and Kauaʻi north shores. Summer south shores, such as parts of Hawaiʻi Island and the Big Island’s Kona coast, pick up the southern swell instead. Trade winds push surf onto eastern and southeastern shores through the summer months. So the same beach can flip from mellow in August to serious in January.
Local forecasts and posted advisories beat any general description, including this one. Anyone who tells you a specific beach is safe year-round is describing their memory of one afternoon, not the conditions in front of you.
What Should You Do If You Are Caught in a Rip Current?
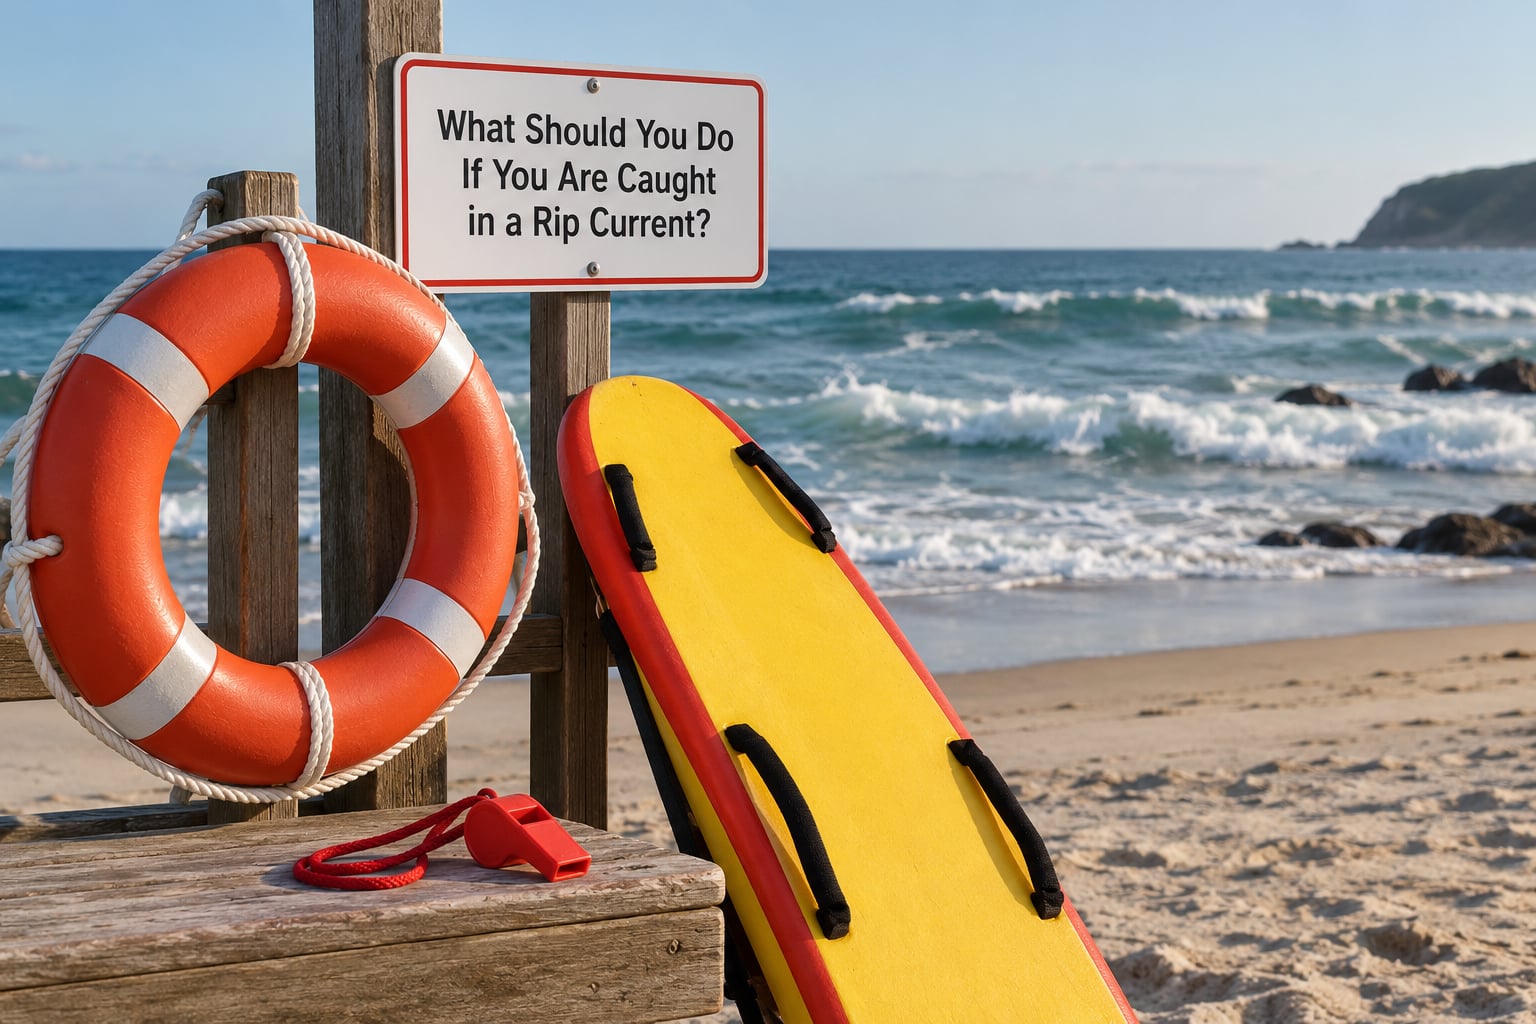
Stay calm, stop fighting it, and work through this in order. Panicked swimmers exhaust themselves, and exhaustion is what turns a recoverable situation into a rescue.
- Do not swim against the current. Trying to power straight back to shore is the single most common mistake. You will lose, and you will lose the ability to do anything else.
- Float and conserve energy. Treading water or lying on your back costs far less than swimming. Breathe slowly and deliberately.
- Signal for help. Raise one arm straight up and wave it. It is the internationally recognised distress signal in surf zones, and it is visible much further than shouting.
- Swim parallel to the shoreline until you are out of the flow. Currents are narrow; even a modest distance sideways takes you to ordinary breaking water.
- Angle back toward shore once you feel the pull ease, and use an incoming wave to help you in. If you cannot get out of the channel on your own, float and keep waving.
Step two comes first on purpose. If you float and let the current carry you, many rips will eventually cycle water back toward shore or deposit you where a lifeguard or a bystander on rocks can see you. Floating and signalling costs almost no energy and gives you time. Swimming parallel only helps if you are a strong enough swimmer to do it while tired.
If you are on a shoreline ledge rather than in a channel, the advice is simpler: face the ocean, never turn your back on it, and move backwards out of the water along the rock. Do not try to dive under a wave; that is how people get hit twice and pinned.
How Can You Help Another Swimmer in Strong Currents?
Reaching-rescue incidents are among the most dangerous situations a bystander can enter, and most people who drown in surf are attempting a rescue. Your job is to bring help, not to add a second victim.
Work in this order: alert the nearest lifeguard immediately and give them the person’s position and the entry point, then call emergency services if there is no lifeguard nearby or the situation is clearly urgent. If you can reach someone from a secure position on shore, do that. Throwing a flotation object, a board, a ball, or even a closed umbrella is more useful than wading in. Reaching for an arm from flat rock or the dry end of the beach can work.
What not to do is walk into moving water to go get someone. Clear an obstacle out of the way first so your reach works properly, and if you find yourself in the surf at all, stay in water shallow enough that you can still stand, never tie yourself to anything, and never turn your back on an incoming set.
What Protection and Emergency Kit Should Visitors Carry?
None of this makes hazardous water safe, but each item removes a way a good day turns into a bad one.
- Water shoes suited to the entry surface for cut lava rock, sharp coral, and shells. They matter on shoreline rock, not in deep water.
- A personal flotation device where it makes sense, worn properly rather than carried unused. It helps a weak swimmer stay at the surface; it does not defeat a rip current.
- Waterproof phone protection, and identification left somewhere safe rather than in a bag that ends up in the ocean with you.
- Drinking water and sun protection that does not run into your eyes, since fatigue and heat make people worse at reading the water.
- A whistle and a small first-aid kit. A whistle carries further than your voice across surf.
Skip the equipment and stay out entirely if conditions are beyond you. No gear substitutes for good judgement about the day.
Frequently Asked Questions
Are lifeguarded Hawaii beaches safe from strong currents?
Not automatically. Lifeguarded beaches are the safer choice because someone trained is watching the water, but currents still occur and lifeguards only cover a defined zone. Most Hawaii rescues happen when visitors swim outside the flags, or when conditions build between breaks in the watch. Treat the tower as a boundary rather than a guarantee.
Can strong currents occur at a beach with no warning flag?
Yes. Flags are posted when conditions exceed a threshold and when staff are present to maintain them. Plenty of popular Hawaii beaches have no lifeguards and no flags at all, and a channel can open at an unflagged beach after a shift in swell or tide. Check the surf forecast, watch the water for 15 minutes, and ask a lifeguard before you enter.
Is it safe to swim in Hawaii if I am a weak swimmer?
Only in conditions you can handle, and only at a lifeguarded beach inside the flags. Swimming in a pool does not prepare you for a shore break. If you cannot float on your back in moving water, or cannot swim back from where you went in, wade shallow instead of swimming, stay within arm’s reach of shore, and stay close to your entry point. Many lifeguarded beaches have a shallow protected area built for exactly this.
Should I enter the water to save someone caught in a rip current?
Usually not. Reaching rescues are extremely dangerous, and a large share of surf drownings involve people attempting one. Alert the nearest lifeguard and give them the person’s position and entry point, call emergency services if no lifeguard is close, and throw or reach from a secure position on shore. Going into surf you cannot handle usually produces two victims instead of one.
What should I do after getting caught in a strong current?
Get out of the water, then take care of yourself. Rinse any reef or rock cuts with fresh water and watch for signs of infection over the next few days. Drink water and rest, because exhaustion and mild saltwater nausea are common. Tell someone what happened, especially if you are travelling alone or still planning to swim the next day. If you were pulled out by a lifeguard or bystander, follow their advice before returning to the water.
Conclusion: Check Conditions Before Every Swim
Stand at the shoreline, watch a full set, and check the current warnings and surf forecast before you decide anything. Confirm your exit route, keep it near a lifeguard tower, and stay out when conditions are uncertain or beyond what you can handle. That pause takes 15 minutes and prevents almost every problem described above.