How to tell your bank you are traveling takes about two minutes: sign in to your banking app, open the card or account controls, and add a travel notice with your destination countries and your departure and return dates. Most US card issuers no longer insist on a notice, but setting one is cheap insurance against a card being declined or frozen the moment you land.
I have set these up before the airport run and skipped them other times. The times I skipped it, nothing happened. The times I set it, also nothing happened. That is the whole point. You are buying the absence of a bad afternoon at a foreign counter.
Below is the process in order: what to gather first, how to tell your bank you are traveling through each channel, how to confirm it actually worked, and what to do when a card gets blocked anyway.
Table of Contents
- What You Need Before You Contact Your Bank
- How to Tell Your Bank You Are Traveling: Step by Step
- 1. Check your bank’s travel-notice policy first
- 2. Prepare the trip details your bank needs
- 3. Use an official channel to tell your bank you are traveling
- 4. Confirm the travel notice was recorded
- 5. Prepare for calls, alerts, and unexpected blocks
- 6. Check the notice after you return
- Common mistakes to avoid
- Frequently Asked Questions
- Do I need to tell my bank before every trip?
- How far in advance should I notify my bank?
- Does a travel notice stop foreign transaction fees?
- What information should I give my bank when traveling?
- What should I do if my card is declined abroad?
What You Need Before You Contact Your Bank
You need five things, and most people already have them on a phone. First, the exact issuer you are contacting: the bank or credit union that issued the card, not the bank that holds your checking account. Those are often two different companies with two different phone numbers and two different apps.
Second, your itinerary: departure date, return date, and every country you will touch. Multi-stop trips trip people up, because the notice has to cover the whole window, not just the first leg. Add a country late in the trip and you may need to update the notice while you are standing in a train station.
Third, the official channel. That means the number printed on the back of your card, the app you downloaded from the official store, or the website you reach by typing the address yourself. Never a number that arrived by text or email.
Fourth, your card or account identifiers: last four digits, cardholder name, the account the card is on. And fifth, a way to receive confirmation, which means knowing how your bank sends receipts for secure messages.
One caveat worth stating clearly: policies, accepted notice channels, and traveler-protection rules differ between banks, between card products, and between countries. Some issuers removed travel notices entirely, some keep them for certain card types, and a few regional banks still treat them as mandatory. Read your issuer’s current terms rather than assuming another bank’s process applies to yours.
How to Tell Your Bank You Are Traveling: Step by Step
1. Check your bank’s travel-notice policy first
Look before you tap. Open the app and search the help section for travel, travel notice, or travel alert, or check the card terms page on the website. You are looking for two separate things: whether your issuer still accepts a notice, and which channel they accept it through.
Keep those two apart in your head. A travel notice is a fraud-control flag that tells the bank’s systems to expect activity from a new country. It is not a promise that your card will be approved, and it is not a waiver of anything. If a card issuer’s help page says notices are no longer needed, set one anyway if the option still exists, then move on.
2. Prepare the trip details your bank needs
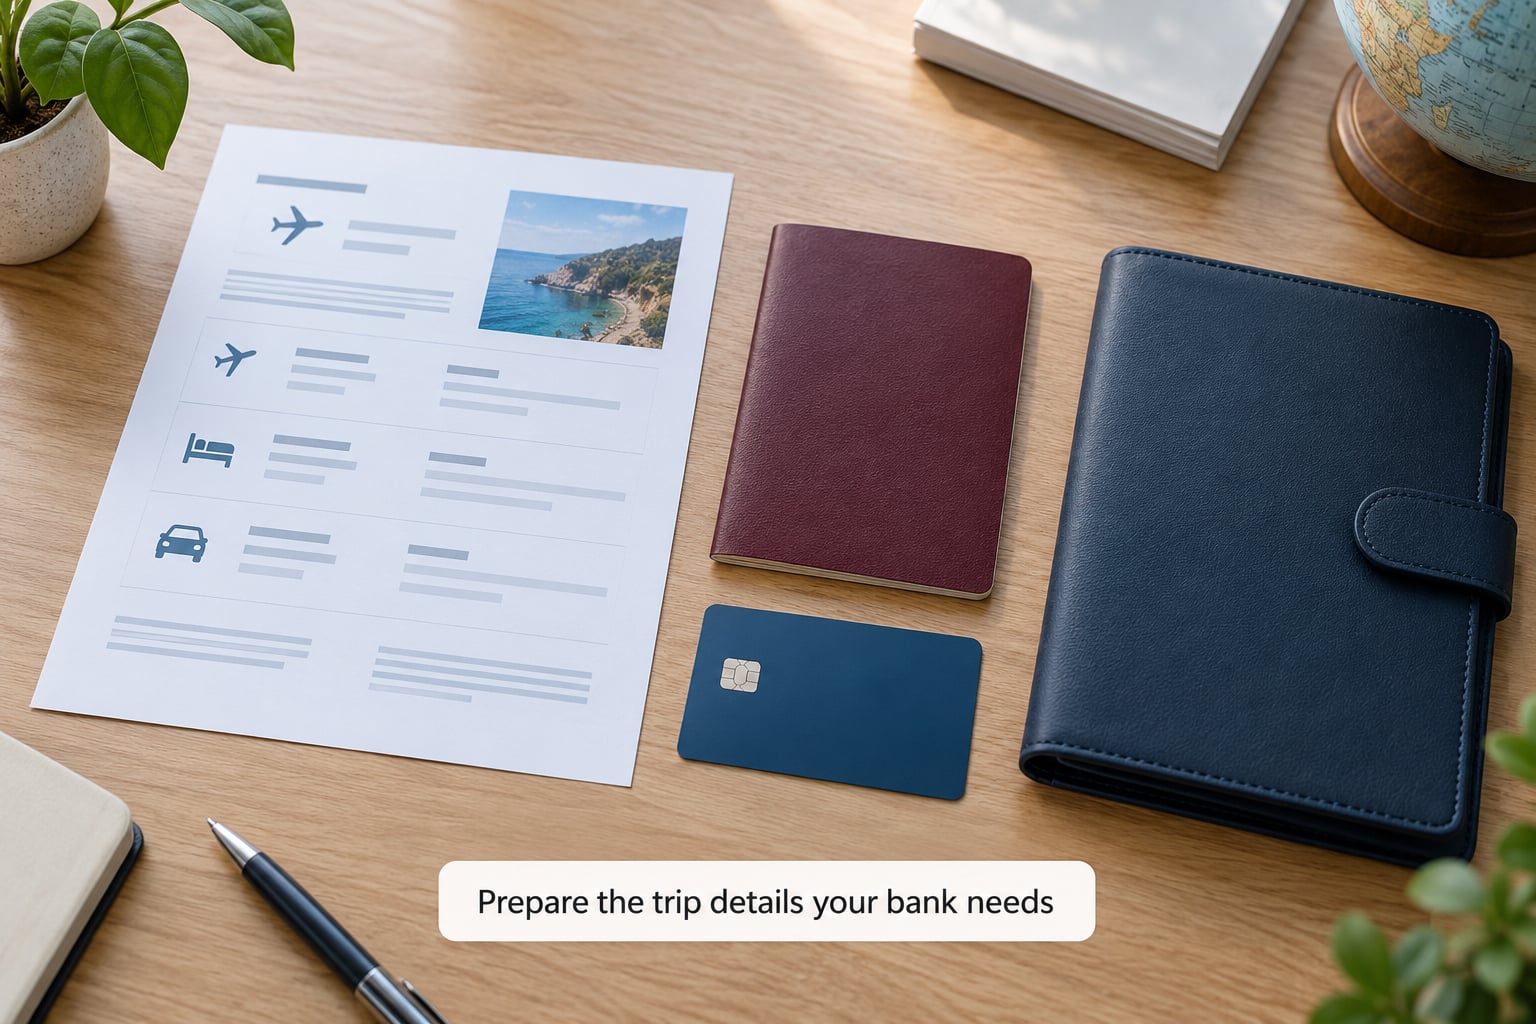
Write the details down before you open the app. Most forms ask for a start date, an end date, and destinations as a country list. Domestic trips often only need a state. Some screens ask which countries you expect to make transactions from, which is not the same as where the plane lands, and a layover in a country you never planned to spend money in can still trip the system.
Never send a password, PIN, or one-time code to anyone who asks, no matter how official the request looks. No bank needs your PIN to add a travel notice, and no bank will call to ask you to read back a code that arrived by text. If a message asks for your full card number, skip it and open the app yourself.
It also helps to set up two things while you are writing the dates: real-time alerts to the phone number you will actually have with you, and a note of the international customer service number on the back of the card. Forum threads on r/travel repeat one warning over and over: travelers who froze their own card abroad then could not log back in, because the one-time passcode went to a number back home.
3. Use an official channel to tell your bank you are traveling
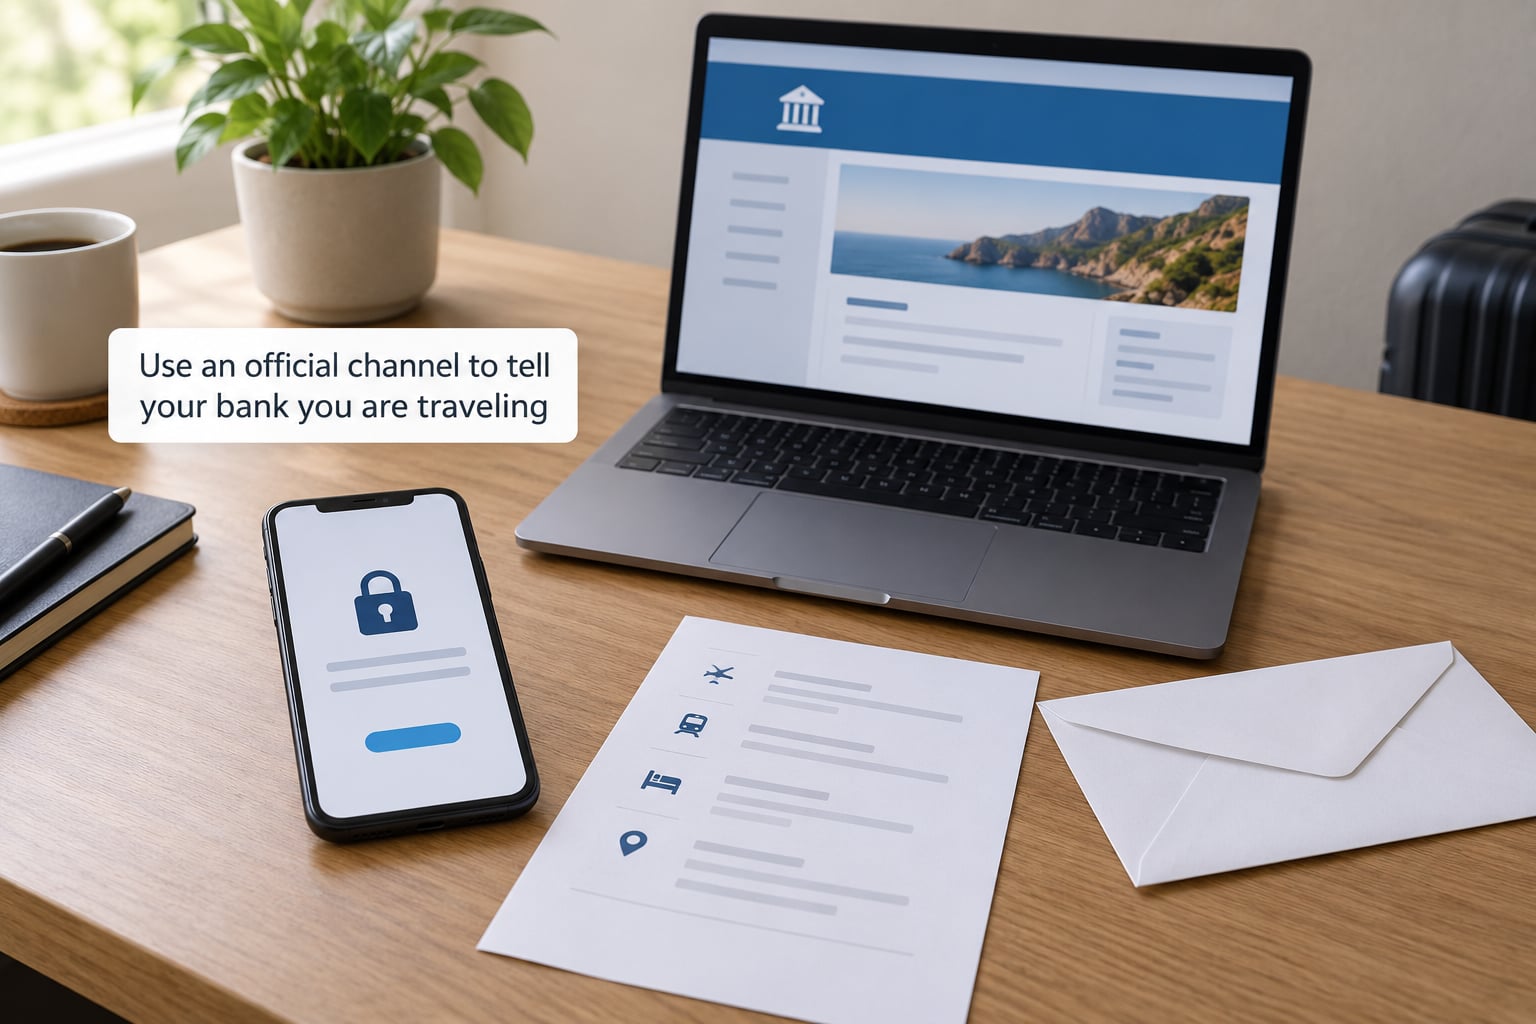
Ranked from safest to last resort: the bank’s own mobile app, a secure message through online banking, the bank’s website reached by typing the address yourself, a branch, and the number printed on the back of the card. In practice the app is fastest and most banks keep the setting buried somewhere unhelpfully named, along the lines of card controls, card services, security settings, or account services. Labels change between app versions, so if the old screenshot does not match, search the app’s own help text for the word travel rather than following an old tutorial.
Reach the app or website independently. That means opening it from your phone’s home screen or typing the web address, not following a search ad that looks official and not tapping a link in a text that says your account is limited.
A notification that works reads like this: “I am traveling from March 3 to March 21. Destinations: Japan and South Korea. Please add a travel notice to card ending 4417 and checking account ending 8802. I will have +1 country code reach me at [number] while abroad.” Swap in your own dates and countries, and keep it short. The people reading these messages process dozens a day.
If you call instead, expect to be asked for your card number or last four, the type of card, the countries, and the dates. Being on hold is common, so start before your flight day rather than the morning of.
4. Confirm the travel notice was recorded
A submitted request is not a completed one. Look for a confirmation number in the app, a status change on the message you sent, an entry under your card’s travel plans, or an app push notification. If you phoned, repeat the country list and date range back to the agent and ask for a reference number, then note it with your itinerary.
If your bank offers no visible travel plan entry, that is worth a second question when you next have them on the phone. Ask them to confirm what they did and how long it stays on the record. Answers that stay in your head vanish at the worst possible moment.
5. Prepare for calls, alerts, and unexpected blocks
Even with a notice, cards get declined. A card can be blocked by a fraud check, by a fraud lock after a mistaken hotel swipe, by a chargeback dispute, or by an ATM that runs your balance low at the wrong moment. A declined card also does not damage your credit, which surprises people.
Know your PIN for every card you take, including any chip-and-pin setting, and use it at bank-owned ATMs rather than standalone machines in a market or a bar. Check your account from the app daily instead of logging into online banking over hotel or airport Wi-Fi. Carry a second card from a different network, kept in a separate place from the first, because a single-card trip has a single point of failure.
Alerts help you answer a verification call quickly, and they help you catch a fraudulent charge early. Neither one prevents every decline, so treat them as speed, not certainty.
6. Check the notice after you return
When you are home, look at whether the travel plan is still sitting on the account and remove it if the bank lets you. Unneeded notices can trigger odd questions months later, especially when a merchant abroad that you no longer recognize appears on a statement.
Review your transactions and alerts from the whole trip for anything unfamiliar, and report it through the app rather than the number in an email. If your plans shift mid-trip, update the notice rather than adding a second one, which some systems read as two overlapping travel windows.
Common mistakes to avoid
Waiting until departure night turns a two-minute task into a phone queue. Using a link in an urgent-sounding message is the oldest trick there is, and genuine bank notices never ask you to click through to “verify.”
Telling one bank and traveling with another issuer’s card is the mistake I see most often, especially with a debit card from one bank and a credit card from another. Saying only that you are going overseas, with no dates or countries, leaves the notice useless, because a vague window does not tell a fraud system what to expect.
Assuming the notice removes foreign transaction fees is a separate misconception. It does not. A notice is about fraud screening, not pricing. Your fees come from your card’s terms.
Finally, do your real banking on your own mobile data rather than public Wi-Fi, and confirm before you leave that your alerts are going to a number you will have in your pocket. Five minutes of setup before the trip costs less than a single replacement card fee does.
Frequently Asked Questions
Do I need to tell my bank before every trip?
Not always. Most major US card issuers removed the requirement years ago, because fraud systems can now recognize travel patterns on their own. Still, setting a notice takes a couple of minutes and protects you on the issuers and card products that keep one. Check your issuer’s current policy rather than trusting general advice, since policies change and vary by card type.
How far in advance should I notify my bank?
A few days is enough, and a week or two is better. The only reason to go earlier is a mailed or branch-based notice, which adds days. Do not wait until the morning of departure, when you may be queuing on a phone line before a flight. If your plans change while abroad, update the existing notice rather than adding a second one.
Does a travel notice stop foreign transaction fees?
No. A travel notice is a fraud-screening flag that tells your bank to expect activity from new countries. Foreign transaction fees, and any fee your bank charges for using an ATM abroad, come from your card’s terms and are unaffected by a notice. If those fees matter to your budget, the answer is a card product that does not charge them, not a phone call to your issuer.
What information should I give my bank when traveling?
Expect to give departure and return dates, every country you will visit, and which cards or accounts the notice covers. Some agents also ask how you will be reachable while abroad. Have your card or account identifiers ready. Never share a password, PIN, or one-time passcode with anyone, including someone claiming to be from the bank, since no legitimate bank needs them.
What should I do if my card is declined abroad?
Call the number on the back of the card, not a number from a text or email, and ask whether the card was blocked by a fraud check. You can usually unfreeze it in the app or have the agent remove the block once they verify you. If it stays blocked, ask about emergency replacement and use your backup card. A decline or fraud lock on its own does not affect your credit.
Start tonight, not the night before. Open your banking app, find the travel notice or travel plan setting, and enter your dates and every country you will touch. Then check your alerts, confirm your card details are in a photo you will actually have offline, and pack the second card. If you are told how to tell your bank you are traveling by someone who works at a bank, and it differs from what you read here, trust the bank, since policies move and my page is not going to update itself.