Most blisters on a trip come from one thing: friction that repeats. Shoes rub, socks stay damp, skin slides against skin thousands of times a day, and a hot spot turns into a fluid pocket by lunchtime. Knowing how to prevent and treat blisters while traveling is less about gear than about catching the warning sign early, treating what forms with clean hands and a barrier, and knowing the point where a blister needs a pharmacist or a doctor instead of a Band-Aid.
Here is the order I would work in: get the footwear right weeks ahead, pack a small blister kit, stop the first time you feel warmth, cover an intact blister rather than peeling it, and get medical advice the moment the redness spreads or fever shows up. That whole sequence takes about 15 minutes a day and it is what keeps a walking trip on track.
Table of Contents
- What You Need
- The blister kit, in one small pouch
- Step-by-Step: How to Prevent and Treat Blisters While Traveling
- Prepare Your Feet and Footwear Before the Trip
- Catch a Hot Spot Early and Stop the Blister Forming
- Clean and Cover a Formed Blister
- Drain a Large or Painful Blister Safely
- Keep Walking Without Making It Worse
- Watch for Warning Signs and Seek Help
- Common Mistakes
- A few habits that pay off on any trip
- Frequently Asked Questions
- Should you pop a blister while traveling?
- What is the best way to prevent blisters from walking?
- Can I put a bandage directly over a blister?
- How do I know if a blister is infected?
- Should I keep walking if I have a painful blister?
- Conclusion
What You Need
Preparation starts with fit, not with the kit. Shoes should feel roomy at the toes when you are standing, because feet swell after a long flight or a hot day and tight footwear is what creates the rub. If the shoes are new and the trip is close, wear them for a full block of walking days before you leave rather than one afternoon at home.
For socks, pick a synthetic or merino wool pair with a flat toe seam and moisture-wicking fibres. Cotton holds water, and wet cotton socks are the single biggest reason a hot spot turns into a torn blister. Bring one spare pair you can change into at midday, plus a lightweight second pair if you are somewhere hot.
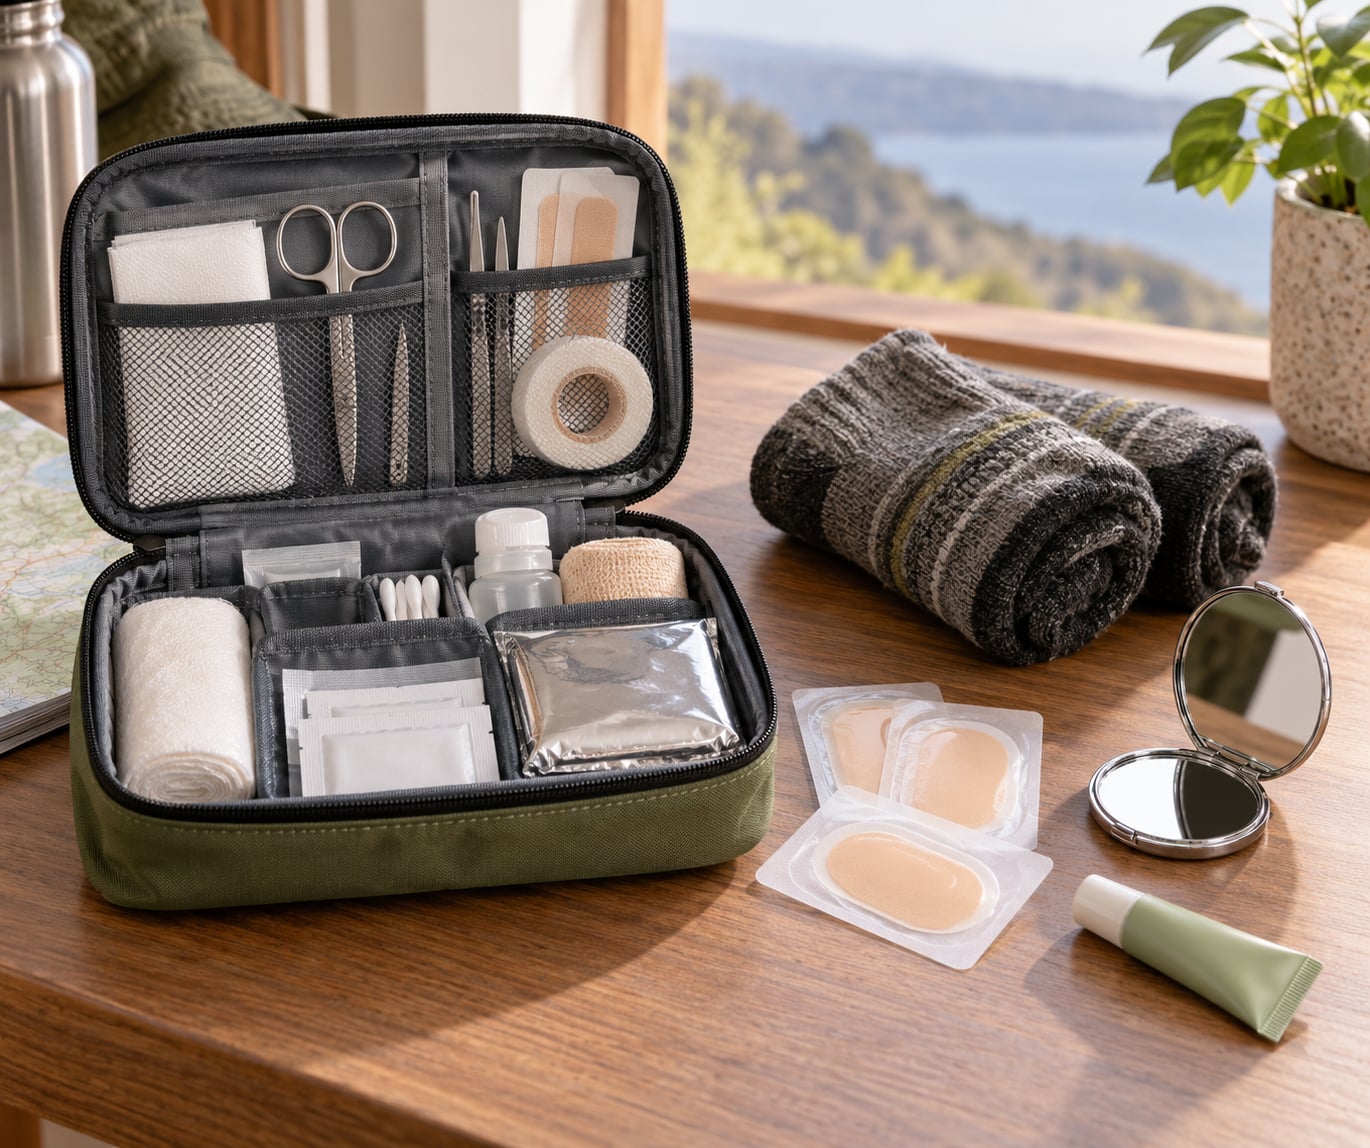
The blister kit, in one small pouch
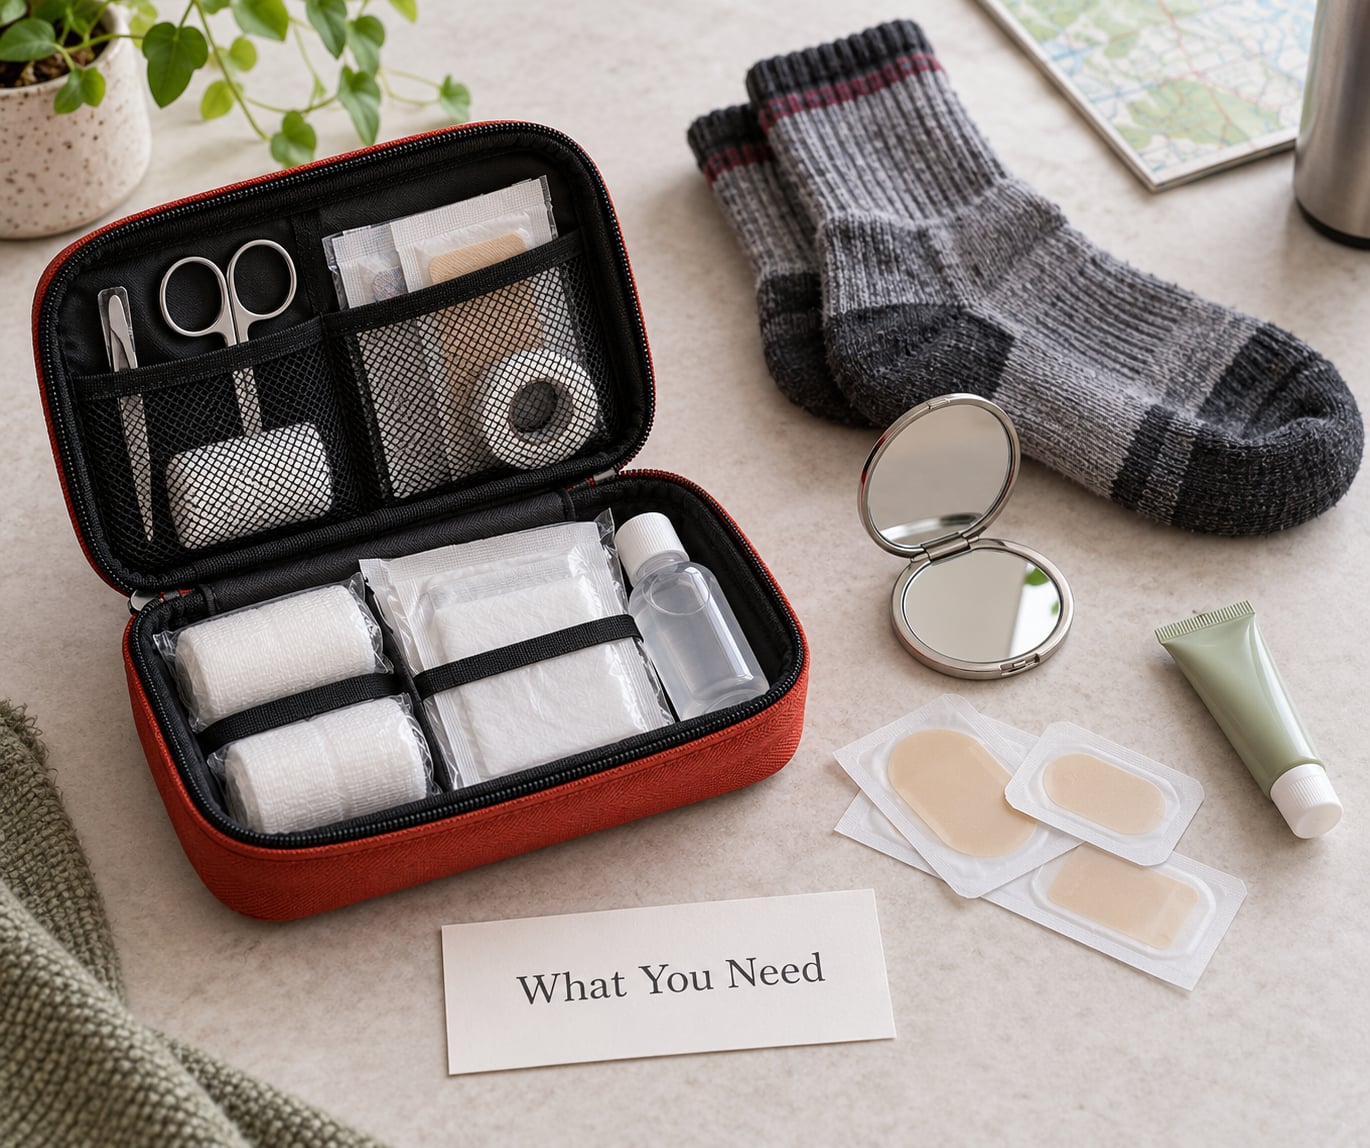
- Blister plasters or hydrocolloid dressings, in a mix of sizes
- Low-tack tape for taping hot spots before they blister
- Anti-friction balm or stick for the places that always catch
- Antiseptic wipes and a few sterile gauze pads
- A compact mirror, so you can check heels and soles without stripping off a shoe in public
- Small scissors for cutting tape and moleskin without unwrapping everything
- A first-aid cream or ointment, plus any regular medication you take
Keep it all in one zip pouch in your day bag rather than in checked luggage. A pharmacy abroad may not stock the brand you want, so bringing your own saves a wasted afternoon. If you are flying, liquids go in a clear bag under 100 ml, and the kit fits easily in that allowance.
Step-by-Step: How to Prevent and Treat Blisters While Traveling
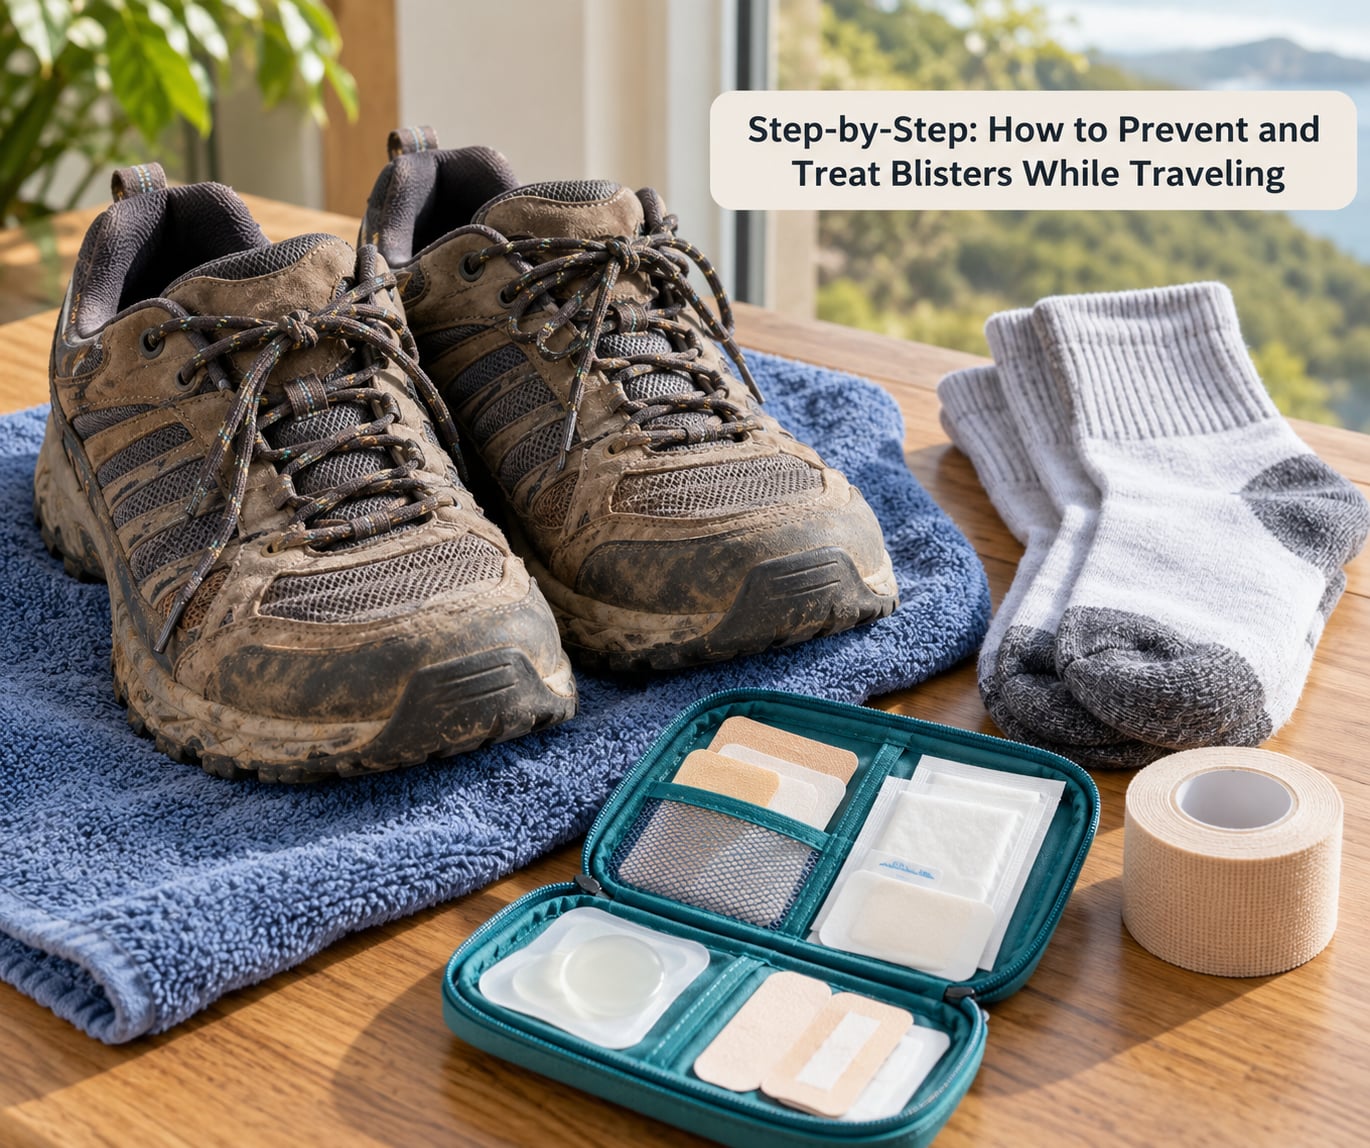
Prepare Your Feet and Footwear Before the Trip
Break shoes in on real pavement, not carpet. Carpet has no slope, no heat and no hours of walking, so it tells you almost nothing. Two or three genuine outings in the shoes you plan to travel in is the minimum that tells you where they pinch.
Then check the fit with your travel socks on. Walk up and down a flight of stairs or around a block. Any spot that feels warm or tender after ten minutes is where your blister will appear, and now you can tape it, pad it or change socks before the trip starts rather than on day three in an unknown city.
Two layers work well: a thin liner sock against the skin and a heavier outer sock over it. The inner layer takes sweat, the outer layer takes friction, and most people notice the difference within a day. The trade-off is warmth, so skip the second layer in humid heat.
Catch a Hot Spot Early and Stop the Blister Forming
A hot spot is the stage before a blister. The skin feels warm, slightly tender and maybe pink under pressure, but no fluid has collected yet. This is the cheapest problem to fix and the most commonly ignored.
When you notice one, stop walking for two minutes. Take the sock off, dry the foot properly, change the sock if it is damp, and either dust the area with talcum powder or cover it with a low-tack tape patch so skin cannot slide. Ten steps of a cobbled street is where most heel blisters start, and the tape stays put for days even through rain.
Changing socks at a lunch stop is the single most useful thing a traveler can do mid-day. Damp fabric against warm skin keeps the friction going; fresh fabric stops it.
Clean and Cover a Formed Blister
If a fluid-filled blister has formed, wash your hands and clean the skin around it with an antiseptic wipe. Do not peel back the roof of the blister. That thin layer of skin is your own sterile cover, and removing it exposes raw tissue to dirt and infection.
Slide a hydrocolloid plaster over the blister, or cover it with a non-adhesive dressing held in place with tape. Add a ring of cushioning padding around the area so pressure lands beside the blister rather than on it. Taped foam donuts or a cut piece of soft foam work well for the ball of the foot.
Done properly, the covered area looks dull and slightly opaque under the dressing, with mild redness confined to the edges and no weeping. Replace the dressing daily, or sooner if it lifts in water.
Drain a Large or Painful Blister Safely
A large blister, often the size of a coin or bigger, that rubs painfully on every step may need draining. That is a job for a pharmacist, a clinic or a first-aid professional who has sterile equipment and can close the opening properly afterward.
Do not improvise it with a sewing needle or a safety pin at a hostel sink. Travellers report doing exactly this and ending up with an infected wound that turned a small problem into a lost day, and drainage in a place with limited hygiene has a higher chance of going wrong.
While you wait to see someone, pad it generously and reduce the load on that foot. A pharmacist can also tell you whether your blister looks infected or whether it simply needs better cushioning.
Keep Walking Without Making It Worse
Most trips continue. The question is what to change rather than whether to stop. Swap to sandals or a lighter pair for the rest of the day, take the tram instead of walking the old town, or shorten the route and sit for coffee instead of pushing through a fifth hour of cobbles.
On a hiking day, a blister under the ball of the foot responds well to a donut pad and a re-laced shoe, because lace tension changes where the pressure lands. On a long-haul flight, feet swell, so loosen laces, elevate them when you can and move around the aisle rather than sitting still for eight hours. Walking barefoot in the hotel bathroom is a fast route to a heel blister on a tiled floor, so slip your shoes on first.
For sandals and flip-flops, the rubbing comes from the toe post and the side strap. Keep skin dry, use a soft gel sleeve around the post, and change your walking stride so you push off the outer edge rather than dragging the toe. Skin between the toes needs a drying powder and space, since that area stays damp in open shoes.
Watch for Warning Signs and Seek Help
Get medical advice rather than treating this yourself if redness spreads beyond the blister, the pain gets worse instead of better after a day or two, or you see pus, a yellow crust, or red streaks running away from the wound. Fever, chills, heavy swelling, throbbing pain at night and difficulty walking all point the same way.
A blister that looks dark, bruised, numb or dusky needs a clinician too, because that can signal something other than a simple friction blister. So does any wound that has not improved in three or four days of clean dressing and reduced friction.
People with diabetes, poor circulation, a weakened immune system or reduced feeling in their feet should skip the home treatment entirely and see a healthcare professional early. So should anyone whose travel insurance requires a clinic visit for an injury claim.
Common Mistakes
Wearing brand-new shoes on a long sightseeing day. The correction is boring but effective: wear them on real walking days before the trip, and pack a proven older pair as a fallback for the worst walking day.
Ignoring warmth and tenderness and pushing on. A hot spot costs ten minutes to fix. Ignore it and you are choosing a torn blister that needs days of care instead.
Popping a blister with a dirty needle at the hostel sink. The roof of a blister is a sterile cover. Draining it yourself in poor hygiene invites infection, and if it truly needs draining, a pharmacist or clinic will do it with proper equipment.
Sticking adhesive straight onto fragile blistered skin. Tape pulls the roof off when it comes off. Apply tape to intact skin around the area, or use a dressing that does not stick to the blister itself.
Continuing a painful activity and hoping it fades. Pain from friction means the rubbing continues. Change shoes, shorten the walk, or take a rest day. Adrenaline carries you through the first hour and not much further.
Treating an infected wound like ordinary irritation. Spreading redness, pus and fever are not a soap-and-water problem. Clean it, cover it, and get to a doctor or urgent care the same day.
A few habits that pay off on any trip
- Dry your feet properly after showers and swims, especially between the toes
- Rotate between two pairs of shoes so each one dries out completely
- Hang socks to air out overnight instead of leaving them damp in a bag
- Tape known problem spots before a long day rather than after one
- Reapply anti-friction balm every four to six hours in heat and humidity
- Carry an extra pair of socks and your blister kit wherever the day bag goes
Frequently Asked Questions
Should you pop a blister while traveling?
Usually not. The skin on top of a blister is a sterile cover that keeps dirt out and healing tissue moist. Small to medium blisters are best cleaned, protected with a hydrocolloid plaster or dressing, and cushioned with a ring of padding. Only a large, very painful blister may need draining, and that is worth doing at a pharmacy or clinic with sterile equipment, not with a needle at a hostel sink.
What is the best way to prevent blisters from walking?
Reduce friction, moisture and pressure before the day starts. Break in your shoes on real walking days, wear moisture-wicking socks with a flat toe seam, change them at midday, and tape any spot that already feels warm or tender. Adding a second thin liner sock, dusting with talcum powder, or coating a known hot spot with anti-friction balm all help, because the blister forms from repeated rubbing, not from a single step.
Can I put a bandage directly over a blister?
Yes, as long as it does not grip the blister roof. A non-adhesive dressing secured with tape, or a hydrocolloid blister plaster sized to cover the whole area, works well. Standard adhesive plasters and tape stuck straight onto a blister pull the skin off when removed. Add cushioning around the area so pressure lands beside the blister instead of on it, and replace the dressing if it lifts in the rain.
How do I know if a blister is infected?
Watch for redness spreading past the edges of the blister, increasing pain after a day or two, pus or yellow crust, red streaks, fever, chills, and swelling that keeps growing. A normal blister fades within a couple of days of clean dressing and less friction. An infected one gets worse. Any of those signs mean stop walking, clean and cover the area, and see a doctor or urgent care the same day.
Should I keep walking if I have a painful blister?
A painless blister can usually be walked on once it is covered and padded. A painful one means friction is still happening, so walking through it tends to tear the roof and leave an open wound. Change to lighter footwear, swap open sandals for trainers, take a shorter route or a taxi, and swap socks at the first stop. See a clinician if you cannot walk comfortably or infection signs appear.
Conclusion
Getting how to prevent and treat blisters while traveling right comes down to four habits: roomy shoes already walked in, moisture-wicking socks with a spare pair in your bag, treating warmth as an emergency, and covering any intact blister with a clean non-stick dressing and padding around it. Leave draining to a pharmacist or clinician if a blister is large and painful. If redness spreads, pus appears, or a fever shows up, get medical advice the same day.
This is general guidance for healthy feet on the road. Anyone with diabetes, poor circulation or reduced foot feeling should speak to a doctor before handling a blister at all.