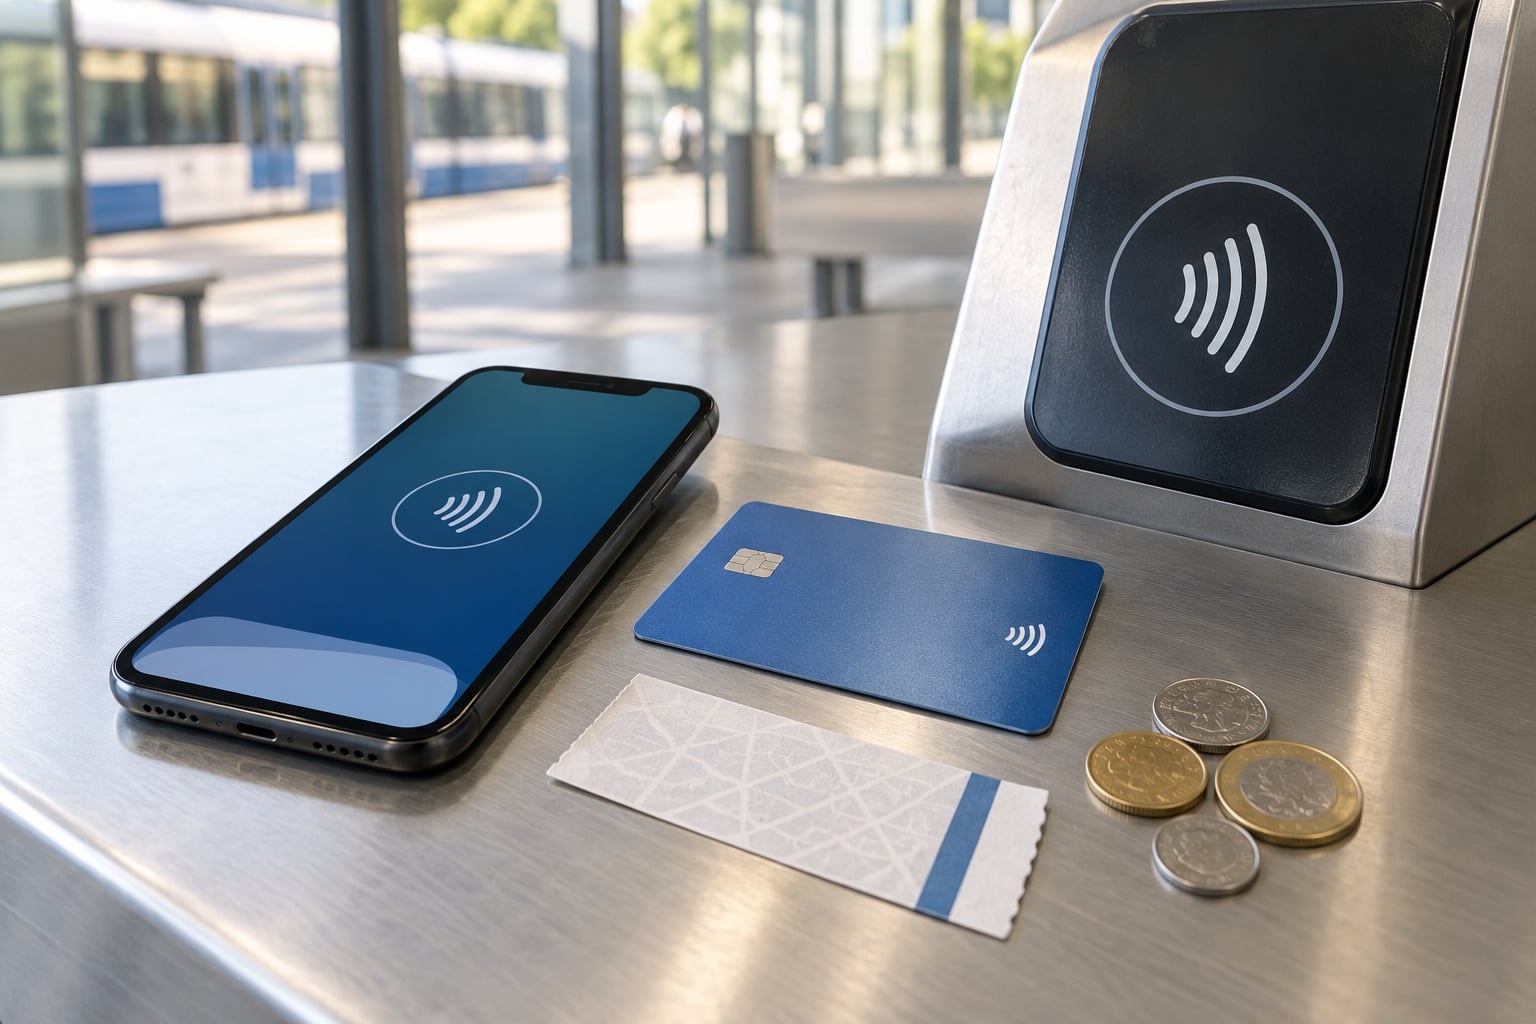
You can pay for public transit without a transit card in four ways: tap a contactless bank card, tap a phone or watch, buy a ticket in the transit agency’s app, or hand over cash. Which ones work depends on the city and the mode you are riding, so the first thing to do is check the agency’s own fares page before you travel.
Most readers who search this are visitors. Someone lands in a city for a week, does not want to queue at a machine for a physical card they will have to hand back, and would rather tap and go. Locals hit the same problem differently — a commuter who rides four times a day can save real money once fare capping kicks in, and that only works if you use the same payment method every trip.
What follows is the practical sequence: get ready, pay, confirm you paid, and know what to do when the reader refuses you. It takes about two minutes to set up, and less than ten seconds per ride once you know the routine.
Table of Contents
- What You Need
- Step-by-Step
- Step 1: Check Which Payment Methods the Transit System Accepts
- Step 2: Choose the Option That Works at Every Stop or Platform
- Step 3: Prepare the Fare Before You Board
- Step 4: Tap, Scan, Insert Cash, or Show the Ticket
- Step 5: Confirm Your Fare and Keep the Receipt or Activation Screen
- Common Mistakes
- Frequently Asked Questions
- Can you pay cash on a bus?
- Can I just tap my phone on the bus?
- Can I use my phone to pay for a bus in NYC?
- How do I use my contactless card for the first time?
- What happens if you tap on a bus but do not tap off?
- What do I do if contactless payment does not work at all?
- Conclusion
What You Need
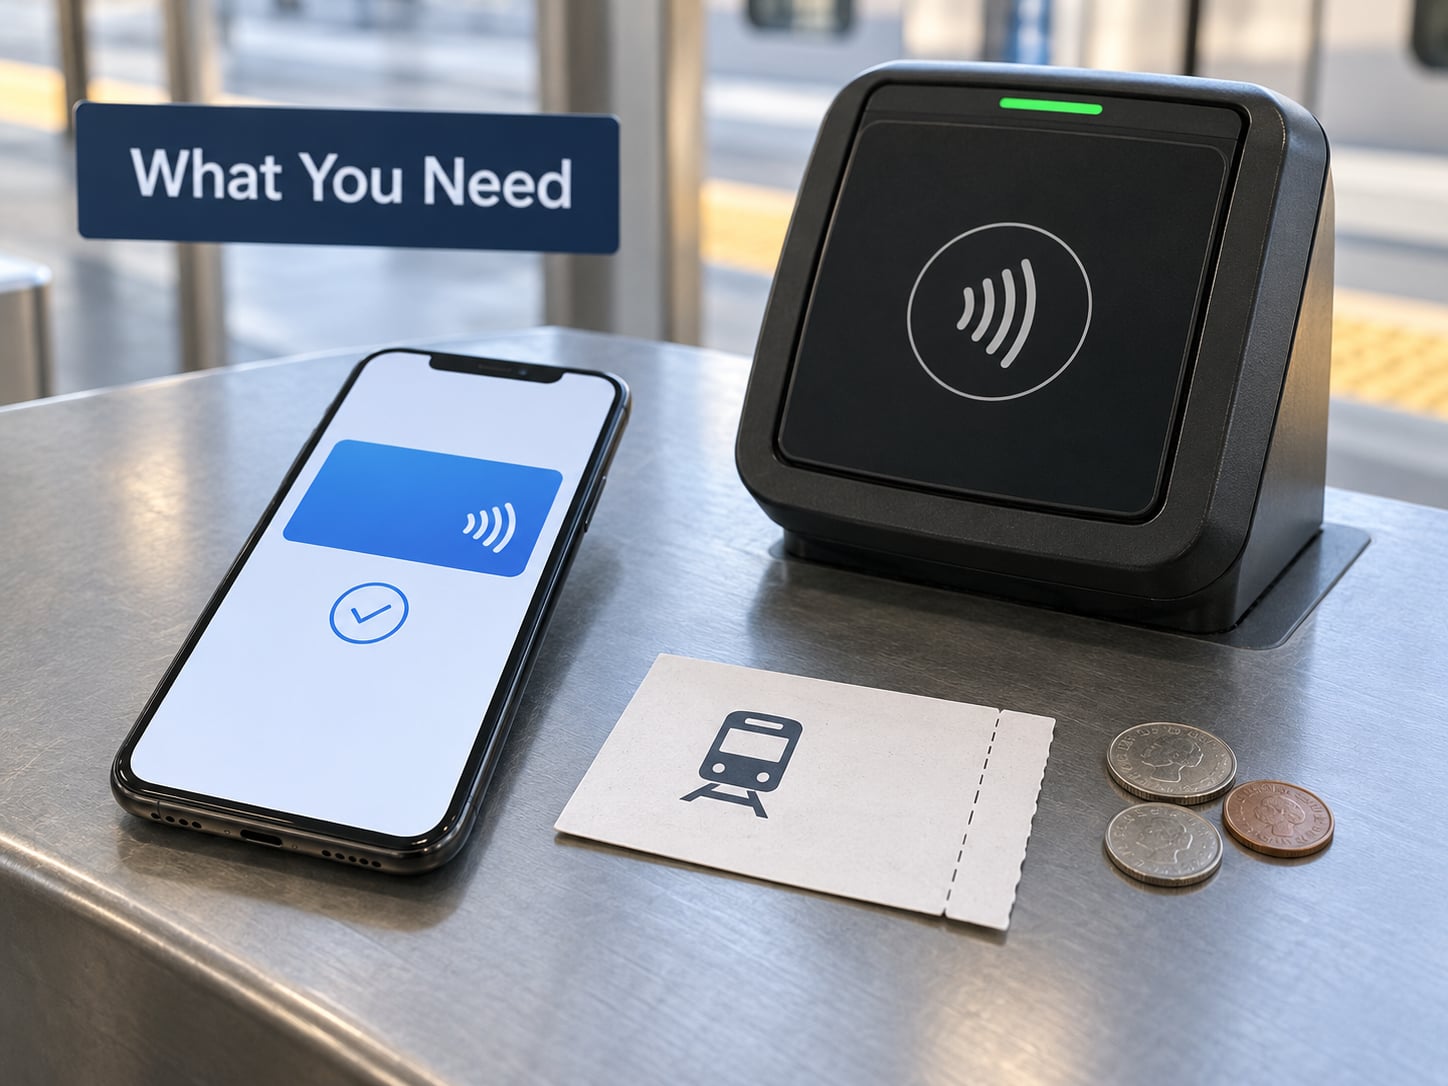
You need one working payment method, and ideally a backup. The list is short:
- A contactless bank card. Most readers accept Visa, Mastercard and American Express. Some regional systems, including several in Canada, use Interac instead.
- A phone with near-field communication, or a smartwatch. Apple and Android phones have had built-in contactless support for years, so most travelers already carry a working option.
- The transit agency’s app, if the system runs on QR codes or account-based fares rather than taps. You will usually need to create an account and add a payment method before you board.
- Small amounts of local currency, for systems that still take coins and notes at the front door or at a staffed booth.
- Your ID, in a few cities where a reduced-fare or concession rate is checked on board.
Two things worth checking before you pack: whether your bank issues cards that work internationally, and whether your phone is set up for contactless payments at all. Some prepaid and debit cards from certain issuers do not include a contactless chip, and a card without one will be rejected at the reader with no warning.
Step-by-Step
Step 1: Check Which Payment Methods the Transit System Accepts
Every transit authority publishes a fares and payment page, and that page is the only source that is accurate this year. Systems change constantly: one agency may roll out open-loop tap payments on buses this season while the neighbouring city is still card-only at turnstiles.
While you are there, sort the options into five buckets so you know what you are choosing between:
- Contactless bank card — tap a physical card at a reader or turnstile.
- Mobile wallet — the same tap, but the card lives in your phone or watch.
- Transit agency app — buy a pass or a scan a QR code, often with fare capping built in.
- Paper ticket or transfer — bought from a machine or a shop, sometimes with a limited validity window.
- Cash and onboard payment — coins, notes, or a card handed to a driver, which is common on regional buses.
Note whether the system validates before boarding or after. Metro systems and light rail usually use turnstiles or platform validators where you must pay first, and most city buses take payment at the front door before you sit down. That single detail drives most of the mistakes people make.
Step 2: Choose the Option That Works at Every Stop or Platform
Pick one method for the whole trip, not one per ride. The reason is fare capping: the daily and weekly caps that keep you from paying full price for every journey are calculated per payment method, so alternating between your bank card and your phone can cost you more than the method you started with.
Some practical comparisons:
- Pay-per-ride contactless suits visitors and anyone making a handful of trips. It needs no setup, works across cities, and usually no surcharge.
- A transit app suits riders doing several journeys a day, because caps are applied automatically and you get a record of every trip.
- Cash suits routes with no readers at all, but exact change is often required and you pay full fare every time with no cap.
- Paper tickets suit systems where you must pay before boarding and where machines are plentiful. Check how long a ticket stays valid — some are only good for the ride you buy them for.
Connectivity matters too. An app-based ticket that fails to load because you are in a tunnel will not help you at the door. If your route crosses dead zones, a contactless card with no signal requirement is the safer default.
Step 3: Prepare the Fare Before You Board
Do this on Wi-Fi, not at the gate. With a phone, open your wallet app and add your bank card if it is not already there, then check the transit section for your system — the phone may need a transit card added to the wallet rather than relying on the default card, and that is the setting people miss.
On iPhone, transit cards added to the wallet can be set to work without unlocking the phone or confirming with Face ID, which is what riders call express mode. On Android, the equivalent tap-to-pay screens are switched on inside the transit card’s own settings. Either way, you should be able to tap a reader at a station and walk through a turnstile without stopping to authenticate.
If the system uses an app, create the account, add a payment method and load funds now. Download the app before you land, because app stores are often slow on hotel or airport connections. If you prefer cash, withdraw local currency from a bank ATM rather than a currency exchange counter, which usually gives a better rate.
One more habit: take a screenshot of the agency’s payment page. If a reader fails and you have to show a driver or inspector what the rules were, an image on your phone settles the argument quickly.
Step 4: Tap, Scan, Insert Cash, or Show the Ticket
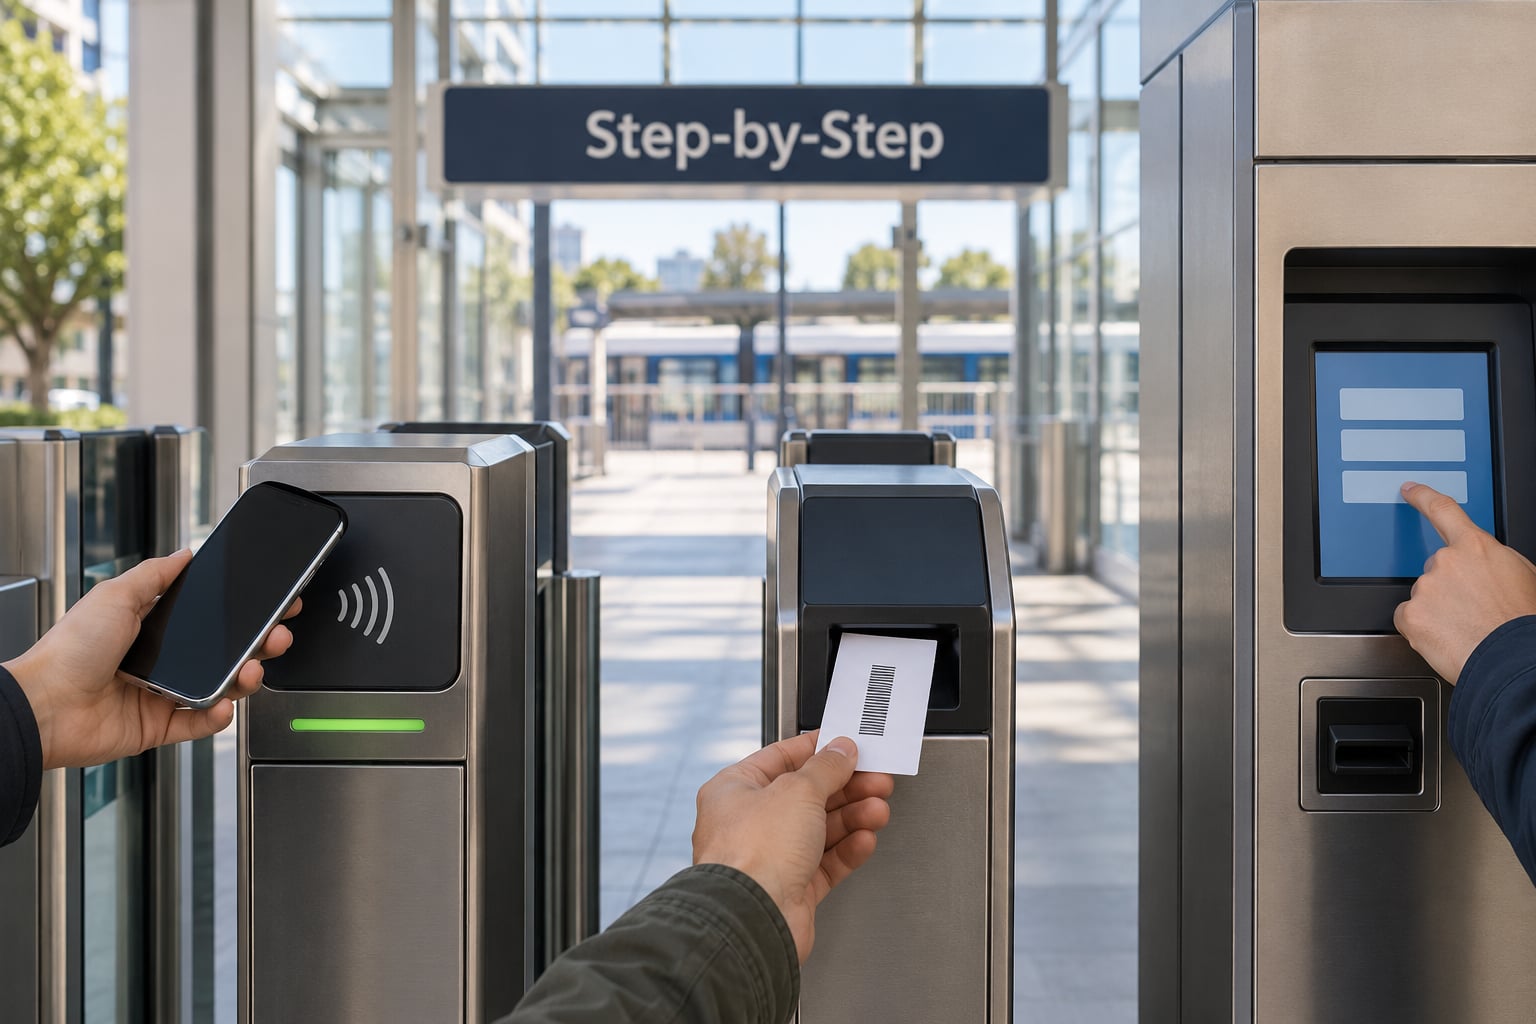
At a turnstile or platform validator, hold your card or phone flat against the contactless symbol, or the marked circle on the reader, for about a second. Wait for the confirmation — a green check, a flash, a short tone — before you move. Lift too early and the transaction does not complete.
On a bus, the sequence is usually: board at the front door, tap once on the reader near the driver, then sit or take your ticket from the machine at the back. Some systems ask for a second tap when you get off, particularly on longer routes with distance-based fares. If the reader asks for a tap-off, do it, because an incomplete trip is billed as a full fare.
For app tickets, open the ticket, turn the screen brightness up, and hold the QR code or barcode to the scanner. Dim screens are the most common cause of a failed scan in daylight.
For cash, have the exact amount ready. Most drivers cannot make change on a moving bus, and some systems hand back a change card rather than coins.
Step 5: Confirm Your Fare and Keep the Receipt or Activation Screen
A successful tap is not always obvious, so check one of three things: the card reader’s display, your bank or wallet transaction list, or the agency’s app history. The wallet transaction usually appears within seconds and names the merchant, which doubles as your proof of payment during an inspection.
Watch for the temporary pre-authorization hold some agencies place before settling the fare. A small amount may sit pending for a while before it drops off; it is not a charge, and it is not a second fare.
For app rides, keep the activation screen open until the ride is complete. Some systems invalidate a ticket that was opened and abandoned, and a screenshot of the active ticket is a reasonable backup if your signal drops mid-journey.
Common Mistakes
Tapping a card that does not support transit. Prepaid cards, some bank cards, and gift cards have no contactless chip or are blocked for transit transactions. If the reader beeps and flashes immediately every time, the card is wrong, not the reader. Move to your phone or another card rather than trying a fourth time.
Paying after boarding where payment must come first. Fare inspectors on metro systems check tickets, not payments, and an unpaid ride turns into a fine. If you missed a validator, ask a station agent before you leave the paid area; most systems will let you pay on the spot and continue.
Forgetting to activate a mobile ticket. Buying a ticket is not the same as starting it. Open the app and start the ride before you board, or a conductor may treat you as riding without a ticket even though you paid.
Using the wrong fare type. Peak, off-peak, express and concession fares all cost different amounts, and the reader usually charges whatever the card is registered for. If you qualify for a reduced fare, do not expect the reader to notice — the agency has to have your status on file first.
Missing a transfer. Free transfers usually require tapping again within a time limit, and some systems only recognise a transfer if you tap on the same card or phone you used on the first leg. Different devices can cost you the transfer.
Card clash. When two cards in your wallet land on the reader at once, the machine may charge the wrong one or reject both. Riders on local forums consistently recommend removing your usual card before tapping, or holding the wallet so only one card is exposed.
Removing your card too quickly. Tapping and immediately walking off is the single most common cause of a “payment not registered” moment. Hold until the reader confirms, then go.
Frequently Asked Questions
Can you pay cash on a bus?
Most city buses still accept coins and notes at the front door, though many no longer give change and an increasing number of vehicles are card-only. Rail and light rail almost never take cash, and cash payments rarely count toward fare caps. Check the agency’s payment page before you rely on it, and carry small local notes rather than a large bill.
Can I just tap my phone on the bus?
Yes, on most modern bus systems that have contactless readers at the front door, as long as you have added a transit card or your bank card to your phone’s wallet and set it to work without unlocking. A few regional and small-city agencies still do not accept taps at all, and their apps are the only phone option.
Can I use my phone to pay for a bus in NYC?
Yes. New York buses and the subway accept contactless bank cards and phones at every turnstile and bus reader. Add a card to your wallet and, if you ride more than a few times a week, consider a weekly cap because the cap is applied per payment method. Keep using the same card or phone so the cap tracks correctly.
How do I use my contactless card for the first time?
Find the contactless symbol on the reader or turnstile, hold your card flat against it for about a second, and wait for a check, flash or tone before moving away. That first tap often creates a small temporary hold that clears later. If it fails, check that the card has a contactless chip and that it is not a prepaid or gift card.
What happens if you tap on a bus but do not tap off?
On systems with distance-based fares, a missing tap-off is billed as the full or maximum fare, so you may pay more than the trip deserved. Many metro systems do not use tap-off at all and only require one tap. If a second tap is requested at the back of the bus, take it, and use the same card or phone you tapped on the way in.
What do I do if contactless payment does not work at all?
Do not keep re-tapping. Try a second card or your phone, then fall back to a paper ticket from a machine or a fare app, and pay cash if the system allows it. If nothing registers, take a screenshot of the reader and ask a station agent or driver before boarding. If a trip goes unpaid, buy a ticket on board where permitted rather than arguing at a checkpoint.
Conclusion
To pay for public transit without a transit card, start with the transit authority’s official payment page, pick one method you can use for the whole journey, and set it up before you leave the hotel. Keep a second method ready, and if a reader rejects you, move on quickly rather than re-tapping.
Contactless tap and mobile tickets now work on most large systems in 2026, and the cities that lag behind usually have a working app instead. That combination covers almost every trip you are likely to plan.