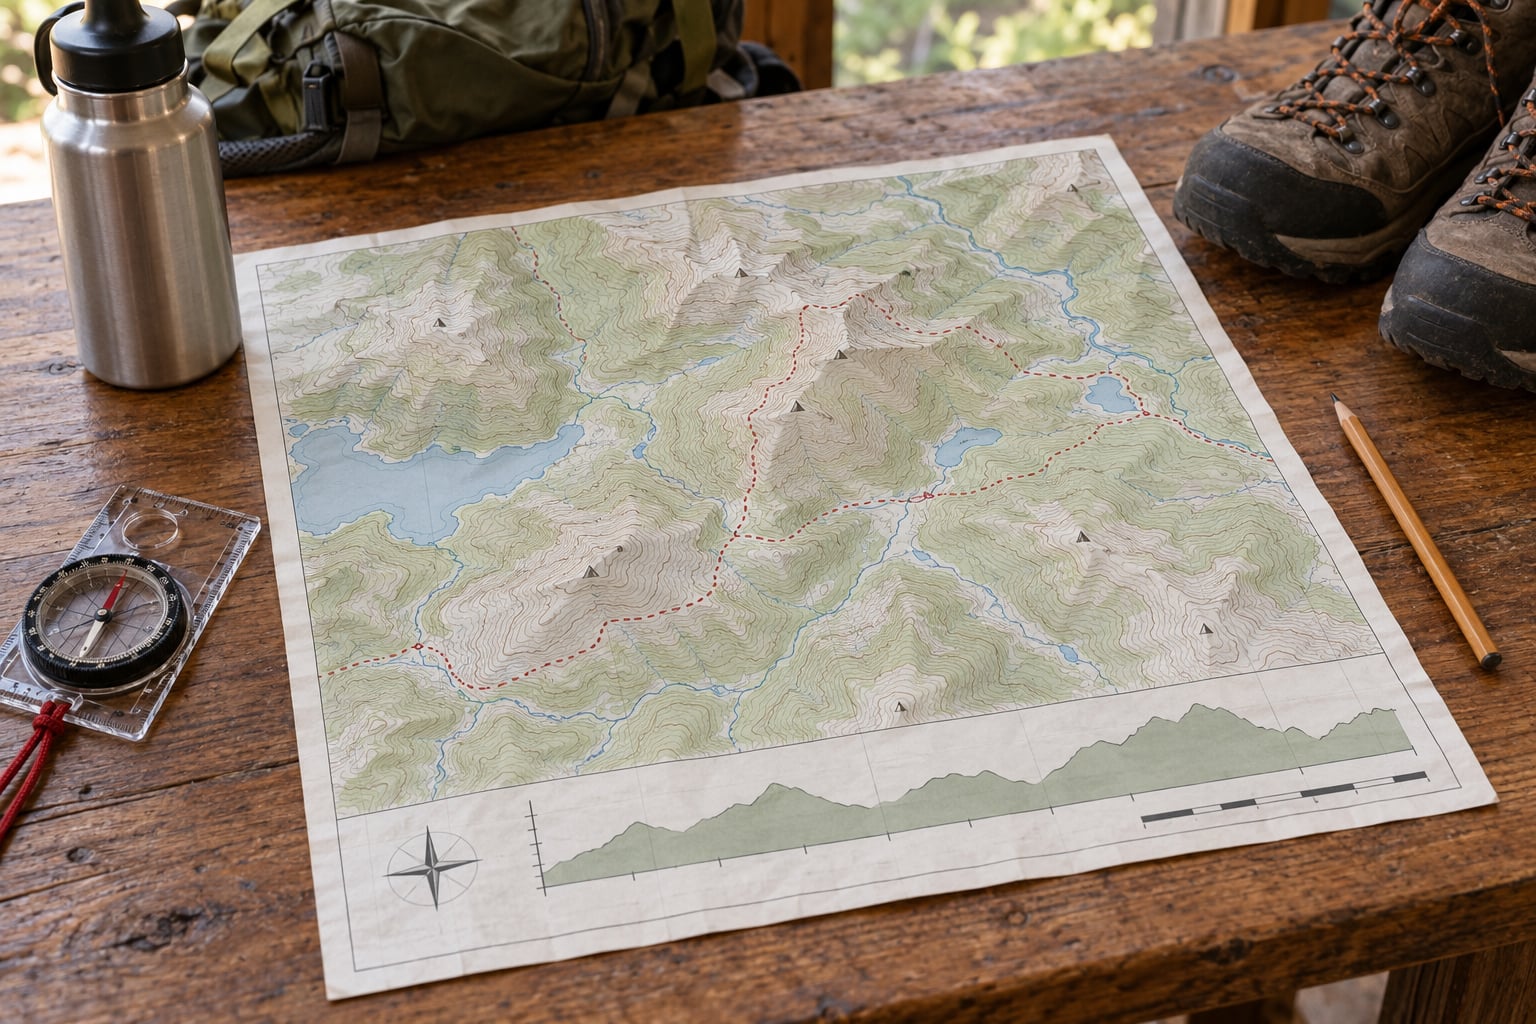
To read a trail map and difficulty rating, work through five things in order: the legend and scale, the distance and shape of the route, the contours and elevation profile, the published rating system, and finally your own fitness and the day’s conditions. Ten minutes with those five steps tells you more than an hour of scrolling through photos. I’ve used the same sequence on paper USGS quads and on phone apps for years, and it is the reason my hikes end where I planned them to.
Most beginners lose the plot at step one. They see a green squiggle, assume a straight line to the lake, and only discover after two hours that the trail climbs 1,400 feet, crosses a creek on a bridge that washed out last spring, and joins a fork they walked past without noticing. Trail maps are not hard. They’re just read in the wrong order.
This guide covers what to gather, the five-step reading process, the rating systems used in the US, Australia and the Alps, and the ten mistakes that send people to the wrong trailhead or up a mountain they didn’t mean to climb. Ten minutes of reading is cheap insurance against a ten-hour mistake.
Table of Contents
- What You Need Before You Read Anything
- The official map from the managing agency
- The route description, not just the map
- A compass, a paper copy and a charged phone
- Your own numbers
- Step-by-Step: How to Read a Trail Map and Difficulty Rating
- Step 1: Start With the Legend, the Scale and North
- North is not always up, and not always the same north
- Step 2: Measure Distance, Time and Route Shape
- Step 3: Read Elevation, Grade and Terrain
- Step 4: Check the Official Difficulty Rating
- Step 5: Match the Route to Your Fitness and Conditions
- Common Mistakes and How to Avoid Them
- Frequently Asked Questions
- What does a moderate trail difficulty usually mean?
- How can I tell how steep a trail is on a map?
- Is a longer trail always more difficult than a shorter trail?
- Why do different trail systems use different difficulty ratings?
- How much elevation gain should I plan for on a hike?
- What should I check before relying on an old trail map?
- Conclusion: Check the Details Before You Hike
What You Need Before You Read Anything
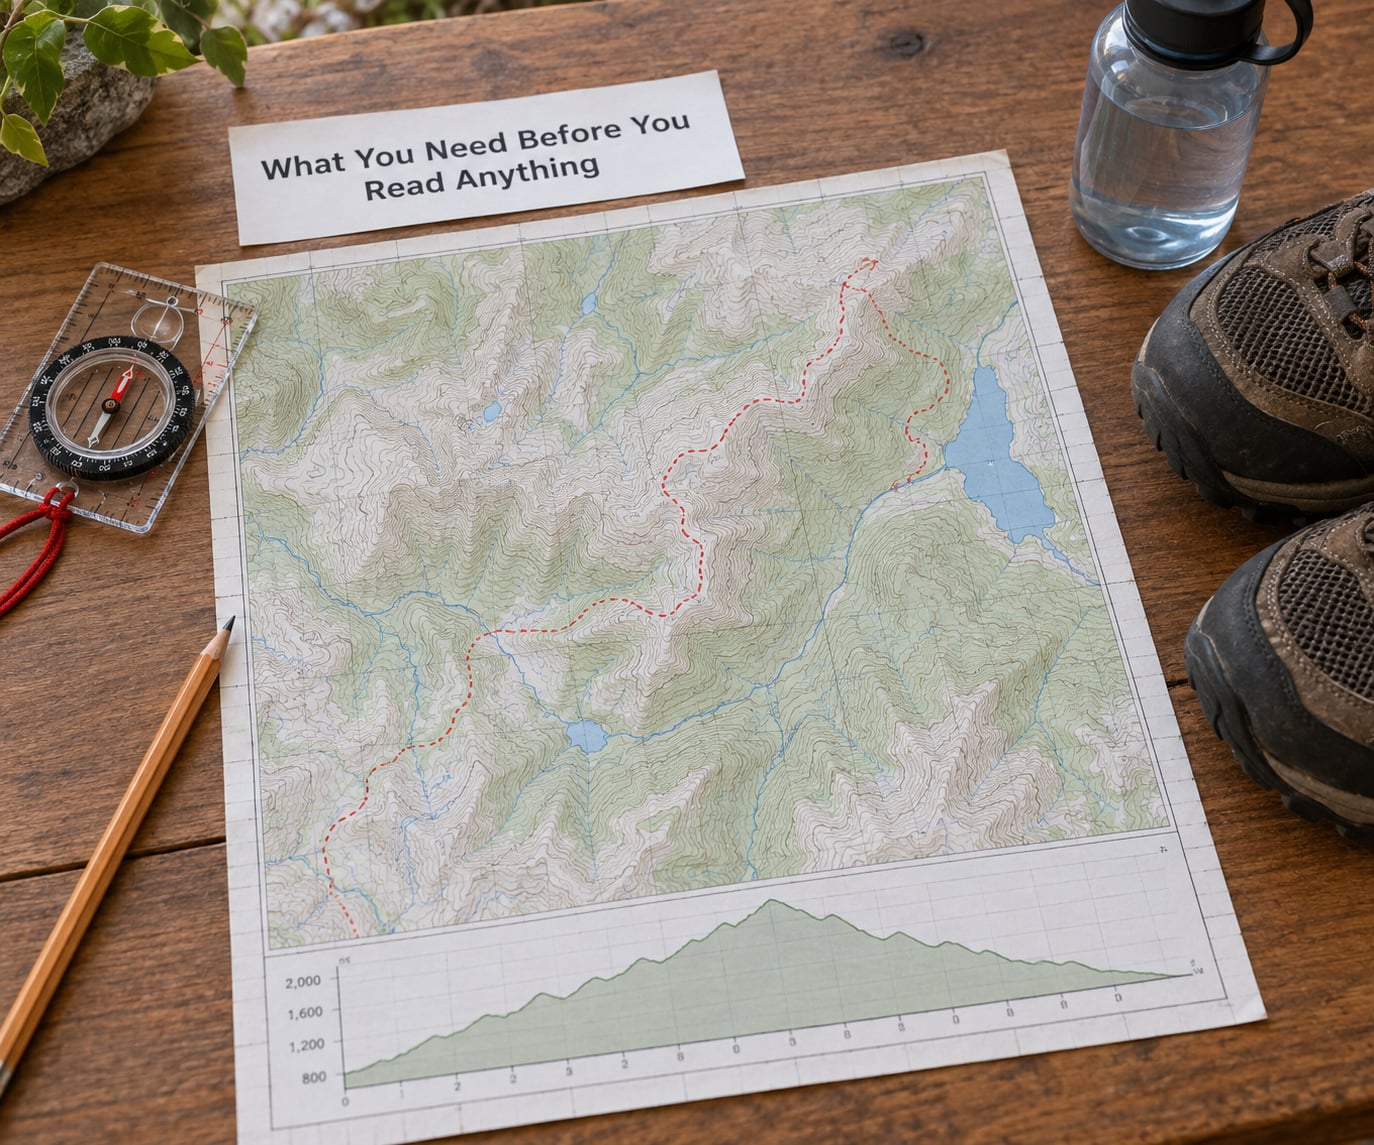
Four things, and none of them are optional. Get these in hand before you try to interpret a single symbol.
The official map from the managing agency
For most US trails that means the USGS quadrangle, either the 7.5-minute quad or the 15-minute quad that covers the route. Search the trail name plus USGS quadrangle and the map is usually free to download and print. National parks, state parks and land agencies publish their own visitor maps, and those are the ones that show trail numbers, closures and amenities.
If you are outside the US, the national mapping agency equivalents do the same job, and local bushwalking club maps often add detail that official sheets skip. Either way, use the map published by whoever manages the trail, not a screenshot of somebody’s social post.
The route description, not just the map
A map tells you where a trail goes. The official route page tells you how long it is, how much elevation it gains, what its rating means in that agency’s words, and when the page was last updated. Those numbers are your baseline for everything that follows. Download it, screenshot it, or print it, because trailhead noticeboards are the first thing that stops existing the day the paper runs out.
A compass, a paper copy and a charged phone
Carry all three. Redundancy is not superstition, it is just arithmetic: phones die, screens crack, batteries flatten in cold weather, and signal disappears exactly where you need it most. Hikers on r/hiking regularly post the same story about a phone that died mid-route and a paper map they did not carry. A baseplate compass costs little and weighs nothing, but only carry it if you know how to use it with declination, which is covered in step one.
For the digital side, download offline maps for your route before you drive out, in more than one app. Community apps such as AllTrails, Gaia GPS and onX Backcountry show recent photos and condition reports that official pages lag on, and hikers on r/UKhiking and r/MTBTrailBuilding make the same point: a photo uploaded three days ago tells you more about a washed-out bridge than a description written two years ago. Treat both as evidence, neither as gospel.
Your own numbers
Before judging a rating you need a baseline. Know your weekly hiking distance, the biggest climb you have done comfortably in the last year, and how you handle wet rock and off-trail terrain. People regularly underestimate their own ability and overcommit, and people with a solid aerobic base routinely underestimate technical terrain. Write it down, roughly, before you go shopping for a hike.
Step-by-Step: How to Read a Trail Map and Difficulty Rating
Step 1: Start With the Legend, the Scale and North
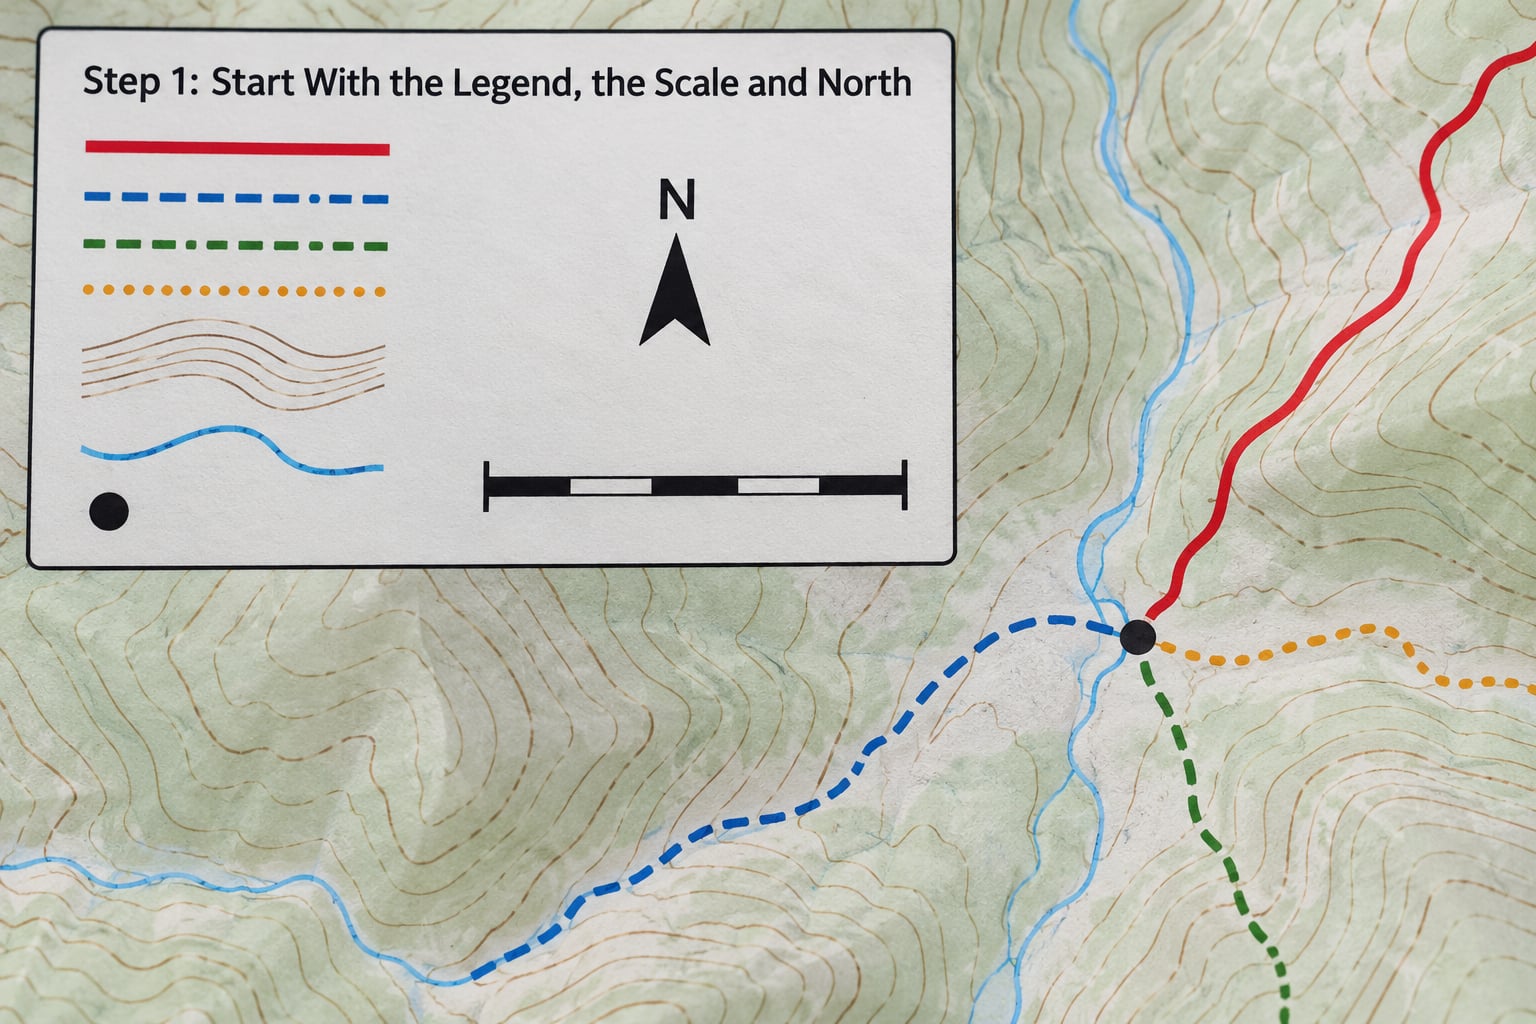
Before you read the route, read the map itself. Every map carries seven elements, and finding all seven takes about a minute once you know they are there.
- Title and area of coverage. The name, the quadrangle or sheet number, and the date of the map.
- Legend or key. The decoder ring. Every line type, color, blaze and icon is defined here.
- Scale. The ratio between map distance and real distance, printed as a bar and a fraction.
- Orientation. The north arrow or grid lines showing which way is north.
- Relief. Contour lines, index contours and the stated contour interval.
- Symbols and points of interest. Water, campsites, trailheads, shelters, cliffs, swamps, bridges, turnoffs.
- Grid or coordinates. UTM grid lines or tick marks along the map edge for pinpoint positions.
The scale is the one that trips people up. On a 1:24,000 map, one inch on paper equals 2,000 feet on the ground, about a third of a mile. That is roughly the scale of the standard USGS 7.5-minute quadrangle. A 1:100,000 map shrinks everything by more than half, so an inch there covers about 5,280 feet, over half a mile.
| Map scale | One inch on paper equals | Good for |
|---|---|---|
| 1:24,000 | about 2,000 feet | route-level detail, junctions, individual bumps |
| 1:50,000 | about 4,200 feet | day hikes, route context |
| 1:100,000 | about 8,500 feet | regional planning, backpacking routes |
| 1:250,000 | about 21,000 feet | choosing a region, not a trail |
Trail colors matter too. In North America, a dashed blue line is usually a hiking trail, a dashed red is a national scenic trail or a boundary, a black diamond is a mountain bike route, and a yellow line on a road means a state highway. That last one catches people who come from maps where green means park boundary.
North is not always up, and not always the same north
Paper maps are drawn with true north at the top. Your compass points at magnetic north, and the gap between them is magnetic declination, which in the US ranges from roughly 25 degrees west in Washington to about 20 degrees east in Maine. USGS quads print the declination for that sheet and the year it was calculated, along with a small diagram of how much to adjust.
Declination drifts a few minutes of arc each year in most places, which is trivial for casual work and worth re-checking if you use a declination-dependent method regularly. What matters for beginners: orient the map by rotating it until north on the map matches magnetic north for your location, not until the paper edge lines up with your body. Then check your heading against an identifiable line, a ridgeline or a stream, and not against the direction you feel like walking.
Watch out for one classic error reported on trail forums: the map shows the trail heading south, the hiker is facing east, and the trail looks wrong for three hundred feet before it becomes clear that the map has been generalized into a smooth line. Maps simplify. The trail is wiggly in reality.
Step 2: Measure Distance, Time and Route Shape
Now measure. On a paper map, the reliable method is the scale bar rather than your own fingers: lay one end of a pencil at the trailhead and rotate the pencil until the other end reaches the far end of the route, then read that length against the bar. Professional map scales are cheap and turn the job into a two-second task. Your index finger is a rough fallback; on a 1:24,000 map a finger width is somewhere around 1,400 to 1,600 feet of ground, but it varies with how you hold it.
Then check the shape of the route, because shape changes everything:
- Out-and-back doubles your mileage and makes the second half slower. The way back usually feels harder than the way out, and it is the route most often abandoned.
- Loop reads better on paper because you can see the whole circuit at once, but it is harder to leave early. Once you are on a loop with a creek on one side and a drop on the other, your easy outs are behind you.
- Out-and-back with a descent hides the climb until it happens. Trail descriptions that say the trail climbs to the pass before dropping to the lake are not being polite, they are telling you the hard part comes first, while you still have daylight.
- Point to point usually needs two maps or one long sheet, and it usually needs a shuttle or a second car. Check the transport before you commit.
For time, use a planning rule rather than hope. A common starting point is roughly one hour per three miles of flat walking, plus an extra hour for every 1,000 feet of elevation gain, for a fit hiker moving at an ordinary pace. Novices often need two miles per hour instead of three, which is the difference between an easy day and an unplanned night out. If a route has several thousand feet of gain packed into a short distance, add margin rather than trusting the estimate.
Count the junctions on the route while you have the map in hand. Ten junctions over four miles is a lot of decisions, and each one is a chance to be wrong. Routes with fewer junctions are easier for a first outing even when the distance is longer.
Step 3: Read Elevation, Grade and Terrain
This is where a trail map earns its keep. Contour lines connect points of equal elevation, and the shape of the land appears as the spacing and direction of those lines. Four facts cover almost everything.
- Contour interval is the elevation difference between adjacent lines, printed in the margin. A 40-foot interval means every line is 40 feet higher than the last. On a fine 40-foot interval map a gentle rise draws five lines across a mile. On a 200-foot interval map the same rise draws one.
- Wide spacing means gentle ground. Lines bunched tightly together mean the ground rises fast. The same climb drawn as two wide-spaced lines and then twenty tight lines means a long shallow approach followed by a short wall.
- Index contours are the heavier lines drawn every fifth contour, with the elevation labeled. If you only count them you will badly underestimate the climb. Twenty index contours on a 40-foot map is 4,000 feet of gain.
- V-shapes point uphill. Where contours bend into a V, the point of the V is uphill, because the contour has to bow to reach around the higher ground. Vs that point away from you are valleys and drainages; Vs that point toward you are ridge crests. This one rule explains more terrain than any other.
| Contour pattern | What the ground is doing | How it feels |
|---|---|---|
| Lines spread far apart | Long shallow slope | Easy walking, slow weight gain |
| Lines evenly close | Sustained steady climb | The kind that settles into your legs |
| Lines suddenly jammed together | Steep pitch or short staircase of rock | Heavy thighs, short breath |
| Lines forming a tight bullseye | Summit | Use the bullseye as a check-in point |
| Lines forming a hourglass pinch | Saddle or col, the low point on a ridge | Highest point of the route, usually |
Look for the three terrain features that change a hike. A saddle is the low point on a ridge and is normally the high point of your route, so most of the walking around it is downhill. A switchback is a zig-zag that trades distance for grade, which means a trail can cross few contours and still climb a lot. And talus fields, shown as fields of broken rock, look harmless on a map and turn into loose, slow, ankle-hazard walking under load.
The other thing maps show badly is water. A blue line means a stream, and the width and double-line convention tell you roughly how big it is, but not whether it is fordable in October or whether the bridge is still there. Footbridges wash out regularly and the map rarely updates that fast. This is exactly the case hikers describe: a crossing gone after high water that no map reflected.
Elevation profiles on apps compress the same information into a side view, which is easier for judging effort than for judging terrain. Three cautions. Many app profiles are computed from satellite terrain data rather than surveyed DEM files, so the numbers can be off by a couple hundred feet. Some apps apply vertical exaggeration so the profile looks dramatic, which tells you nothing real. And a flat-looking profile may hide a sudden 400-foot wall where the map still says easy. Compare the profile against the contours when the two disagree.
Finally, terrain type changes how you read the map in different places. In desert ranges a trail can look level and cost you 1,500 feet of relentless gradual climb, which is a pattern hikers on r/hiking describe in detail: nothing steep on paper, completely draining in practice. On alpine routes watch for anything above treeline, where there is no water, no shelter and no easy descent. In dense forest the contours are cluttered and the real difficulty is route-finding at junctions and creek crossings.
Step 4: Check the Official Difficulty Rating
A difficulty rating is only meaningful once you know which system produced it. There is no global standard, and that is not a flaw in the systems. Each one is built for its own terrain, its own user base and its own idea of an average visitor. Two agencies can both call a trail easy and mean very different walks.
| System | Used by | Scale | What drives the rating |
|---|---|---|---|
| National park ratings | US National Park Service | Easy, moderate, strenuous | Mileage, elevation gain, route condition |
| Numeric 1 to 5 | Many US federal and state land managers | 1 (easiest) to 5 (most demanding) | Gain per mile, surface, exposure, remoteness |
| Colored diamonds | Ski areas, some US trail programs | Green circle, blue square, black diamond, double black diamond | Technical demand rather than fitness, adapted from skiing |
| Australian Walking Track Grading System | Australian state governments | Grade 1 easy to Grade 5 challenging | Gradient, path quality and width, markings, hazards, fitness and time |
| Swiss Alpine Club | Switzerland, and the standard hikers meet in the Alps | T1 easy walk to T6 difficult technical | Terrain, exposure, route finding, altitude, marking quality |
| Yosemite Decimal System | Sierra Nevada, adopted widely for technical terrain | Class 1 to Class 5 | Technical difficulty of the rock, not the walk |
Australian grades are the most standardized. Grade 1 is an easy walking track for most people, on a fairly short distance with gentle gradient and clear markings. Grade 3 is moderate, with longer distances and steeper sections that suit people with reasonable fitness. Grade 4 is hard, and the official descriptors point to steep sustained gradients, longer distance, natural hazards, and a real need for first aid and navigation skills. Grade 5 is challenging bushwalking for experienced, fit walkers who expect off-path stretches, creek crossings and few signs. The Australian system’s technical descriptors cover track width and gradient alongside fitness and time, which is why it reads as more objective than a one-word label.
The ski-style symbols came from skiing, so they surprise hikers. A green circle means the easiest hiking on that program, and a blue square is more demanding. A black diamond marks expert terrain, often rough, steep or with scrambling. A double black diamond is the most extreme hiking-only designation and generally means technical scrambling with real exposure, not merely a hard day.
The Yosemite Decimal System is the one that causes the most confusion, because it grades terrain rather than effort. Class 1 is walking on a maintained trail. Class 2 is uneven ground with light scrambling where you rarely need both hands. Class 3 is hands-on scrambling, where you use your hands and need balance and route-finding skill. Class 4 is sustained hand-and-foot scrambling, typically with exposure, and Class 5 is technical climbing where ropes and protection are standard. A Class 3 day can be a 9-mile walk, and a Class 1 day can be brutal. Read the class with the distance and gain, never on its own.
So how do you read any rating? Four questions, in order. How long is the trail. How much does it climb. What is the surface like. And what are the consequences of being off route. A moderate 12-miler with 1,200 feet of gain on a paved greenway is a completely different day from a moderate 3-mile scramble up a gully, and the label is identical in both cases.
Step 5: Match the Route to Your Fitness and Conditions
This is the step that turns reading into judgment. Run the route against your own numbers, in this order.
- Distance against your recent weekly volume. Not your all-time best. What you have done in the last month is a decent predictor of what you will enjoy today.
- Gain against your climbing history. Sustained climbing is harder on knees and lungs than distance. If the profile has a wall late in the day, expect to arrive at it tired.
- Terrain against your experience. Be honest about scrambling, talus and off-trail detours. If a route needs a scramble, assume you will need a scramble.
- Conditions against the forecast. Rain turns dirt into mud and rock into a slip hazard. Snow covers the markers and the contours change meaning entirely. Wind above ridgelines can make a moderate route unkind.
- Daylight against the estimated time. Add 30 to 60 minutes of buffer, check the sunset time for your dates, and know where you will be when the light goes.
- Exposure against your judgement. If the route has a drop you would not enjoy on a wet day, that is information, not a weakness.
Then check the current reports before you leave the parking lot: closures, wildfire and weather closures, water levels at crossings, and bear or wildlife advisories that may change where you can go. And tell someone your route and your expected return time. That habit costs thirty seconds and it is the one thing rescue teams ask for first.
Common Mistakes and How to Avoid Them
Ten errors show up again and again in trail forums and search-and-rescue write-ups. Each one has a cheap fix.
- Treating distance as the only difficulty factor. Fix: calculate elevation gain before deciding anything. Three miles with 1,500 feet of climb is a harder day than eight flat miles.
- Counting only index contours. Fix: find the contour interval, then count every fifth line as one interval. This mistake doubles or halves your gain estimate and people still make it years later.
- Trusting one rating system. Fix: identify who published the rating and read their definition. A Grade 4 in Australia and a 4 on a US numeric scale are not the same walk.
- Ignoring the season on the map. Fix: treat a summer trail description as a snowfield and a winter one as an ice scramble until you check the current report.
- Using an old sheet without checking the date. Fix: look at the publication date in the margin and search the land manager’s site for current closures. Reroutes happen; maps lag.
- Not checking the map often enough. Fix: read it at every junction and every time the trail leaves a ridge or crosses a creek. Walking straight past a junction is the most common self-inflicted navigation error there is.
- Starting at the wrong trailhead. Fix: read the full route description, including the parking instructions. Multi-lot trailheads are designed to send you to the wrong one.
- Trusting the phone alone. Fix: carry paper and a compass, and know the bearing back to the trailhead before you start.
- Forgetting declination. Fix: check the declination printed on your sheet, and if you rely on compass work, take a class rather than working it out in the field.
- Leaving the plan with nobody. Fix: write down the route, the car location and the expected return time, and hand it to someone before you set off.
Two habits fix most of that list at once. Read the map at every junction rather than only when you are unsure, and make your first decision early: at the trailhead, decide what happens if the conditions are wrong. Hikers who pick a bail-out route before they start are the ones who still have a normal evening.
Frequently Asked Questions
What does a moderate trail difficulty usually mean?
In US national parks, moderate usually means a trail of a few miles with some sustained climb, passable for most healthy adults in a half day. The exact definition is written into the park’s own rating guidance, so check the trail page for distance, gain and surface. A moderate label says nothing about technical difficulty, so a scramble route can also be labelled moderate.
How can I tell how steep a trail is on a map?
Look at how close the contour lines are and count how many lines the trail crosses between two known elevations. Closely spaced lines mean a steep slope. Divide the elevation change by the ground distance to get a gradient percentage, where about 30 percent is a tough sustained climb and 50 percent or more is closer to a staircase than a path.
Is a longer trail always more difficult than a shorter trail?
No. Difficulty comes from terrain, grade, surface and exposure as much as distance. A ten-mile rail trail is easier for most people than a three-mile route climbing a steep gully. The useful comparison is gain per mile: two routes of the same length with very different elevation gain are very different days.
Why do different trail systems use different difficulty ratings?
Each system was built for its own terrain and its own typical visitor. The Australian Walking Track Grading System rates gradient, path width, markings and fitness needs. US national parks use easy, moderate and strenuous based on mileage and gain. Ski-area symbols grade technical demand. They are not translations of each other.
How much elevation gain should I plan for on a hike?
A common planning rule is about 1,000 feet of gain per hour added to the time for the walking distance. Fit hikers manage that, slower hikers need more. Beyond the arithmetic, the number matters because climbing loads knees and lungs more than distance does, and a late climb with fading daylight is where plans go wrong.
What should I check before relying on an old trail map?
Check the publication date on the sheet and the last-updated date on the route page, then look for current closures and reroutes from the land manager. Bridges wash out, storm damage closes roads, and new trails get built without a reprint. Recent photos and reports from other hikers are useful confirmation, not a substitute for the official notice.
Conclusion: Check the Details Before You Hike
The first thing to do, before you look at any hike description, is pull the official map and the official route page for one route and read them in this order: legend and scale, then distance and route shape, then contours and elevation profile, then the rating system, then your own limits against all of it.
Ten minutes of that reading tells you what the label never will, and it happens while you are sitting safely in your kitchen. Everything else, the pack, the boots and the early alarm, is easier once you know which trail you are actually hiking. And if the map and the current conditions report disagree, trust the conditions report.