To file a travel insurance claim, notify your insurer as soon as the problem happens, open the claim through its portal or claims line, and submit four kinds of proof: your policy details, proof of travel, proof of the incident, and proof of what you paid. A complete submission is usually settled within 30 to 45 days. The whole job takes maybe an hour of paperwork, but only if you start collecting evidence before you land back home.
Two rules cause more lost claims than anything else. First, many policies require you to contact the insurer within 24 or 48 hours of an incident, and for anything medical that window often starts before you receive treatment. Second, travellers routinely get stuck ping-ponging between two insurers when health, home or credit-card cover overlaps with the travel policy.
This guide covers the process end to end, the documents each claim type actually needs, and what to do when a claim comes back denied. Rules and deadlines differ by insurer, policy, country and state, so treat everything here as the general shape of the process rather than the specific terms of your contract.
Table of Contents
- What You Need to File a Travel Insurance Claim
- How to File a Travel Insurance Claim: Step by Step
- Step 1: Read Your Policy and Check the Claim Window
- Step 2: Contact the Insurer or Use Its Claims Portal
- Step 3: Report the Incident and Describe What Happened
- Step 4: Gather Proof and Organize Supporting Documents
- Step 5: Complete the Claim Form Accurately
- Step 6: Submit by the Correct Channel and Keep Confirmation
- Step 7: Track Responses and Resolve the Claim
- Common Mistakes That Delay or Kill a Claim
- Frequently Asked Questions
- How long does it take to get a travel insurance claim approved?
- What should I do if the travel insurer rejects my claim?
- Can I file a travel insurance claim after returning home?
- Should I send original receipts and medical records to the insurer?
- Who do I contact first for an urgent medical emergency while traveling?
What You Need to File a Travel Insurance Claim
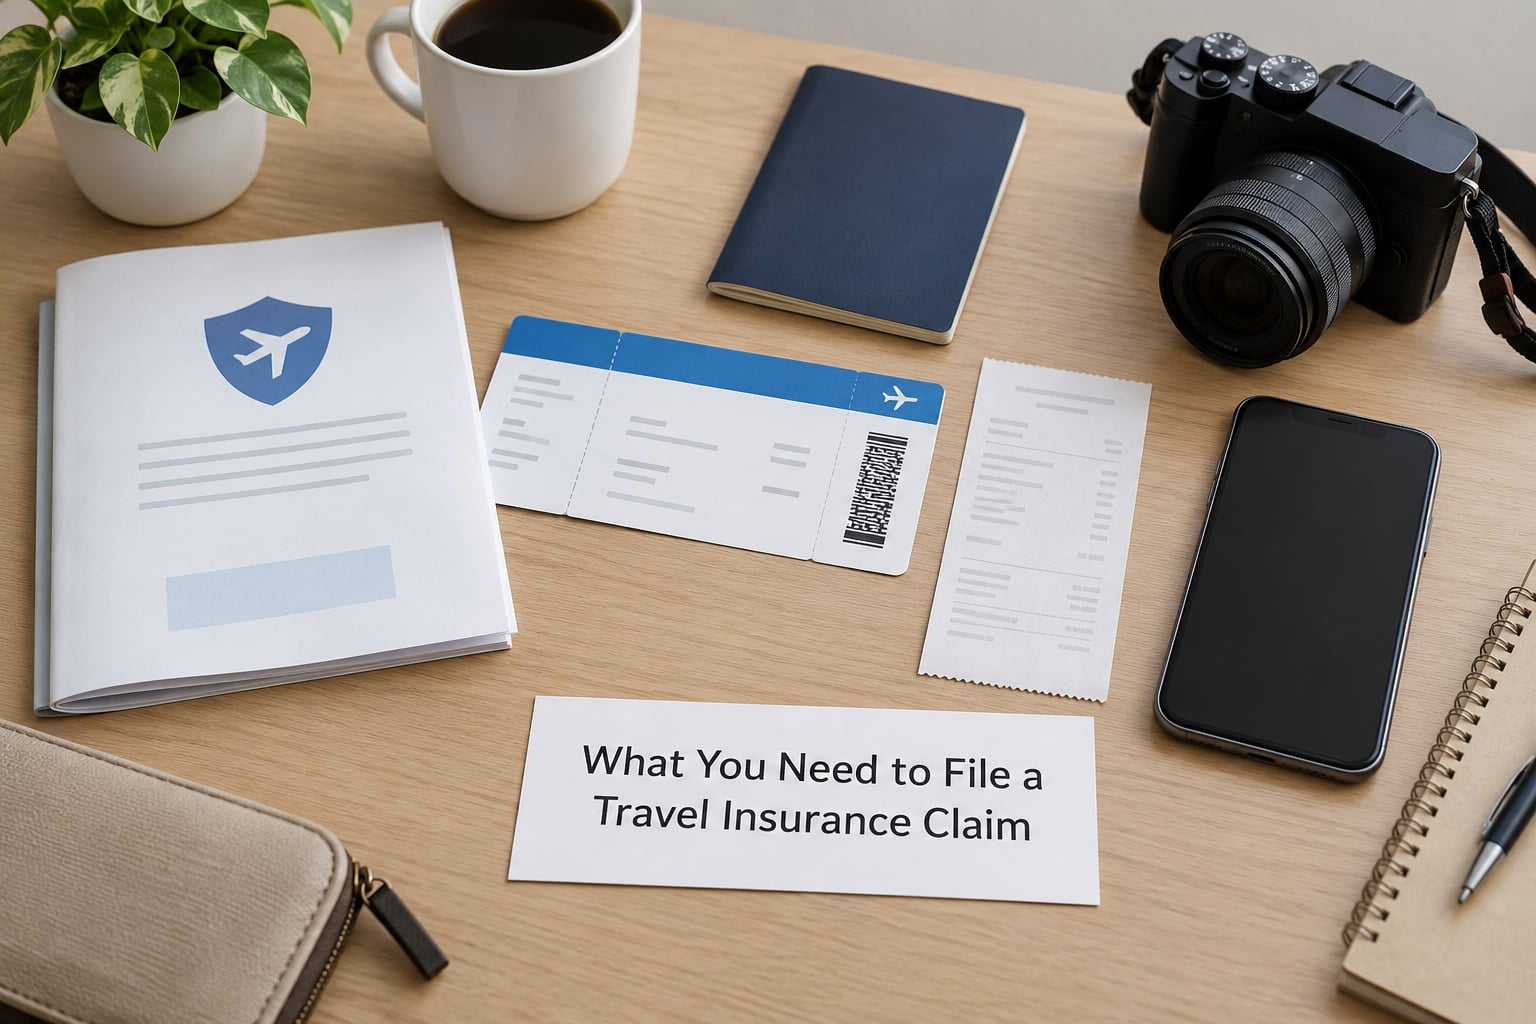
Before anything else, your policy wording controls the process. The schedule and the policy booklet tell you which coverage applies, what the insurer wants as proof, who you must contact, and how soon. Everything after that is just filling in the form that policy describes.
The four categories below are what insurers ask for, and they are the backbone of nearly every travel claim.
- Proof of travel
- Proof of incident
- Proof of expense
- Policy details
Proof of travel ties the claim to the trip itself: itinerary, booking confirmations, e-tickets or boarding passes, hotel and car rental vouchers, and the dates you were meant to be travelling. Screenshot anything the airline’s website might later remove.
Proof of incident establishes that the event happened and why. A police report for theft or loss, a physician’s note or discharge summary for illness, a carrier delay letter for a cancelled or delayed flight, a death certificate or funeral invoice for a bereavement claim, or an airline or hotel written statement when something went wrong with the booking.
Proof of expense is what you actually paid out of pocket. Itemized receipts, card statements, a bank line, a cancelled cheque, or a pharmacy or clinic invoice showing the amount and the date. A bare total is rarely enough; insurers want to see the items and the price of each.
Policy details are the identification side: policy or confirmation number, the date of purchase, the insurer’s name exactly as printed, and a copy of your ID. Store these offline before departure, in a folder you can reach without a working data connection.
Two extra items are worth grabbing while they still exist. A medical release form authorizes the insurer to request records from your doctor or clinic, and without it a medical claim can stall indefinitely. And if the airline owes you a written delay confirmation, ask for it while you are still at the airport.
How to File a Travel Insurance Claim: Step by Step
Seven steps cover it. Read the whole sequence once before you begin, because the order matters: notice first, then report, then evidence, then form, then submission, then follow-up.
Step 1: Read Your Policy and Check the Claim Window
Open the policy booklet and find the claims section. You are looking for five things: the relevant coverage and its limits, the exclusions, the excess or deductible, the maximum benefit, and the required notice period.
Also check the definition the policy uses for a claim and for covered loss. Word choice matters, because the difference between cancellation and interruption, or between an illness and a pre-existing condition, often decides the outcome. You will have worked it out when you can point to the specific page and heading that covers your situation.
Step 2: Contact the Insurer or Use Its Claims Portal
Most large insurers run a claims centre online, and many also keep a claims phone line, an app and an assistance number for emergencies abroad. Use the channel named in your policy wording rather than a general customer service line, because only the claims channel creates a proper file.
The first call or form should do three things. It should give you a claim reference number, a named claims handler or adjuster, and written instructions listing exactly what to send. You have worked it out correctly when you hold a reference number in writing and know the next document the insurer expects.
Step 3: Report the Incident and Describe What Happened
Write a short chronology before you type anything. Plain dates, plain facts, plain amounts. A useful shape is: what you had planned, what happened, when you noticed, what you did next, what it cost, and what documents you have.
Stay neutral and factual. Do not speculate about the cause, do not admit fault, do not guess at causes you have not verified, and do not file the same incident twice under different policies. Insurers compare accounts, and an embellished detail discovered later can damage an otherwise solid claim. If you do not know something, say so plainly and say you will confirm it later.
Step 4: Gather Proof and Organize Supporting Documents
This is where claims live or die. Pull every document that supports the loss, then name each file clearly, for example clinic-receipt_final.pdf rather than scan0042.pdf. Keep an immediate copy and upload the rest when the portal asks for it.
| Claim type | What usually triggers it | Core documents | Common denial reason |
|---|---|---|---|
| Trip cancellation | Illness, injury, bereavement, court order, disaster | Booking confirmations, cancellation invoices and fees, airline credit, physician note or certificate | Cause not covered, or a cheaper refund not claimed back |
| Trip interruption | Cut short after departure | Proof of travel, return flight booking, added hotel, transport and meal receipts | Costs not pre-approved, or no unused-ticket credit claimed |
| Travel medical | Injury or illness abroad | Physician notes, itemized invoices, prescriptions, medical release form, proof of payment | Treatment deemed not medically necessary, or late notice |
| Baggage lost or stolen | Theft, loss, damage in transit | Police report, property list with values, receipts or card statements, carrier property irregularity report | Missing proof of purchase, or value above the sub-limit |
| Flight delay or missed connection | Carrier delay, cancellation or missed link | Carrier delay letter or refusal letter, itinerary, receipts for meals, hotel and transport | Delay below the policy’s threshold, or no carrier documentation |
| Cancel for any reason | Change of mind or covered personal reason | Same as cancellation, plus the stated reason and the purchased share of the cover | Reason falls outside the wording, or percentage not paid |
Read the baggage row carefully. Most policies cap each item far below the coverage limit, so several thousand dollars of camera gear can sit well above a per-item sub-limit. A police report is usually mandatory for theft and worthless without one, so file it at the scene.
Step 5: Complete the Claim Form Accurately
The form is where small inconsistencies cause delays. Reconcile every date, amount and currency across the form, your receipts, your card statement and the booking. If a receipt is in euros and the form asks in another currency, state the currency and note the rate your bank applied rather than converting it yourself.
Then check the mechanics: the right claim category, the correct claim type where the form has a choice, every required field, your signature, and the authorization the insurer needs to release medical records. Some portals also require each attached file to be named and to match a listed category.
Step 6: Submit by the Correct Channel and Keep Confirmation
Use the channel your policy names. Online portals usually cap file size and accept a limited set of formats, so check those limits before you start uploading and convert scans if needed. Never send originals; send clear copies, and keep the originals in one folder.
Save the whole claim package along with the submission date, the confirmation page or email, the full email headers, and your reference number. This is your evidence that you delivered, and it settles arguments about timing later. It worked when you can prove what you sent, when you sent it, and where it went.
Step 7: Track Responses and Resolve the Claim

After the insurer’s stated response window has passed, follow up. One short email naming the reference number, the date submitted and the outstanding items is far more effective than repeated phone calls with no record. If they have sent a request for missing items, answer it in writing and attach everything they asked for in a single reply.
If you disagree with a decision, work through the process in your own policy rather than starting outside it. Most insurers offer an internal review, and many of them are handled by a person who was not involved in the first decision. After that come the external routes: a financial ombudsman or ombudsperson, a licensed financial services regulator, or a dispute resolution scheme. Which one applies depends on where you live and where the insurer is regulated, so check the policy and your national regulator for the correct route.
Common Mistakes That Delay or Kill a Claim
Almost every denied claim traces back to one of these, and every one has a simple correction.
- Reporting late. The notice window has passed. Fix: notify as soon as you know, even if the file is incomplete, then keep adding to it.
- Incomplete evidence. A total on a slip instead of an itemized receipt, or a missing physician note. Fix: photograph each receipt as you receive it, and ask the clinic for a full itemized invoice before you leave the country.
- Guessing at replacement value. Quoting a figure you cannot support invites a reduction. Fix: give the purchase price, receipts, card statements, and a current written valuation for hard-to-evidence gear.
- Mixing currencies. Converting totals yourself and leaving the rate unstated. Fix: record the original amount and currency, then note the rate your bank or card used.
- Sending originals. They leave your hands and never come back. Fix: send clear copies, keep the originals, and scan everything on the day you receive it.
- Missing a carrier deadline. Airlines often require delay or cancellation claims within a short window, sometimes shorter than your policy’s. Fix: tell the airline in writing at the airport even if you also plan to claim.
- Repeated calls, no records. Nothing to show later. Fix: follow up in writing, keep every email, and note the date and name of whoever you spoke to.
- Going around the named channel. A general support line that never opens a file. Fix: use the claims contact in the policy wording and get a reference number.
Two habits protect you further. Ask your insurer in writing, before you pay, whether a proposed expense is covered and whether pre-authorization is needed, and hold on to that answer. And keep your evidence folder alive after the claim closes, since a denied claim can be reopened on appeal months later.
On the other side of the line, insurers are alert to inflated claims, so never speculate, exaggerate or dispose of documents. Honesty protects you far more than a creative story ever could, and an honest claim that fails on a technicality is often fixed on review.
Frequently Asked Questions
How long does it take to get a travel insurance claim approved?
A simple reimbursement is often paid within about two weeks of a complete submission, and insurers commonly quote 30 to 45 days for a fully documented file. Medical claims usually move faster when the insurer has direct billing arrangements with the treating facility. Anything contested takes longer, and some travellers report waiting many weeks just to receive a written denial. The best lever you control is completeness: a single submission with every requested item usually beats three rounds of chasing.
What should I do if the travel insurer rejects my claim?
Ask for the denial in writing with the specific policy wording relied on, then compare it against the facts and documents you filed. If the wording does not support the decision, submit a short internal appeal that quotes the clause, attaches the missing evidence and states the amount you are claiming. Keep it factual and civil. If the internal review fails, escalate to a financial ombudsman, a dispute resolution scheme or your national regulator, depending on where the insurer is licensed.
Can I file a travel insurance claim after returning home?
Usually yes. Most policies allow you to file once you are back, provided the incident happened during the covered period and you gave notice within the stated window. Trip cancellation claims normally need to be filed before departure, because the insurer expects to arrange or fund the refund itself, and airline carriers impose their own deadline for refunds or credits. Medical claims typically allow a longer filing window, but they still require a medical release form. Check your notice period first, then file.
Should I send original receipts and medical records to the insurer?
No. Send clear copies and keep every original. Scans or photographs are usually accepted through the claims portal, and many insurers explicitly ask that documents are uploaded rather than mailed. If the wording requires originals, send them by tracked delivery, keep a copy of everything you send, and write down the date. For medical records, sign the medical release form so the insurer can request what it needs directly from the provider.
Who do I contact first for an urgent medical emergency while traveling?
For an emergency, get medical help first and call the insurer as soon as it is safe to. The assistance number is usually a collect or 24-hour line listed on your policy card, and it can arrange direct billing with the hospital, guarantee payment for a medically necessary admission, or organise evacuation and repatriation. Contacting the insurer before treatment is not a realistic expectation, but calling before the paperwork and discharge process is finished can protect the claim. Get the admission number and keep every invoice.
Do the small thing first: read the notice period and the claims contact in your policy today, and start a folder for the four kinds of proof before you travel. Deadlines and rules vary by policy, insurer, country and state, so use your own wording as the authority and get professional advice for your specific situation.