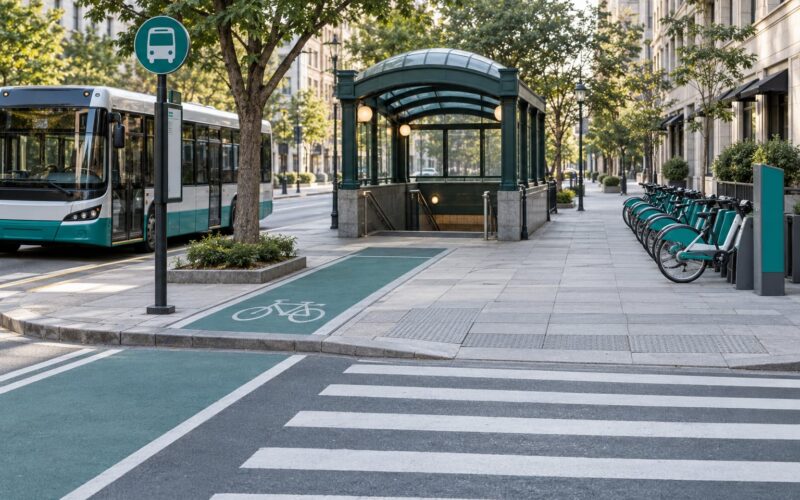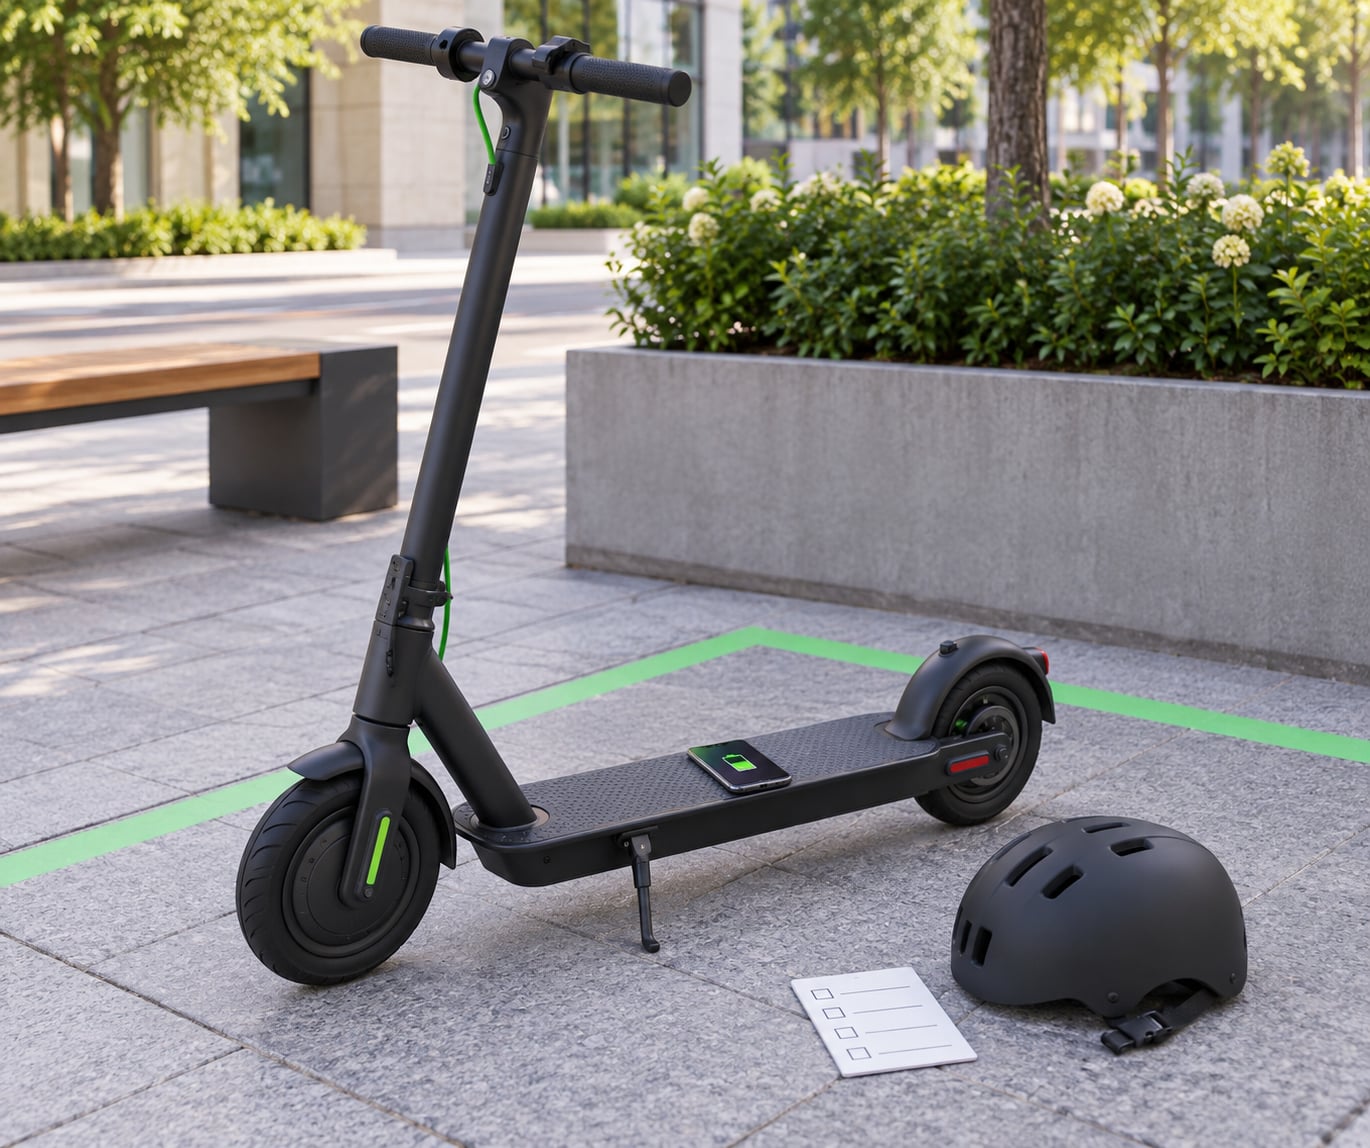
Renting an electric scooter in a new city takes about ten minutes: download the operator’s app, create an account, open the map, walk to a scooter, scan its QR code, ride, then park and end the session. The hard part isn’t the scooter, it’s the local rules you don’t know yet.
Knowing how to rent an electric scooter in a new city well, though, comes down to four things: the right app, the rules you haven’t read yet, a scooter you photographed before unlocking, and a ride that’s properly closed out. First-timers tend to learn that the slow way, and every problem I’ve seen trace back to one of those four.
Table of Contents
- What You Need to Rent an Electric Scooter in a New City
- Step-by-Step: How to Rent an Electric Scooter in a New City
- Choose Where to Rent
- Create an Account and Verify Your Details
- Find an Available Scooter and Check the Map
- Inspect the Scooter Before Unlocking
- Understand the Ride and Parking Rules
- Start, Ride, Park, and End the Rental
- Common Mistakes
- Quick Safety Tips
- Frequently Asked Questions
- Can I rent an electric scooter in a city where I am a visitor?
- Do I need a local phone number or a credit card to rent one?
- What if the rental company does not offer an app?
- Can I be charged for damage that was already on the scooter?
- What should I do if the battery runs out or I cannot find a parking zone?
- Conclusion
What You Need to Rent an Electric Scooter in a New City
Shared scooters need very little. A phone with mobile data, a payment card, and a few minutes of setup cover almost everything. The rest is preparation, and doing it before you land removes most of the friction.
- A smartphone with mobile data. The app needs data to load the live map and confirm the unlock. Wi-Fi in a hotel lobby won’t help you at the kerb.
- A payment method the operator accepts. Most take major credit and debit cards plus phone wallets, and some accept prepaid or virtual cards. A small temporary hold on the card is normal, not a charge.
- A valid government-issued ID. Where local law requires a licence or ID check, you’ll photograph it inside the app. Keep it on your phone, not in a bag in another hotel room.
- Location permissions switched on. The map can’t show nearby scooters without them.
- Your own helmet. Most rental fleets don’t supply one, and the ones that do are often single-use covers.
Rentals come in three shapes, and picking the right one saves you a lot of fumbling on day one.
| Rental model | How it works | Best for |
|---|---|---|
| App-based dockless | Scooters stand on the street; you find them on an in-app map and scan the QR code | Short trips, dense city centres, first-time riders who want flexibility |
| Station-based dock rental | You collect and return a scooter at fixed docking stations | Travellers who want a defined pickup point near a station or airport |
| Staffed rental shop | You sign a paper or app agreement at a counter and get a scooter handed over | Longer rentals, groups, riders who want a checked handover and deposit terms in writing |
Step-by-Step: How to Rent an Electric Scooter in a New City
Choose Where to Rent
Start before you travel, not on arrival. Every major operator publishes a map of the cities it serves, and in a new city that list is usually short: two to four brands rather than the dozen you might expect. Check which of them actually cover the neighbourhoods you’ll be in, because a scooter in a neighbouring city is useless to you.
Then compare the three models above. Learning how to rent an electric scooter in a new city really comes down to this first decision: a dockless scooter gives you freedom but requires reading the map carefully, a docked rental gives you a fixed location but often restricted hours, and a staffed shop gives you a human being to ask questions at a cost in time and paperwork.
Before creating an account, look for four things: the service area, operating hours, any service or booking fee, and where you’re allowed to pick up and drop off. Rider forums are consistent on one point: the operators that work in a given city change faster than any travel guide does.
Create an Account and Verify Your Details
Download the operator’s app from the official app store, not a link from a stranger. Create the account, confirm your email and phone number, add a payment method, allow location access, and read the rental agreement before you ride.
Menus and wording differ between operators and regions, so treat these as generic steps rather than exact button names. The account is ready when the app shows your name, a saved payment method, and a map with scooters near you rather than an error screen.
If the app asks for a local phone number and you don’t have one, move on. A foreign card that gets declined is far more common than a phone number problem, and both are worth testing a day before you land, while you still have time to try a different card or a different operator.
Find an Available Scooter and Check the Map
The live map shows available scooters as icons, usually with a battery percentage. Tapping one gives you its remaining range, the distance to it, and sometimes a condition note.
Read the map layers too, not just the pins. No-ride zones, slow-speed zones, and geofenced boundaries are drawn on the same screen, and a scooter sitting just outside a boundary is a trap for a first ride.
Don’t pick the nearest one out of habit. A scooter two blocks further can mean a legal parking spot, a fuller battery, and an unbroken handlebar. Check that the pickup point is on a wide pavement, not in a doorway, a bus stop, or a cycle lane you’re about to stand in.
Inspect the Scooter Before Unlocking
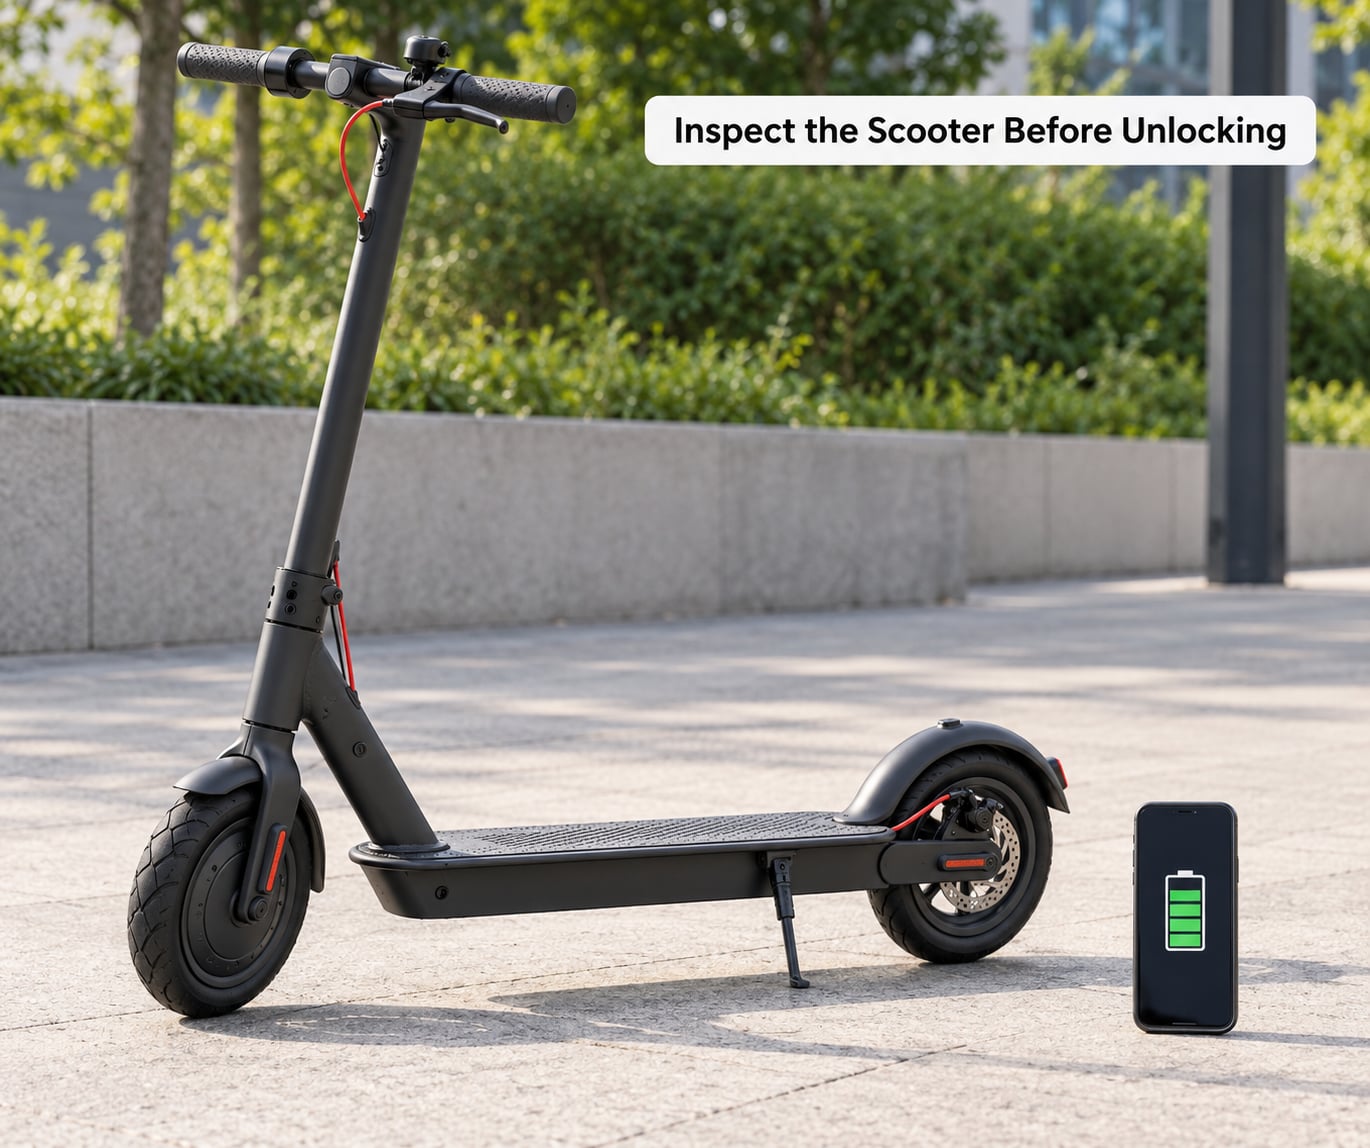
Two minutes of inspection protects you from a damage charge that can follow you home. Walk around the scooter before you scan anything.
- Tires. Press the centre of each tire. A soft or visibly cracked tire will give you a wobbly, unpredictable ride.
- Brakes. Squeeze the lever. It should feel firm and bring the wheel to a stop, not feel spongy or grind.
- Handlebar and stem. Check that the stem is locked into place and the bar doesn’t rotate. Most wobbly rides start here.
- Display and lights. Turn it on. A working display with a readable battery level and a headlight that comes on means the unit is being maintained.
- Kickstand and deck. The stand should hold the scooter up on its own, and the deck should be flat and free of cracks.
Photograph all sides, the handlebar, and the display with the battery level visible. Note existing scratches, dents, or a bent kickstand in the app’s damage report if the interface offers one, then cancel and pick another scooter if anything feels unsafe. Scuff marks that were there when you arrived are the whole reason for the photos.
Understand the Ride and Parking Rules
Rules are local, and a rule from the city you flew from tells you nothing about the one you landed in. Four things vary most: speed limits, whether you may ride on the pavement or must be in the bike lane or carriageway, helmet requirements, and minimum age.
Some cities permit pavement riding under a low speed cap, others have banned it entirely and treat e-scooters like class II e-bikes with different rules. Some require an inline helmet, most don’t. A handful of cities set a strict minimum age and require a licence check, and a few use slow-speed zones where a cap of roughly 20 km/h replaces ordinary road limits.
Verify locally, in this order: the city’s official transport or shared-mobility page, the operator’s rental terms inside the app, the signage where you plan to ride, and a staff member at a staffed rental point. Anyone giving you a confident verbal answer on the street is guessing.
Also read the parking rules now, because they’re the ones that cost money. Designated drop-off zones are usually marked on the app map as shaded areas or corridor lines.
Start, Ride, Park, and End the Rental
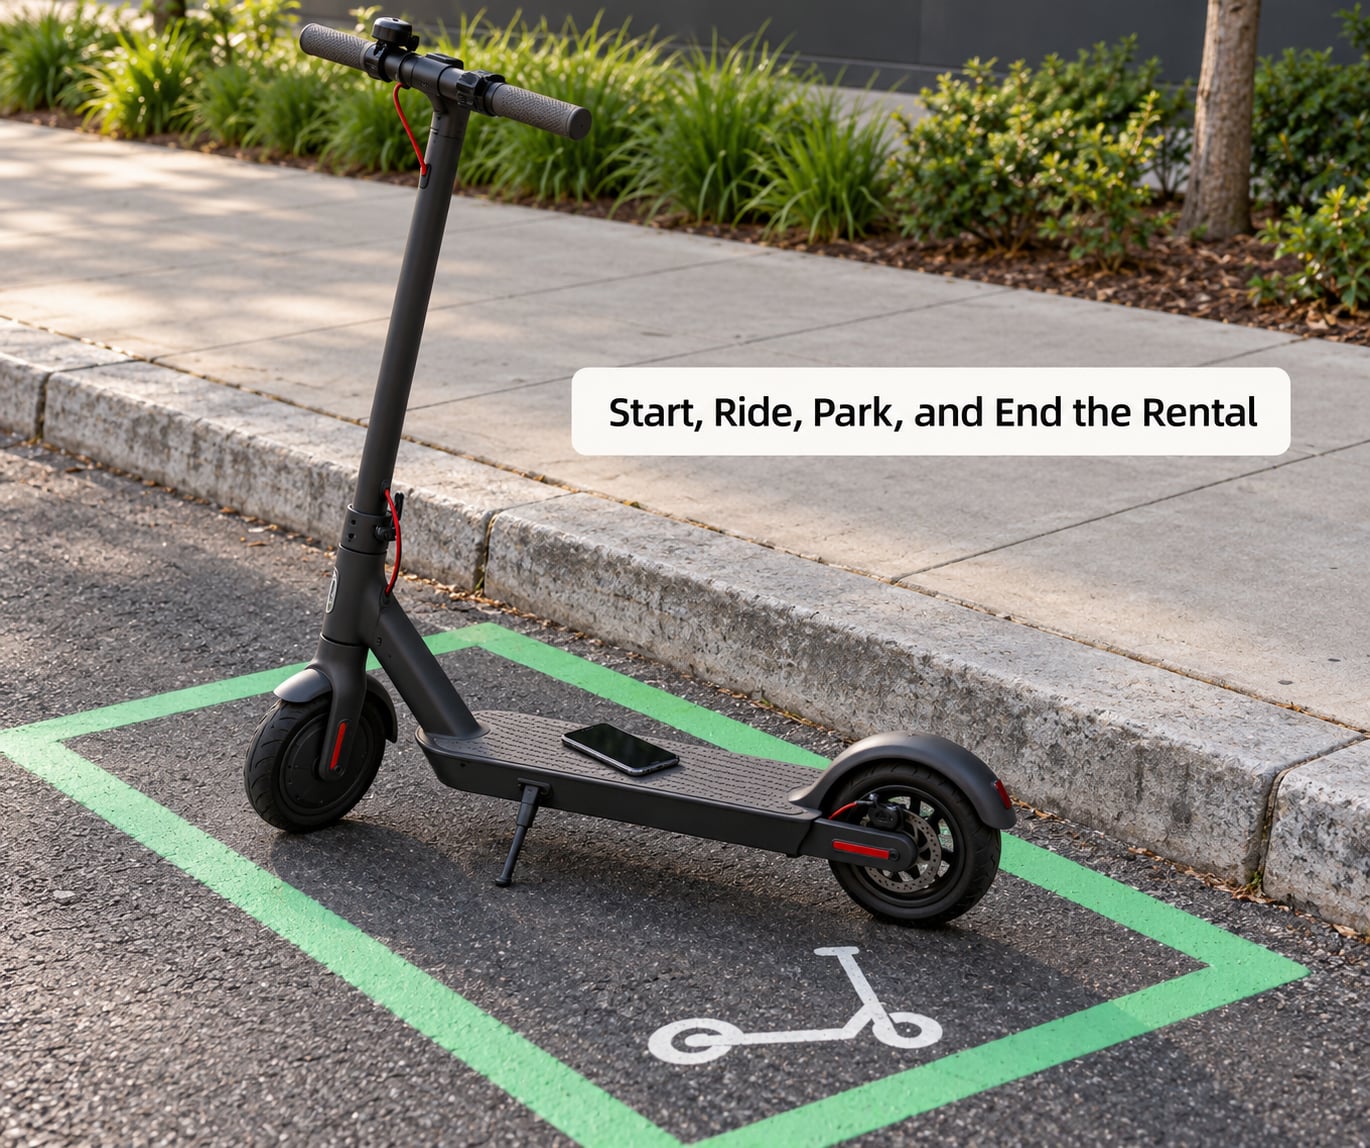
Scan the QR code or tap the scooter with your phone to unlock. The app should show a live timer, which is the signal that the rental is active and billing has started. If the timer doesn’t start, don’t ride.
Twist the throttle gently on an open stretch first. The motor responds instantly and scooters are nearly silent, which is the single thing first-time riders underestimate: drivers genuinely do not hear you approaching. The mechanical learning curve is about ten minutes, and the real skill is traffic awareness.
Ride at a speed that matches the people around you, keep both hands on the bar, and use designated crossings rather than crossing between parked cars. Hills drain the battery faster, and so does headwind, so leave headroom on longer routes.
Finish inside a marked parking zone, stand the scooter upright, photograph it where you left it, and end the ride in the app. Then check your ride history to confirm the session is closed and the charge record has landed. Walking away while a rental is still running is the most common way visitors end up with a surprise charge, and blocking a rack, driveway, or pedestrian route is the grievance other riders complain about most. Get how to rent an electric scooter in a new city right and the last five minutes matter as much as the first ten.
Common Mistakes
Each of these is easy to fix and awkward to undo.
- Riding before reading the local rules. Fix: spend two minutes on the city’s shared-mobility page before your first unlock.
- Treating a no-ride zone as a suggestion. Fix: check map layers before you pick a scooter, not while you’re standing on the boundary.
- Skipping the pre-rental photos. Fix: photograph all sides and the display, always, even on a scooter that looks perfect.
- Parking outside the marked area. Fix: end the ride inside a designated zone; impound and removal charges are the rider’s problem, not the city’s.
- Leaving the rental running. Fix: end the session in the app, then confirm it shows as closed in your ride history.
- Believing a stranger’s verbal answer on the pavement. Fix: use the city page, the rental terms, and posted signs instead.
Quick Safety Tips
Wear a properly fitted helmet, and replace it after a real impact. Start every rental on the lowest power setting and get used to the brakes before you need them. Use designated crossings, keep your phone away while moving, and keep both hands available for control. Match your speed to pedestrians and traffic rather than to the app’s top setting. If visibility is poor or the scooter’s condition is doubtful, decline the rental and walk or take transit instead.
Frequently Asked Questions
Can I rent an electric scooter in a city where I am a visitor?
Yes, in most cities, and visitors use the same apps as residents. You need a smartphone, a payment card in the app, and to meet the operator’s minimum age. Where local law requires a licence or ID check, bring your valid government-issued ID and photograph it in the app. Some cities restrict rentals to residents or set a higher age limit for under-18s, so check the operator’s terms before you fly.
Do I need a local phone number or a credit card to rent one?
A local number is usually not required, though some operators verify by SMS and will not send a code to a foreign number. A major credit or debit card is the most reliable option, and most apps also accept phone wallets and some prepaid or virtual cards. A small temporary hold is common. Set the account up a day before you travel so a declined card does not strand you on arrival.
What if the rental company does not offer an app?
Most modern operators are app-based, but station-based and staffed rental shops still exist, and some cities have municipal schemes run through a transit card or a single city app rather than competing brands. If no app is available, look for a staffed rental desk at a station or airport, or a docked system where you collect and return at fixed points. Staffed rentals give you a written handover record, which is useful if you plan to keep the scooter for days.
Can I be charged for damage that was already on the scooter?
It is possible, and that is why the pre-rental photos matter so much. Photograph every side, the handlebar, and the display showing the battery level, and report existing scratches or a bent kickstand in the app’s damage report if it offers one. Most operators use the photos and the location history to separate pre-existing wear from new damage, and a disputed charge can be appealed through the operator’s support channel. Riders are usually personally liable for damage regardless of any personal accident cover.
What should I do if the battery runs out or I cannot find a parking zone?
A flat battery usually leaves enough charge to reach the nearest scooter or a dock, so ride slowly and avoid steep hills. Open the app to see charging stations, docks, and the service boundary, and end the ride where you are standing if there is no zone nearby. Report the fault in the app if the option appears, because a logged dead battery stops idle fees. Riders describe pushing a heavy scooter uphill as the scenario they most want to avoid.
Conclusion
Compare the operators that serve your destination, read the local rules before your first unlock, photograph the scooter from every angle, park inside a marked zone, and confirm in your ride history that the session is closed. Get those five right and learning how to rent an electric scooter in a new city takes about as long as your first ride.