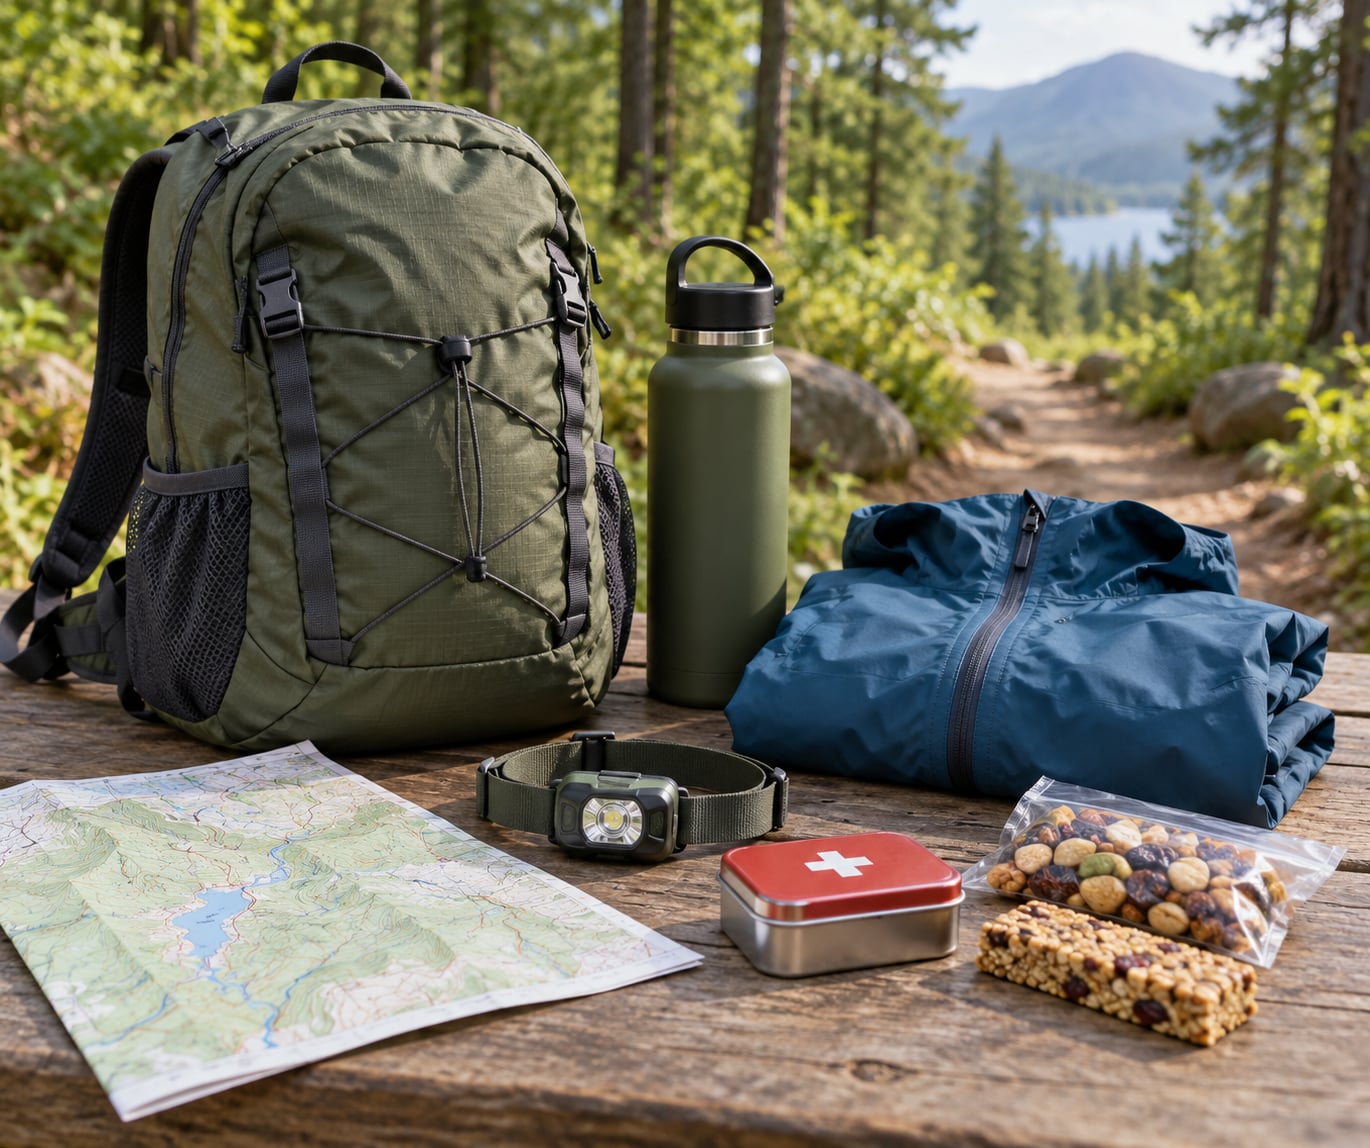
To hike safely as a beginner, pick a short, well-marked trail you can finish in two to four hours, check the weather and trail notices the morning of, carry water, food, layers and a first-aid kit, tell someone your route and expected return time, and turn back early the moment conditions or your body feel off. That is genuinely the whole job.
Most of what gets written about hiking safety is aimed at people carrying a pack across a mountain pass for three days. First hikes are nothing like that. The realistic risks on a beginner day hike are a blister that turns a nice walk into a misery, running short on water, missing a turn because the phone died, and getting back after dark when nobody knew where you were.
Those are ordinary, boring problems, and every one of them has a simple fix you can make in an evening of preparation. This guide walks through the whole routine in order: what to plan, what to pack, what to tell people, how to behave on the trail, and exactly what to do if something goes wrong.
Table of Contents
- What You Need
- Step-by-Step
- 1. Check the Route, Weather, and Trail Conditions
- 2. Build a Simple Beginner Hiking Kit
- 3. Tell Someone Your Plan and Set a Turnaround Time
- 4. Start Slowly and Follow the Trail
- 5. Manage Heat, Water, and Changing Conditions
- 6. Know What to Do in an Emergency
- 7. Finish the Hike Safely
- Common Mistakes
- Frequently Asked Questions
- How far can a beginner hike in one day?
- Do I need hiking boots, or are sneakers fine?
- Is it safe to hike alone as a beginner?
- How much water should I bring on a day hike?
- What should I do if I get lost while hiking?
- When should I turn around on a first hike?
What You Need
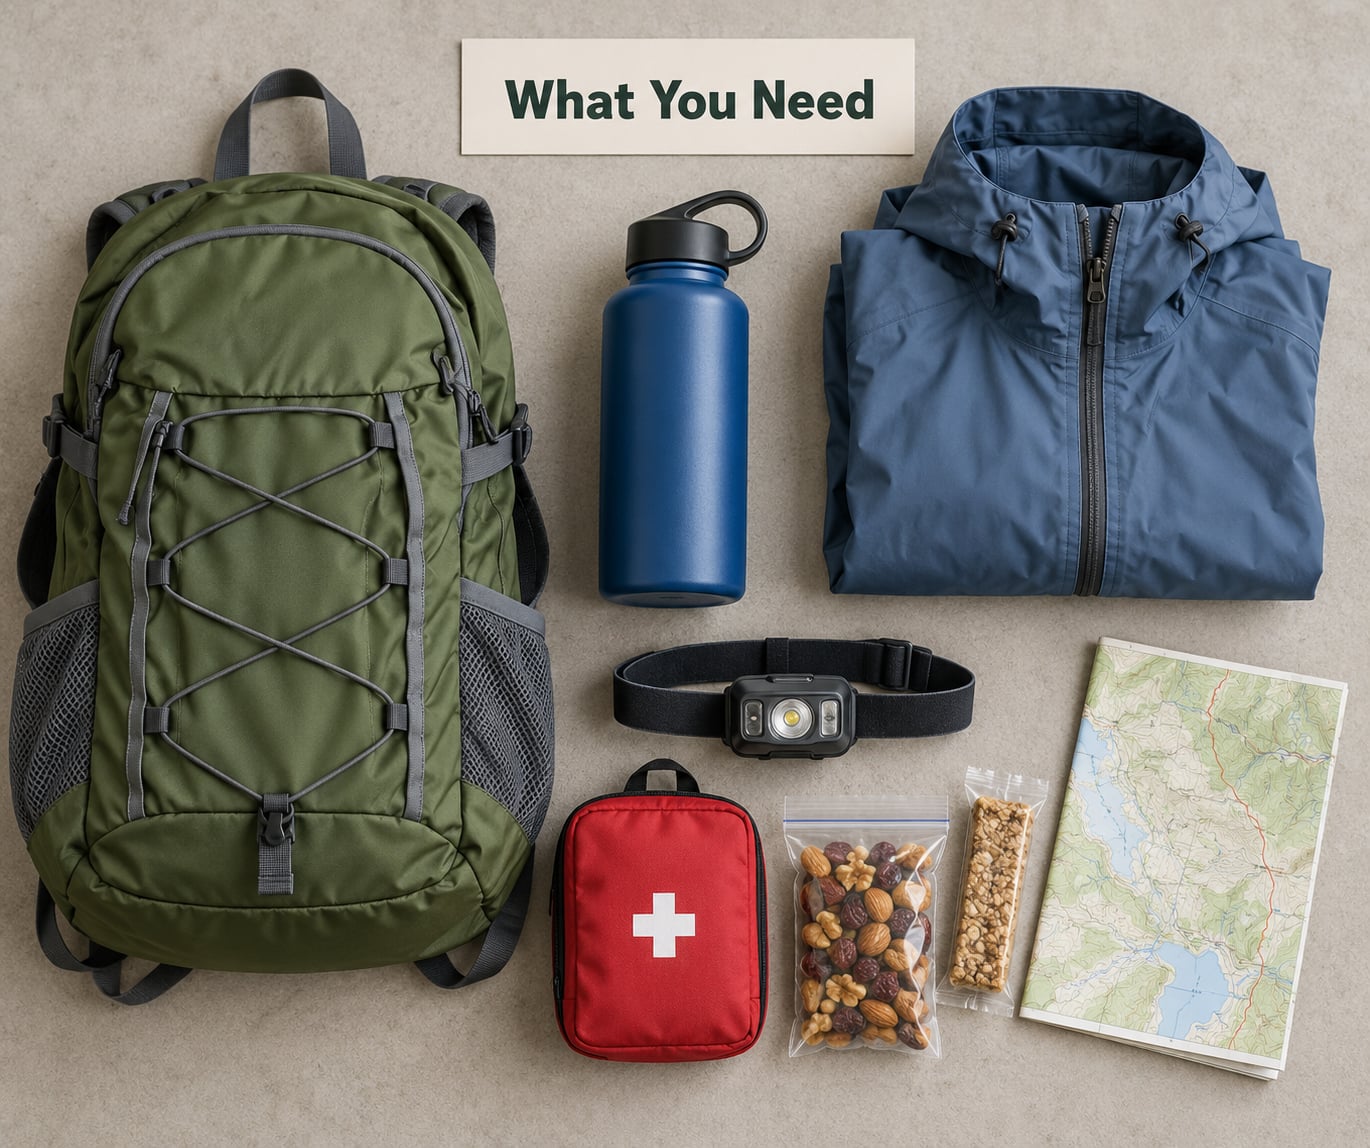
Beginners usually drown in gear advice. The Ten Essentials list published by the American Hiking Society is the standard reference, and it is a good one, but for a short local day hike you do not need to buy all ten items new. You need to know which ones matter for your first outing and which ones can wait.
Planning information. Before anything goes in a bag, gather four things: the trail name and where it starts, the distance and elevation gain from the land manager or a mapping app, the daylight hours for your hike date, and the current closure and permit status. Official park and land agency pages are the authority on closures, and they are often the only source that reflects a washed-out bridge or a seasonal gate that stayed shut.
Clothing. Three layers, no cotton. A synthetic or merino base layer that moves sweat off skin, a fleece or light insulated mid layer, and a packable rain shell over the top. Add wide-brimmed sun hat, sunglasses and sunscreen. On most first hikes in warm months, that is more than enough clothing. In cool months, add a warmer mid layer, because you will be glad for it when you stop moving at a break.
Footwear and socks. This is the single area where spending money pays off fastest. Community advice on beginner hiking threads keeps landing on the same point: good socks plus footwear that has already been broken in matter more than expensive boots. Wear whatever shoes or boots you already walk in regularly, on actual hikes, before you need them in a hurry. Pair them with a moisture-wicking hiking sock with a slightly thicker heel and toe than your everyday socks.
Navigation. Download the trail map for offline use before you leave, since cell coverage disappears in exactly the places you will need it. A paper map and a simple compass are a light backup, and knowing how to orient a map is worth an hour of practice. A phone with a few waypoints saved at the trailhead, your car, and any bail-out point gives you the same information when the screen is at 4 percent battery.
Water, food and emergency supplies. Two liters of water for a warm-weather day hike, more if the forecast is hot and there are no refill points. A compact first-aid kit with blister care, a whistle, a headlamp with fresh batteries, an extra warm layer sealed in a dry bag, and a few hours of food. Snacks, not a full meal.
Fitness preparation. You do not need to train for a first hike, but you should know what you are picking. A useful benchmark: a flat two to three mile walk in 75 to 90 minutes means a moderate local trail is realistic. Anything with more than 300 feet of climbing per mile will feel much harder than the map suggests.
What to buy, rent, or skip. Buy or borrow footwear and socks you have already tested, plus a daypack in the 20 to 30 liter range that fits your torso. Buy a headlamp, a whistle and a first-aid kit; they are cheap and they last. Rent nothing for a day hike. Skip hydration bladders, trekking poles, satellite messengers and bear spray on your first outing, unless the specific trail you have chosen requires bear spray or sits in a dead zone for cell service.
Step-by-Step
1. Check the Route, Weather, and Trail Conditions
Start at the trailhead page or sign, not at a social media photo. Read the distance, the elevation gain, the difficulty rating, the hours needed by slower hikers, and the last chance for water. Then check the forecast for the specific hours you will be out, not the general weekend icon.
Look for three concrete numbers before you commit: total distance, total elevation gain, and time to complete at your pace. Plan roughly thirty minutes per mile on flat ground, and add ten minutes per thousand feet of gain. If the numbers put you past sunset, pick a different trail or start earlier.
Trails get closed for washouts, wildfire, mud, and wildlife. Check the land manager’s current conditions page the morning you go, not the night before. If the page mentions a permit, fire restriction, or seasonal gate closure, follow it.
For weather, forecast the specific hours you will be outside. Afternoon thunderstorms are the classic mountain hazard, and they build on a predictable schedule in warm months. If the forecast shows storms popping in the early afternoon, be walking on a high exposed ridge at noon or be off it entirely. High wind, freezing rain, or an active fire closure are all hard no-go days for a beginner.
2. Build a Simple Beginner Hiking Kit
The Ten Essentials from the American Hiking Society are the standard list: navigation, headlamp, sun protection, first aid, knife, fire, shelter, extra food, extra water, and extra clothes. Here is what each one does and where it lives in a small daypack.
- Navigation – offline map, phone, and a paper backup. Keep the map accessible, not buried.
- Headlamp – hands-free light that still works when the battery gauge lies. Hood on low.
- Sun protection – sunscreen, hat, sunglasses. Highest on open terrain and snowfields.
- First aid – blister care, gauze, tape, pain relief, any personal medication. Kit at the top of the pack.
- Knife – small and sharp, for food and gear repair.
- Fire – matches or a lighter, for warmth and signaling. Know the local fire rules first.
- Shelter – for a day hike, a pack cover and a spare layer usually cover an emergency stop.
- Extra food – one more snack than you expect to need. A drop in energy is a safety problem on a steep descent.
- Extra water – treat your stated amount as the minimum, not the plan.
- Extra clothes – a warm layer sealed in a dry bag. Hypothermia starts warm and ends badly.
Adjust the load for the trip. A two-hour hike on a cool day needs less water and one mid layer. A summer ridge in the heat needs more water, more sun protection, and an earlier start. Heavy gear invites soreness, and sore hips and knees change how people move.
Food should be simple and calorie-dense: nuts, a sandwich, dried fruit, a protein bar, or an energy gel for a long day. Experienced hikers often carry gummy bears for the same reason they carry bars: sugar plus electrolytes in a form you can eat while walking, no prep, no wrapper to repack.
Finally, distribute weight so the heaviest items sit close to your spine and mid-pack. Ten pounds in a badly packed daypack feels like fifteen; ten pounds packed properly feels like eight.
3. Tell Someone Your Plan and Set a Turnaround Time
This is the step beginners skip, and it is the one that turns a small problem into a search. Someone at home should know where you went, when you expect to be back, and when to start worrying.
Give them five details: the trail name and trailhead, your parking location, the planned route including any loop or bail-out point, your expected return time, and what to do if you are late. Add a contact who can be reached if you cannot, especially if you are solo.
Set a turnaround time before you start, not during. Two hours before sunset is a common rule for a first hike. If you are not at a clear, familiar point by then, you turn around regardless of how far you have gone.
If the check-in passes with no word from you, your contact should follow a simple sequence: call, then text, then call park rangers or the land manager with your route and last known point. Agree on that plan in advance, because nobody makes good decisions at midnight.
A paper itinerary in a sealed envelope with a friend is the old-school version and still works well. It removes every signal problem at once.
4. Start Slowly and Follow the Trail
Newcomers routinely go out too fast. On a slope, an over-fast pace is what puts people on the ground in a twisted ankle, not a good trail day.
Pick a pace you can hold while talking. Most people settle somewhere around two to two and a half miles per hour on flat ground, slower on grade. Take a ten-minute break each hour, more on a warm day. Sit down for real breaks; standing around keeps you tight.
On the trail: stay on the marked path, even when a shortcut looks obvious and inviting. Trail blazes and markers are on official routes, and unofficial ones can dead-end in ravines or on cliffs above water. Note each junction and marker as you pass it so you recognize it on the way back.
Confirm your direction every thirty minutes or at every junction. Check the map against the trail markers and the terrain, not against a single blue dot. Your phone can lose signal in a pocket canyon and freeze in cold weather, so treat it as a helper rather than the source of truth.
Watch the clock rather than the distance. A 3.5 mile trail takes two and a half hours, not two. Keep a ten-minute buffer in front of your turnaround time. If you miss the last easy bail-out point of the day, treat that as a signal to shorten the route.
And keep your senses switched on. Experienced hikers consistently put the phone away and leave earbuds out for the first hour. Sound is how you notice a rattlesnake on the path in front of you, another group around a blind corner, or a change in weather arriving.
Turning back early is normal and correct, not quitting. The goal of the first hike is finishing, and finishing early is finishing.
5. Manage Heat, Water, and Changing Conditions
Drink on a schedule rather than when you feel thirsty. By the time thirst shows up, you are already behind. Sip every fifteen to twenty minutes and more in heat, and drink electrolytes if you are out for more than two hours or sweating heavily.
Two liters covers most cool-weather day hikes. Three to four liters covers a hot summer route with no refill points. If a trail has no reliable water source, carry everything you will need for the whole loop. Running out of water on a hot descent is one of the most common beginner problems and one of the easiest to prevent.
Watch for the signs of heat stress: heavy sweating that suddenly stops, headache, nausea, dizziness, confusion, or the sudden cessation of sweating in someone who has been fine all day. Anyone confused or stumbling in heat needs shade, water, and a call for help. Do not let a beginner continue up a hill with these symptoms.
Layers are the other half of the answer. Overheating on the climb and getting cold on the descent is normal, not a failure of preparation. Start slightly cool, strip a layer before you are sweating hard, and put one on before you stop shivering.
Add sunscreen to face, ears, neck, and hands early and reapply every two hours. Smoke or haze from a nearby wildfire is a reason to move the hike to another day or a shorter, lower route; check local air quality on the same morning you check the forecast.
In winter months, walk-on snow is a different activity from hiking and needs traction you already own, not improvised. Ice is the single most common cause of early-season injuries. If you are new to this, wait for a season you can learn it with someone experienced.
6. Know What to Do in an Emergency
Panic is the main obstacle. The response to almost every hiking emergency is the same shape: stop, assess, stabilize, then communicate. Do those four things slowly and you have bought yourself time.
Stop where you are. Sit down before you make a decision. Panic makes people walk, and walking while lost is how people end up miles from where they started.
Get the immediate danger under control. Move away from rockfall, water, and edge exposure. Stop the bleeding, keep a limb still, and keep the person warm. Do not move someone with a suspected back, neck, or leg injury unless they are in real danger where they are.
Call for help. Dial emergency services and state the situation, then your location. Say the trail name, the nearest trailhead, your mile marker, your elevation, and what kind of access a responder has. If there is no signal, send a two-person party for help while at least one person stays with the injured hiker.
Three blasts on a whistle is the standard distress signal, repeated at intervals. It travels much further than a shout and takes almost no energy.
Here is the specific flow for getting lost, because beginners ask this question most and get the worst answer, which is usually keep walking:
- Stop. Sit down where you are. Do not walk to “find the trail.”
- Stay with your gear. Your pack holds water, warmth, light, and food. It also makes you visible to searchers.
- Work the signal. Whistle three blasts, then pause and listen. Try a call and a text with your coordinates, since a text may go through when a call will not.
- Retrace your last steps. Only walk back along the exact route you already walked, and only if it is short, obvious, and in the direction of your last known good point.
- Shelter and wait. Get out of the sun or rain, stay put, and make yourself visible and audible. Stay with your plan and let rescuers come to you.
Preventing it beats managing it. A whistle, a downloaded map, a charged phone with the location-sharing app already on, and someone at home holding your itinerary solve most lost situations before they start. On trails with no cell coverage at all, a satellite messenger carried on your body, not left in the car, is the option that works.
For wildlife: give animals distance, never run from a bear, make yourself look larger if a bear approaches, and in bear country follow the local food-storage rules exactly. Snakes and ticks are far more common than bears. Check yourself and your partner for ticks at the end of every hike, including your scalp, waistband, socks, and armpits. Ticks on hikers are an annoyance and a health issue, not a reason to skip the trail.
A Wilderness First Aid course is worth more than any piece of gear. Most land managers and search-and-rescue groups run weekend versions, and a beginner-focused provider such as the American Red Cross offers them regularly.
7. Finish the Hike Safely
The last hour is where first hikes tend to go wrong, because people relax and start making shortcuts. Keep walking the trail out at a steady pace.
Slow down near trailheads, parking areas, and road crossings. Most people are tired, distracted by the car in the distance, and looking at their feet. That is when knees get wrecked and cars get almost hit.
Account for your group at junctions and again at the trailhead. Count people, check that everyone is on the same footing, and take one more look at the last turn before you pull into the parking lot.
At the vehicle, check for ticks, cool down with a walk rather than sitting in the cold, and eat and drink something. If anyone twisted an ankle, has a blister that has broken, or has swelling, note it the same day; small problems handled immediately do not turn into the reason somebody quits hiking.
Write down what you learned while it is fresh: which shoes worked, where the water was, how long the last stretch actually took, what you forgot. That three-line note is what makes the second hike better than the first.
Common Mistakes
Mistake 1: Starting too far. Your first hike should be somewhere you could finish in under four hours even on a bad day. Pick a trail half the length of the one that looked fun. You can always add distance later; you cannot add daylight.
Mistake 2: Underpacking water. Bring the stated amount plus a margin, and treat any water source as unreliable unless you know it. A single extra liter weighs two and a half pounds, which is cheap insurance against a serious problem.
Mistake 3: Ignoring the forecast. Check it the morning you go, at the hours you will be out. Thunderstorms, high wind, and wildfire smoke are all reasons to move the date or shorten the route, and the cost of rescheduling is low.
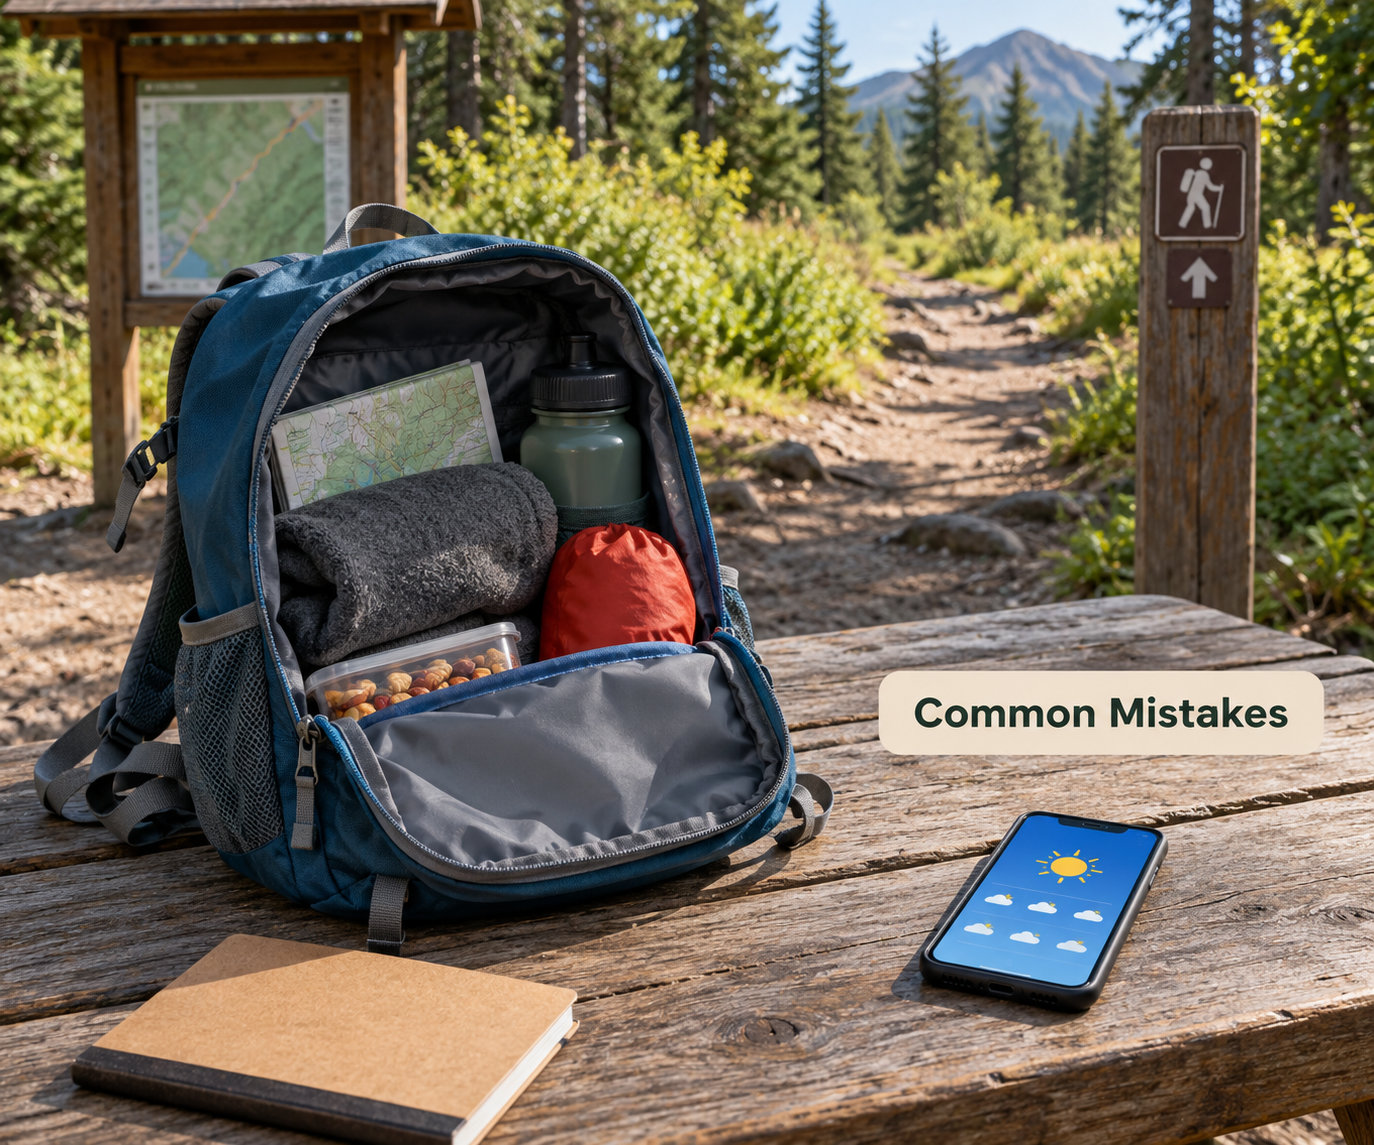
Mistake 4: Relying on your phone alone. Signal drops, batteries drain, screens freeze, and rain damages devices. Download the map for offline use, carry a paper map, save your key waypoints before you start, and carry a battery pack if you depend on the phone for anything.
Mistake 5: Hiking alone without telling anyone. Solo hiking is fine on a busy local trail, but only with an itinerary left with a person, a check-in time, and a plan for what happens if you are late.
Mistake 6: Pushing through symptoms. The second blister, the headache that will not shift, the leg that starts to feel odd, the shivering that will not stop. Turn around or sit down and reassess; finishing a hike in the dark is far worse than finishing it early.
Mistake 7: Walking too fast at the start. You have three hours, not ten. A fast start is how people finish strong on top and fall apart on the descent.
Mistake 8: Leaving trash or gear behind. Pack out every wrapper, banana peel, and used bandage. Staying on the trail surface, not widening it, and leaving what you find are how trails stay open to the next beginner.
Two more worth naming: buying every piece of gear before the first outing, which stalls people for weeks; and skipping the local trail’s own rules about dogs, fires, and bikes, which is how a good day ends with a ranger’s stop.
Frequently Asked Questions
How far can a beginner hike in one day?
Most beginners are comfortable with two to three miles of easy trail, roughly two to three hours, especially with modest elevation gain. A good first goal is a loop that a slower walker would finish in under four hours. Build up distance by about 25 percent a week rather than doubling it, and remember that elevation adds more effort than distance: a mile with 300 feet of climbing feels much harder than a flat mile.
Do I need hiking boots, or are sneakers fine?
Sneakers are fine for most first hikes on flat, maintained trails. What matters far more is that the footwear is broken in, that it fits with thick hiking socks, and that it grips. Do not buy boots the week of your first hike; wear whatever you already walk in, then get them on a real trail before you depend on them. Poorly fitting boots cause more blisters than any trail surface.
Is it safe to hike alone as a beginner?
Hiking alone on a short, busy trail near home is reasonable, as long as someone has your route, your expected return time, and your parking location. The honest risks are not dramatic ones; they are a twisted ankle, an empty water bottle, and a phone with no signal. If you want social proof of your own plan, join a local club’s guided beginner hike for your first outing and hike solo later.
How much water should I bring on a day hike?
Two liters covers most cool-weather day hikes for a few hours. In hot weather or on routes without refill points, plan for three to four liters. Drink on a schedule, every fifteen to twenty minutes, rather than waiting for thirst. If a trail has a reliable spring or tap, check recent reports first; water sources dry up and get contaminated more often than trail maps admit.
What should I do if I get lost while hiking?
Stop where you are and sit down. Do not walk to find the trail, because panicked walking is how people end up miles off route. Stay with your gear, whistle three blasts at intervals, and try a call and a text with your coordinates. Only retrace your exact last steps if that route is short, obvious, and points toward a known location. Then shelter in place and wait rather than continuing to wander.
When should I turn around on a first hike?
Turn around when you are past your turnaround time and not at a clear, familiar point, when the weather is closing in, when you are low on water, or when your body is sending warnings. Feeling tired at mile two is not a reason. Feeling unsteady, nauseated, confused, or unable to stop shivering is. Nobody on the trail will judge you for coming back early; they will for finishing at 9 pm in the dark.
If you take one thing from this guide, make it the pre-trip half, not the on-trail half. Learning how to hike safely as a beginner is mostly the boring work before you leave: choosing a trail that fits your legs, checking conditions, packing water and a warm layer, and writing down where you will be and when you will be back. Do all of that well, and the trail itself becomes a walk in a park.
Pick a two to three mile loop near your home, go with a friend the first time, and write down what you wish you had packed. That is the whole apprenticeship. After a few outings the planning takes an hour instead of an afternoon, and you can stop thinking about safety and start paying attention to the trees.