If you’re wondering what to pack in a travel first aid kit, the short answer is: wound care supplies, a small set of over-the-counter medications, a few hand tools, and copies of anything you take regularly by prescription. Build it at home, keep it in your hand luggage, and add items for the specific trip you’re taking.
I’ve packed one for every trip I’ve taken since my first long-haul flight in 2011, and the version that actually gets used is always the small one. The bulky kit crammed with fifty items I couldn’t identify was left behind at home every single time.
This guide covers what goes in the kit, how to organize it, how much of it clears airport security, and when a cut or an upset stomach is the wrong thing to treat yourself. It’s general information rather than medical advice, so if you have a chronic condition, take regular medication or are heading somewhere with limited medical care, talk to your doctor or pharmacist before you leave.
Table of Contents
- What You Need to Pack in a Travel First Aid Kit
- Wound care and topical supplies
- Over-the-counter medications to pack
- Essential tools and extras
- Prescription medications and the paperwork that goes with them
- TSA, airline and customs rules for flying with a kit
- What not to pack in a travel first aid kit
- Step-by-Step: How to Build Your Own Travel First Aid Kit
- Step 1: Choose the right container
- Step 2: Pack the core supplies for your travel first aid kit
- Step 3: Add items for your trip
- Step 4: Check, label and replenish
- Common Mistakes Travellers Make With Their Kit
- Packing too much
- Trusting a pre-made kit bought in a hurry
- Ignoring expiry dates
- Using unlabelled containers
- Forgetting personal prescriptions
- Overlooking water, sun and bugs
- Leaving accessibility needs out
- Treating the kit as a substitute for care
- Frequently Asked Questions
- What should I pack in a travel first aid kit for an international trip?
- How do I travel with prescription medications in my first aid kit?
- What basic supplies do I need in a travel first aid kit for a child?
- How often should I check and replace travel first aid kit items?
- Can a travel first aid kit replace seeing a doctor?
- Should I bring a first aid kit on a flight?
- What to Do First
What You Need to Pack in a Travel First Aid Kit
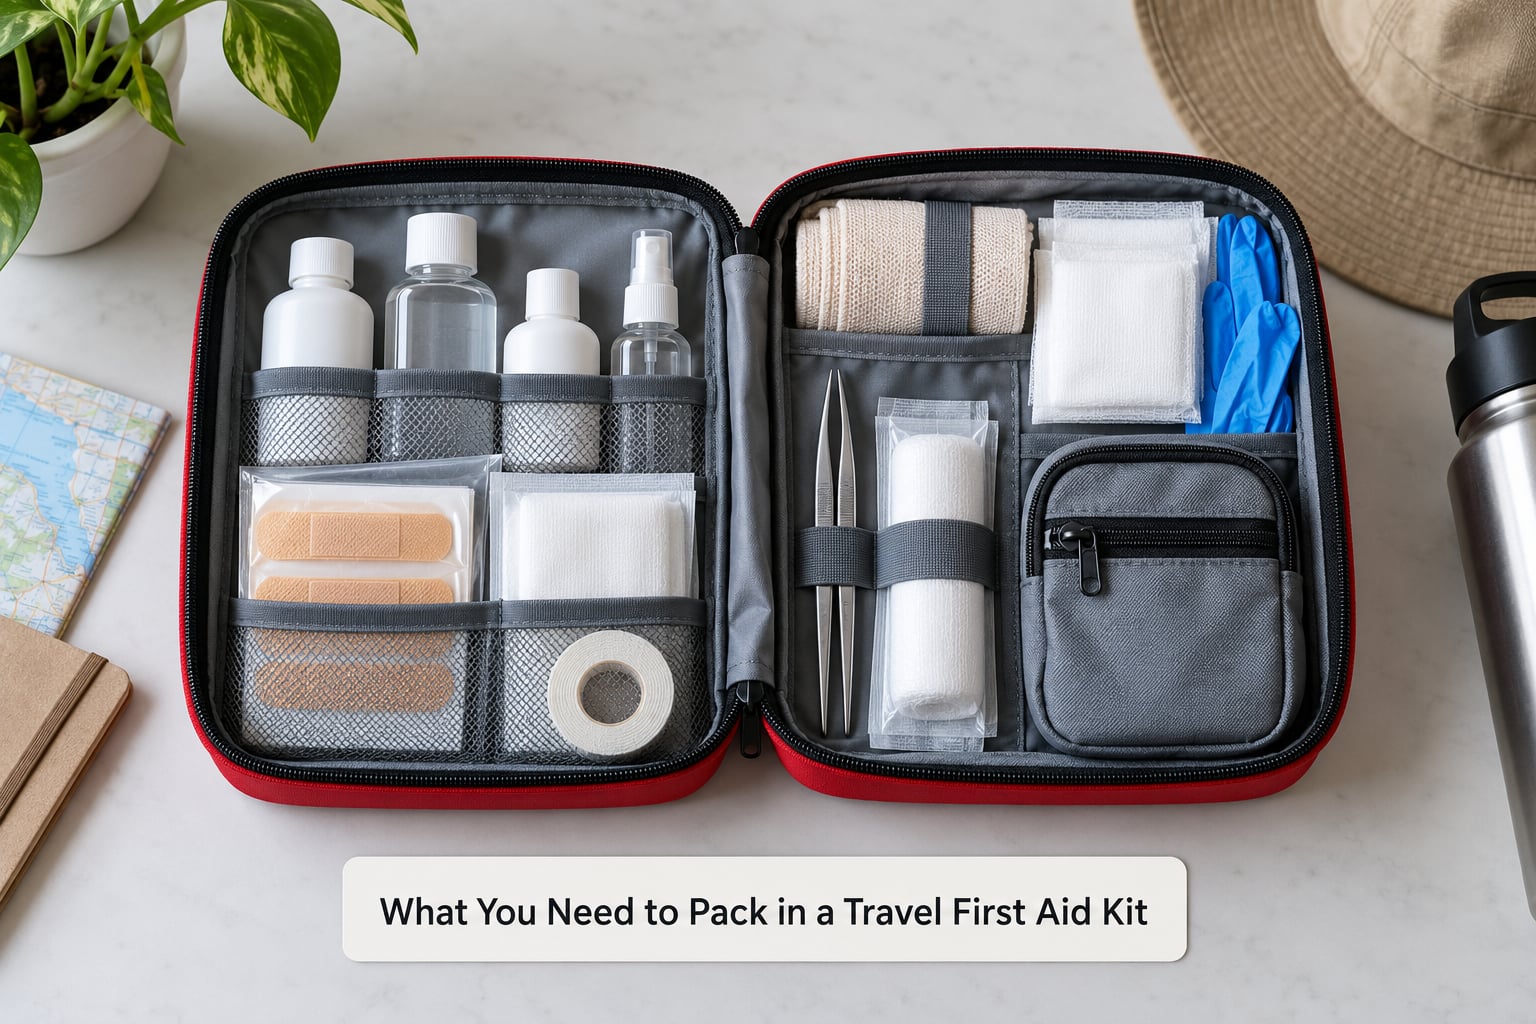
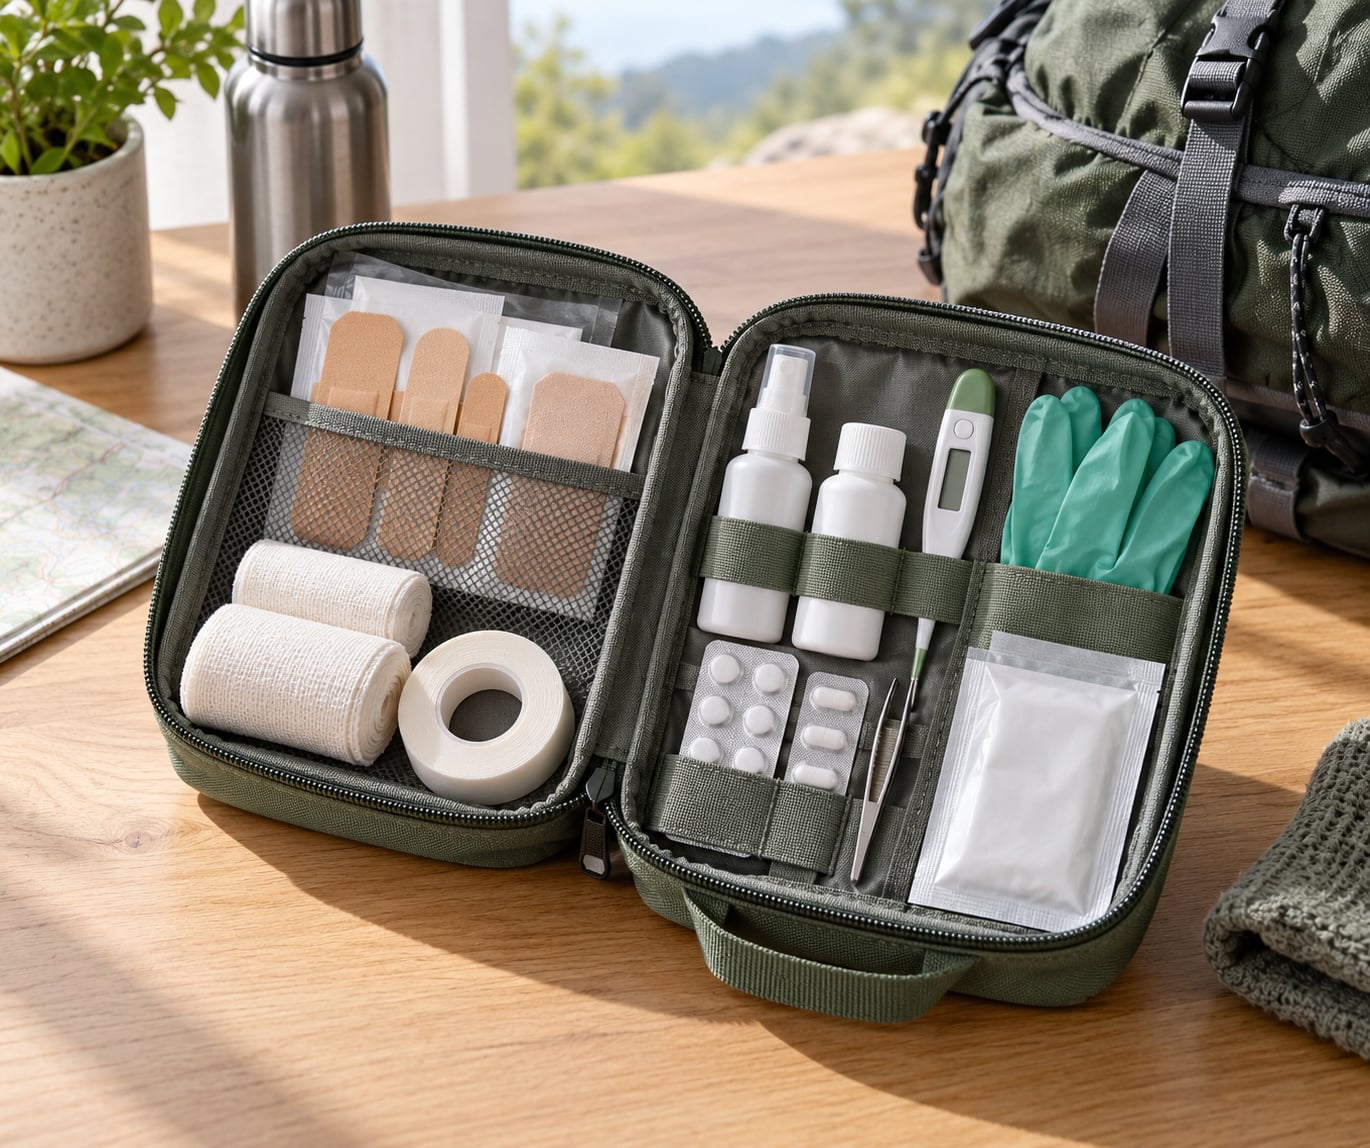
A usable kit falls into four groups: wound care, medications, tools, and the paperwork around your prescriptions. Fifteen to twenty items cover almost every trip. Everything else is either a comfort item or a duplicate of something you already have.
The core checklist below is what to pack in a travel first aid kit for most trips, from a weekend city break to two weeks abroad.
| Item | Category | Why it’s worth the space |
|---|---|---|
| Adhesive bandages, assorted sizes plus knuckle and fingertip shapes | Wound care | Small cuts on kitchen knives and gym equipment are the most common travel injury by a wide margin |
| Sterile gauze pads and a roll of gauze | Wound care | Handles deeper cuts and lets you change a dressing over several days |
| Adhesive medical tape | Wound care | Holds gauze in place and protects blistered feet |
| Antiseptic wipes or a small antiseptic solution | Wound care | Cleans a wound before you dress it |
| Antibiotic ointment | Wound care | Keeps a minor scrape from turning into an infection |
| Blister plasters and moleskin | Wound care | The single most useful item on any walking trip |
| Pain reliever and fever reducer | Medication | Headaches, toothache, fever, and the general misery of a long flight |
| Antihistamine tablets | Medication | Reactions, insect bites, and a lot of awkward dinner conversations |
| Antacid and a stomach remedy | Medication | Spicy food, unfamiliar water, long travel days |
| Oral rehydration salts | Medication | The best answer to dehydration from heat or a stomach upset, and one sachet weighs almost nothing |
| Digital thermometer | Tool | Tells you whether a fever is something to watch or something to act on |
| Tweezers | Tool | Ticks, splinters, and insect stings |
| Small scissors or medical shears | Tool | Opening packets, cutting tape, cutting fabric around a wound |
| Nitrile gloves | Tool | Protects your hands when you’re dealing with blood or someone else’s mess |
| Your regular prescription medication plus paperwork | Documents | The item people most often forget, and the hardest one to replace abroad |
Wound care and topical supplies
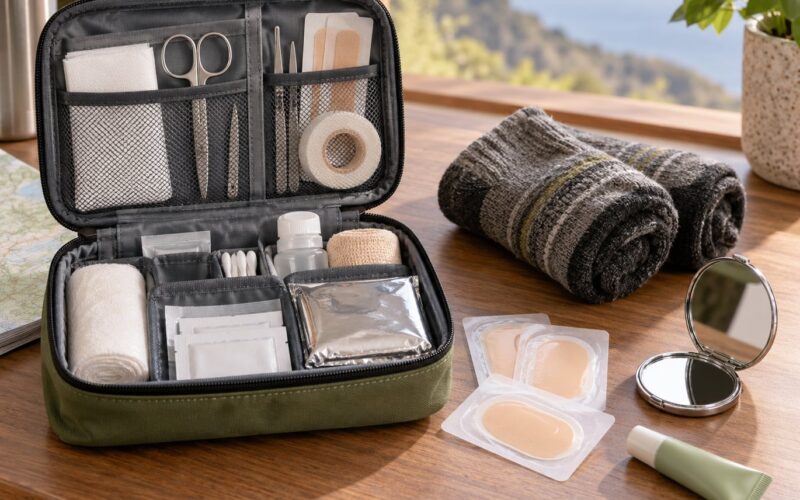
Bandsages are where most kits fail. The cheap mixed box is nearly all one size and useless on a fingertip or a knuckle. Buy a small pack of each shape instead, and add a few fabric plasters if you’ll be walking a lot, since they stay on when sweat and rain arrive.
Gauze matters for anything deeper than a scratch. Bring sterile pads sealed in their wrappers, a small roll of gauze, and a metre or two of tape. A butterfly closure or two is worth carrying for a cut that gapes open, since it pulls edges together while you find a pharmacy. A hydrocortisone cream handles an itchy insect bite; calamine lotion does the same job over a larger area.
Over-the-counter medications to pack
Pack generic names, not brand names, and keep the amount for your trip plus a few extra days. A pain reliever and a fever reducer cover most needs; bring both types if you can, because for some people one is off the menu for a good reason.
An antihistamine earns its spot more often than most people expect. Oral rehydration salts are the item that saves a bad day: dissolved in clean water they replace the salt and sugar your body loses when you’re ill or sweating hard, which plain water can’t do. Add an antacid for the burning-stomach nights, a remedy for traveller’s diarrhoea, and motion sickness tablets if you fly, take winding roads or sail.
Sunscreen, water purification tablets and insect repellent with DEET or picaridin belong in the same family of supplies, though they’re travel gear as much as first aid. Anything in this category is general guidance, not dosing advice — follow the label and ask a pharmacist about anything you’ll take regularly.
Essential tools and extras
Tweezers, small scissors and a digital thermometer do more work than their size suggests. Nitrile gloves are cheap insurance for anyone who might be cleaning up vomit, blood or someone else’s injury. Safety pins, a small sewing kit and a compact mirror have all earned their place on real trips, the last one for checking a tick you’ve already missed.
Other small items that get used: an elastic wrap for sprains and compression, an instant cold pack for sprains and swelling, a CPR face shield or one-way valve barrier if you’re travelling with a group, and a space blanket for genuine wilderness trips. Mylar blankets are for cold emergencies, not for wrapping up after a long day of walking.
Prescription medications and the paperwork that goes with them
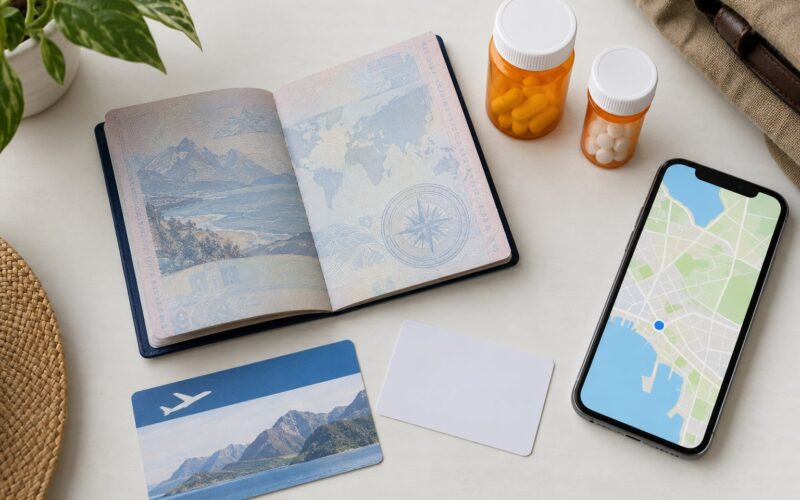
Keep every prescription medicine in its original labelled container. This single rule trips up more travellers than any other part of packing, because loose tablets in a ziplock bag look like something you bought abroad. Border officers want to see the label, the drug name and a matching prescription.
Carry these documents with the medicine, in your hand luggage:
- A doctor’s letter listing each drug by its generic name, the dose, why you take it, and the doctor’s contact details
- Copies of your prescriptions or pharmacy records where they exist
- A printed list of your allergies, medical conditions and blood type if you know it
- Your travel insurance policy number and the insurer’s medical assistance phone number
- A medical alert card or bracelet if a rescuer would need to know something quickly
Pack enough for the trip plus a week, split between your hand luggage and a second bag if you’re travelling with one. Travellers report losing checked bags regularly, and a delayed bag in a country where the pharmacy doesn’t stock your drug is a real problem.
Some common drugs are restricted or completely banned elsewhere. Codeine-based painkillers, pseudoephedrine, certain sleeping pills and some ADHD medications are controlled in a long list of countries. Check the destination’s official immigration or embassy guidance before you leave rather than guessing at the border.
TSA, airline and customs rules for flying with a kit
A first aid kit clears airport security, but the contents are not exempt from the normal rules. Solid items — bandages, gauze, tape, scissors, tweezers, gloves — go in your carry-on without trouble.
The liquids are the catch. Antiseptic liquid, saline, liquid sunscreen, hand sanitiser and most eye drops must each be in a container of 100ml or less, inside the one clear quart-size bag per passenger. Solid tablets and powdered oral rehydration salts sidestep the limit entirely, which is one good reason to bring those rather than bottles. Check the current rule on the official airport or aviation authority site before you travel, since limits do change.
Scissors and small tools are generally permitted if they fit in your hand baggage allowance, but check your airline’s specific rules for anything with a blade. A doctor-signed letter is also worth carrying for controlled medications, and keep medicine in your hand luggage rather than checked baggage for the simple reason that checked bags go missing.
What not to pack in a travel first aid kit
Some popular first aid items do not belong in a travel kit. Anything used to close a wound in a way you can’t remove safely, large scissors that won’t pass security, and items past their expiry date are all dead weight. Skip anything you can’t explain in one sentence.
Also leave behind: prescription drugs you’re not currently taking, over-the-counter medicines that are banned in your destination, used-up packets kept “just in case”, and heavy metal instruments. The Red Cross’s classic family kit includes some items aimed at accidents far bigger than a trip mishap, so it makes a decent reference list rather than a packing list.
Step-by-Step: How to Build Your Own Travel First Aid Kit
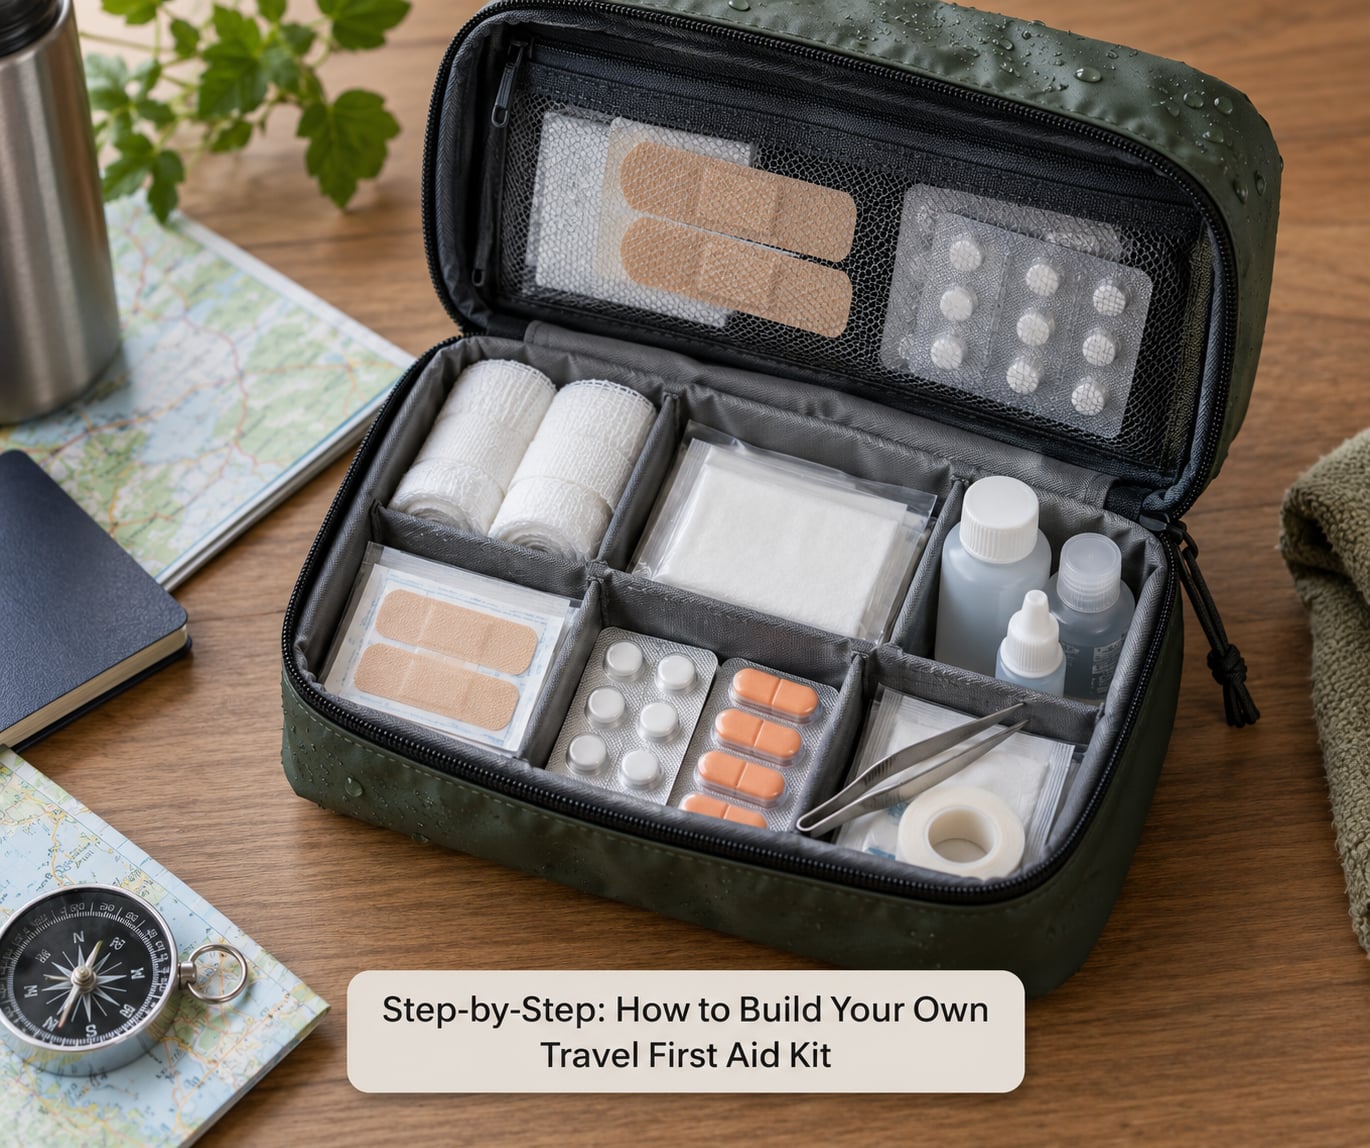
Building your own takes about half an hour and gives you a kit that fits your trip rather than a shopping aisle. Four steps cover it.
Step 1: Choose the right container
Pick a durable, lightweight, water-resistant pouch that fits inside your day bag or the top of your carry-on, and that you can open one-handed. Soft-sided pouches are lighter and pack down flat when empty; a hard case protects breakable items like a thermometer and stops a leak from reaching your clothes.
Zippered compartments beat one open cavity. They keep gauze from migrating to the bottom and burying the tweezers, and they let you find the pain reliever in the dark. Whatever you choose, label the outside with your name, your blood type if you know it and your emergency contact, then keep the kit where you can reach it without unpacking everything.
Step 2: Pack the core supplies for your travel first aid kit
Work through the core checklist above and pack it in small quantities first. The test is whether it closes easily on the first try. If the zip fights you, you bought too much, and something has to go rather than get squashed.
Use small refill packets of antiseptic and ointment instead of tubes where you can, and prefer tablets to liquids. Zip bags in three sizes, labelled with a marker, turn a soft pouch into an organised kit and stop everything migrating into one corner.
Step 3: Add items for your trip
Now layer on what your specific trip needs. Match your destination, who’s travelling and how long you’ll be away to the columns below, and add the relevant items to the kit you just built.
| Trip type | Add these |
|---|---|
| Solo travel | Extra pain relief, antihistamine, oral rehydration salts, thermometer, and a written list of your conditions and the local emergency number |
| With babies or young children | Oral rehydration salts, infant formula, a dosing syringe, thermometer, antihistamine your pharmacist has approved for their age, and spare nappies |
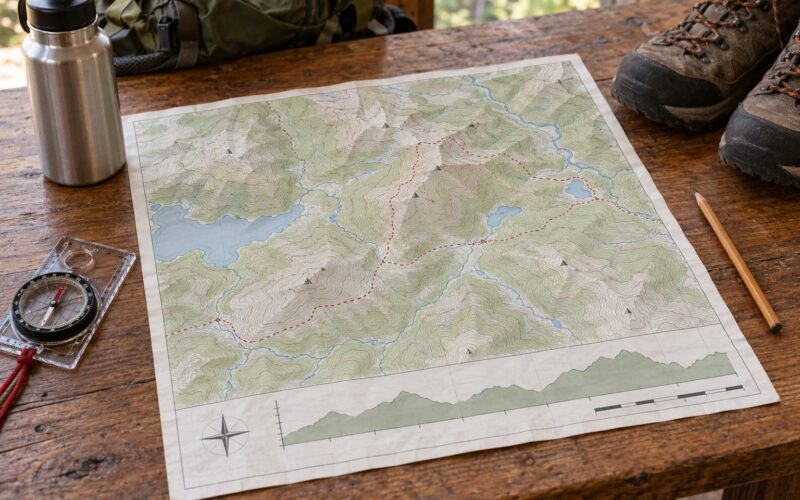
| Hiking and wilderness | Moleskin and leukotape-style tape, a tick remover, elastic wrap, a space blanket, blister plasters, a sewing kit and a headlamp |
| Beach and tropical | High-SPF sunscreen, after-sun, insect repellent, calamine lotion, water purification tablets, sting relief |
| International flight | Everything in the core kit plus motion sickness tablets, lip balm, earplugs, an eye mask and a long-acting pain reliever for the landing |
| Cruise and road trip | Stomach remedies, motion sickness tablets, a small sewing kit, water purification tablets, and a spare tyre kit plus a flashlight for the car |
| Winter travel | Lip balm with SPF, extra warmth layers, blister care for heavy boots, and dry skin cream |
For remote or high-altitude destinations, this changes from general travel advice into proper preparation. Speak to a travel clinic about health risks, required vaccinations and altitude effects for the specific route and season. Sun exposure at altitude and malaria risk in some regions need real information, not a guess from a forum post.
Step 4: Check, label and replenish
Lay everything out on the counter a week before departure and check each item. Throw out anything expired, leaking, discoloured or dried out, especially any medication. Wipe the pouch, check the zip, and confirm the label is still legible.
Then do the trip-specific checks: the destination’s rules on the medicines you’re carrying, your airline’s rules on anything with a blade, and any entry documentation your route requires. Note the date you built the kit on the label so you know when you last checked it. When you get home, restock it and check dates again, because a kit sitting in a drawer quietly expires in a year or two.
Common Mistakes Travellers Make With Their Kit
Packing too much
A kit that weighs more than a paperback and cannot be closed in one go will not be used. The extra items feel responsible, but a crowded pouch means you can’t find anything quickly when your hands are not steady. Fix: pack the core fifteen, then add only what your trip type demands.
Trusting a pre-made kit bought in a hurry
Cheap ready-made kits tend to be mostly adhesive bandages and nothing useful, with the useful tools sold separately. Fix: buy the case and build the contents yourself, or read what’s actually inside before you commit. A pre-made kit makes sense for a cabin bag or a car; for the main trip, customise.
Ignoring expiry dates
Antibiotic ointment, antihistamines and eye drops all lose effectiveness, and a kit is exactly the kind of thing that never gets opened until it matters. Fix: check dates twice a year, and again at home after each trip.
Using unlabelled containers
Decanting tablets into a small box saves weight but removes the label, and border officers treat an unlabelled container with suspicion. Fix: keep prescriptions in the original labelled packaging and carry a doctor’s letter with generic names. Do the same for any medicine you decant from a larger bottle, and label it with the drug name and dose.
Forgetting personal prescriptions
This is the most reported regret among travellers, and it is easy to avoid. Fix: count out your doses for the trip plus a week, split them between two bags, and carry the documentation in your hand luggage.
Overlooking water, sun and bugs
A first aid kit treated as pure first aid misses the three things that cause the most ruined trips: dehydration, sunburn and insect bites. Fix: pack oral rehydration salts, sunscreen, repellent and a water bottle, and treat bites early with antihistamine or hydrocortisone.
Leaving accessibility needs out
A kit built from an average adult assumption fails travellers with reduced mobility, vision, hearing or dexterity. Someone who can’t open a packet needs pre-opened doses; someone who can’t read small print needs a card with the information in large type. Fix: plan for what you specifically need, including an emergency medical ID, and ask your doctor for a written plan.
Treating the kit as a substitute for care
Small cuts, grazes, blisters, a mild headache and an upset stomach are reasonable self-care. Seek real medical help for a deep or gaping wound that won’t stop bleeding, anything involving a joint or bone, a head injury, a serious allergic reaction, difficulty breathing, a rash that spreads with fever, signs of dehydration that don’t improve, or anything that keeps getting worse over a day. When in doubt, get seen.
Know where the nearest clinic is before you need it, and save the local emergency number in your phone along with your insurer’s assistance line. It costs nothing and saves the ten minutes you would otherwise spend searching.
Frequently Asked Questions
What should I pack in a travel first aid kit for an international trip?
Start with the core fifteen items, then add destination-specific supplies: oral rehydration salts, sunscreen, insect repellent and any medicine your doctor has advised for the region. Carry prescriptions in original labelled containers with a doctor’s letter listing generic drug names. Check the destination’s official guidance on restricted drugs before leaving, and keep your kit in hand luggage rather than a checked bag.
How do I travel with prescription medications in my first aid kit?
Keep every medicine in its original labelled container and carry a doctor-signed letter naming each drug by its generic name, dose and reason. A pharmacy or prescription record helps too. Pack enough for the trip plus a week, split between hand luggage and a second bag, and check whether your destination restricts any of your medications before you fly.
What basic supplies do I need in a travel first aid kit for a child?
Add oral rehydration salts, infant formula if relevant, a dosing syringe, a digital thermometer, adhesive bandages in small sizes, calamine lotion, and an antihistamine your pharmacist has confirmed is suitable for your child’s age. Bring any regular prescription medicines with the same paperwork adults need, and ask your doctor about dosing before the trip rather than working it out abroad.
How often should I check and replace travel first aid kit items?
Check dates and condition twice a year, and always before a trip. Replace anything expired, leaking or discoloured, especially medicines, creams and eye drops. Mark the build date on the outside of the pouch so you know when it was last inspected, and restock the kit as soon as you get home so it is ready for the next departure.
Can a travel first aid kit replace seeing a doctor?
No. A kit is for minor problems such as grazes, blisters, mild headaches and upset stomach. Get medical care for deep or gaping wounds, heavy bleeding, injuries to a joint or bone, head injuries, breathing difficulty, spreading rashes with fever, or dehydration that does not improve. This guide is general information, not medical advice, so check with a doctor before you travel if you have a chronic condition.
Should I bring a first aid kit on a flight?
Yes, and it belongs in your carry-on. Solid items like bandages, tape, tweezers and gloves pass security without trouble. Liquids must follow the standard limit: containers of 100ml or less inside your clear quart-size bag, which is why tablets and powdered oral rehydration salts are easier to fly with. Check your airline’s rules for scissors and tools, and verify current security limits before departure.
What to Do First
If you’re deciding what to pack in a travel first aid kit, start with the fifteen-item core list and stop there for most trips. Add only what your destination, your travel party and your length of stay actually require, then spend ten minutes on the paperwork side, because prescriptions are the item that’s painful to replace and impossible to improvise.
Pack the kit in your hand luggage, label it, check the dates, and write down the local emergency number and your insurer’s assistance line before you fly. Everything after that is refinement.