Learning how to get a camping reservation at a popular park comes down to three things: knowing the booking window, having your account and payment ready before the release time, and being online the second availability opens. Sites at high-demand parks can sell out in minutes, so the work happens days and weeks before release day, not on it.
Most national park campgrounds run on Recreation.gov, where bookings typically open about six months ahead, though several flagship parks open on their own longer schedule. State parks run on separate portals with windows ranging from a few weeks to more than a year. This guide walks through the whole sequence: research, backup dates, account setup, release-day timing, checkout, and what to do when everything reads sold out.
If you only do four things, do these: find the exact release date and time for your park, pick at least three fallback dates, save your payment method ahead of time, and turn on cancellation alerts the day you book anything else.
Table of Contents
- What You Need
- Step-by-Step: How to Get a Camping Reservation at a Popular Park
- Step 1: Check the Park’s Official Booking System and Release Schedule
- Step 2: Choose Several Backup Dates and Campground Options
- Step 3: Create Your Account and Save Payment Details
- Step 4: Set Alerts and Be Ready at Release Time
- Step 5: Submit the Reservation Promptly
- Step 6: Search Cancellations and Respond Safely
- Common Mistakes
- Frequently Asked Questions
- How far in advance should I book a campsite at a popular park?
- What if a popular campground says reservations are not available?
- Can I get a camping reservation through a park lottery?
- How do I find cancelled campsites at a popular park?
- Do popular parks accept walk-in campers if the campground is full?
- Can I change the dates after booking a campsite?
- Conclusion
What You Need
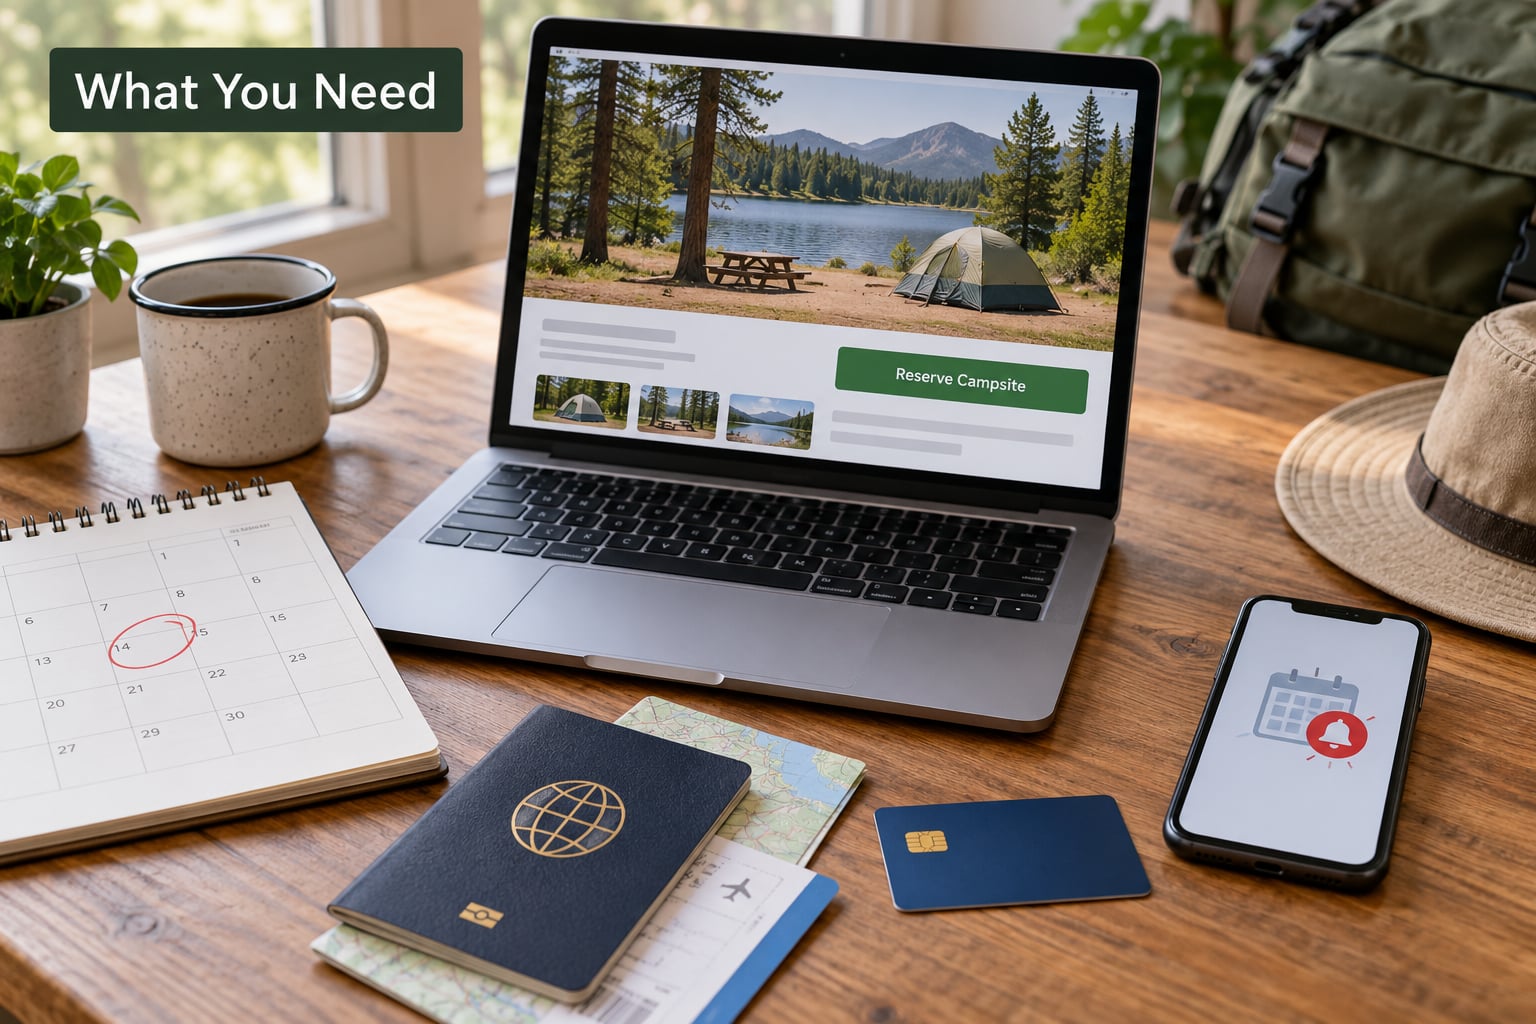
Start with the park’s official reservation page, not a third-party booking site. Only the official portal issues confirmed reservations, and unofficial sites resell at a markup with no guarantee.
You also need your trip dates, and some flexibility inside them. Dates drive everything, and one Friday in mid-July is a different problem from a Tuesday in the same week.
Traveler details go in early. Name, email, phone, and the number and length of vehicles, plus trailer or RV details if applicable. Site assignment is based on what you enter, and a wrong vehicle length can mean a site that will not fit your rig.
Bring a payment method the portal accepts. Recreation.gov and most state portals accept major credit and debit cards; a few allow electronic gift balances. Have the card in hand, not just saved in an account you have never tested.
A reliable internet connection matters more than a fast one. A steady wired or strong Wi-Fi signal beats a fast connection that drops during release. Keep a phone charged as a backup device with alerts enabled.
Email and phone access, because confirmations, cancellation notices and arrival instructions all arrive there, and many campgrounds have no cell service once you are parked at the site.
Step-by-Step: How to Get a Camping Reservation at a Popular Park
Step 1: Check the Park’s Official Booking System and Release Schedule
Find out which system issues the reservation and how far ahead it sells. Federal campgrounds book on Recreation.gov, and most open roughly six months out, but a handful operate on longer schedules or lotteries. Yosemite Valley campgrounds use a seasonal lottery for some sites and set windows for others, which surprises first-timers.
Check whether the campground you want is first-come first-served, lottery-based, on a rolling release, or on a block schedule where a whole season’s inventory posts at once. Each model needs a different tactic.
You worked it out if you can state, in one sentence, the date and time the next batch of your dates opens and the time zone that time is in. Release times are listed in the local time of the park, which is not always your time zone. Mountain parks run on Mountain Standard or Mountain Daylight time, and that shift is a classic way to miss a window.
Step 2: Choose Several Backup Dates and Campground Options
Pick a primary trip and two or three alternatives around it. Wideners work: a different campground in the same park, an adjacent site type, a nearby park, or the same weekend shifted by a few days.
Sunday through Thursday is where availability opens up most. Holiday weekends in particular are brutal, and the same park two weeks later is often half booked.
Shoulder seasons give you the best odds: late May and mid-September at most mountain parks typically combine decent weather with lighter demand. High elevation still means cold nights, so check the historical lows before you commit.
Also read site types carefully. A drive-in site with a hookup, a walk-in tent pad and an RV site with full hookups are different inventory pools, and the least popular one is often the one still open at release.
Success looks like a short list you can act on in seconds: first choice, second choice, third choice, each with dates and a site type.
Step 3: Create Your Account and Save Payment Details
Set up your account on the official portal well before release day. Some systems require a day or two before a new account can be used for booking, and doing it at release time guarantees a lost window.
Complete your profile fully: full legal name matching your ID, working email, mobile number, and home address. Missing fields slow checkout and some systems reject bookings with incomplete records.
Add your vehicle information, including length, height, and trailer details. Group sites and RV sites often have their own windows and separate inventory, so registering as an RV matters if that is what you drive.
Save a payment method and confirm the card is accepted on that specific portal. Then check the cancellation policy so you know the deadline and the fee before you are tempted to back out later.
You succeeded if you can log in, see saved vehicles and payment, and open a booking page without an error before release morning.
Step 4: Set Alerts and Be Ready at Release Time
Use the park’s own alerts first. Recreation.gov availability alerts notify you when a campground opens or when a booking window starts. They tell you a site appeared; they do not hold it for you.
Third-party services watch many parks at once and text you the moment something frees up. Free tiers usually cover one campground or a small number of scans, while paid plans cover more parks and run checks around the clock. Pick based on how many parks and dates you are chasing, and test the alert before you depend on it.
Sync your device clock to a reliable time source and confirm it again the morning of release. A device running a few minutes fast means you sit waiting when the window has already opened.
Set a calendar reminder fifteen minutes early, log into the booking page, and have your dates and site type selected before the clock hits the release time. Then click through without hesitation.
Avoid third-party booking agents and automated reservation services. They rarely help, they may violate the portal’s terms, and a suspended account ends your own booking attempts too.
Step 5: Submit the Reservation Promptly
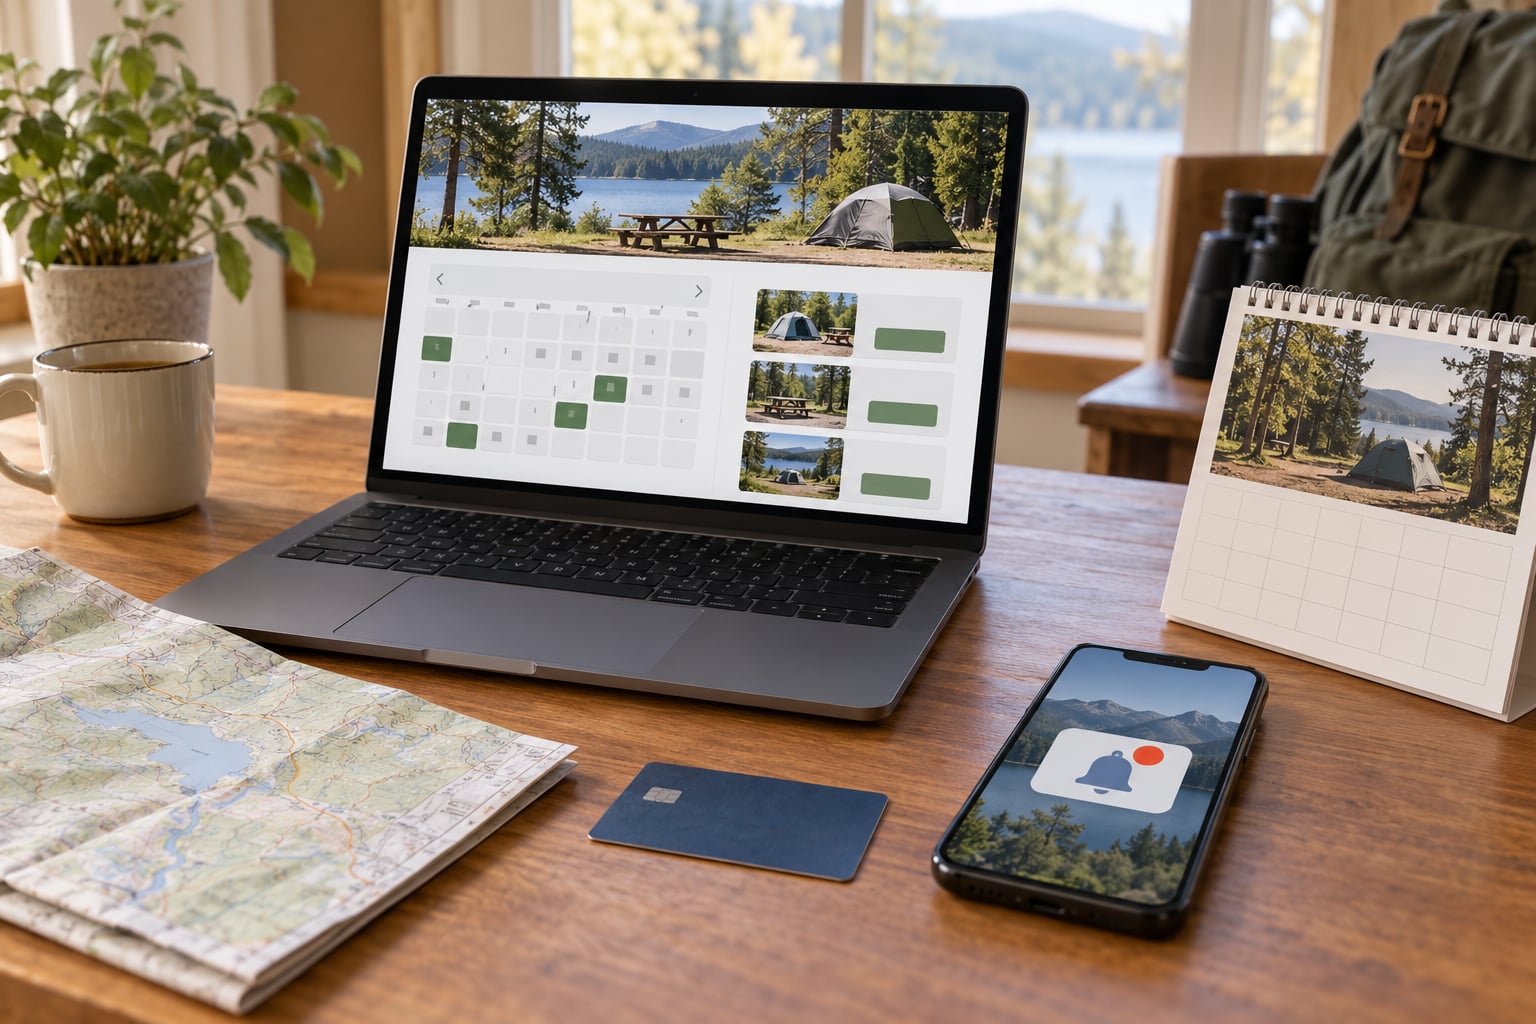
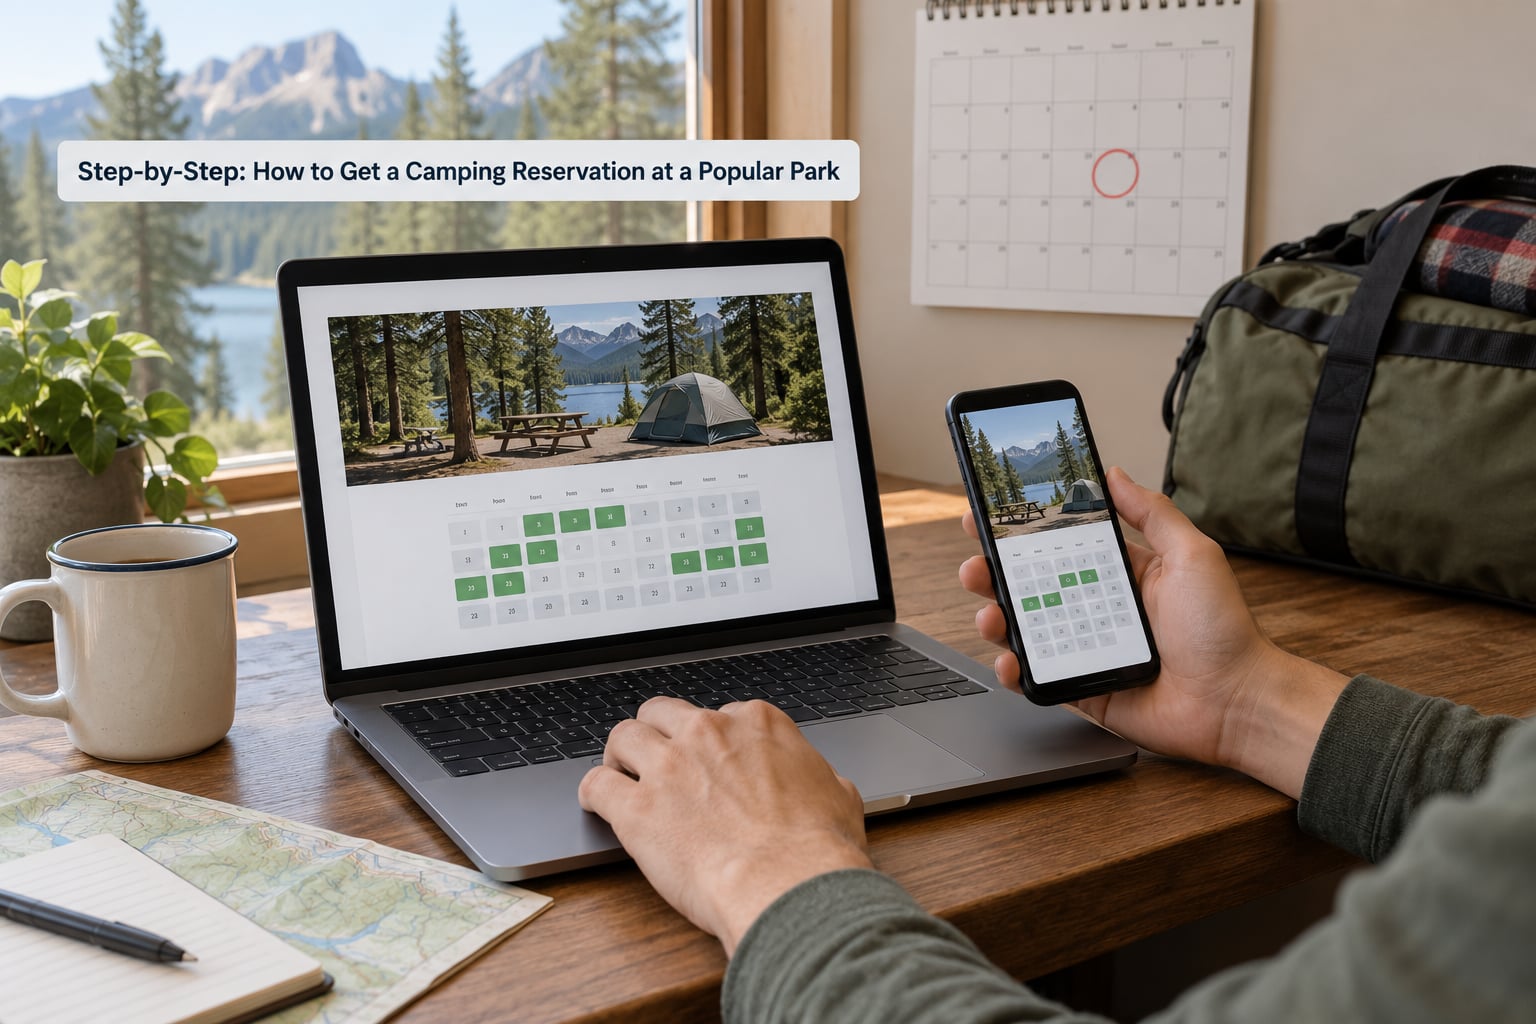
When availability opens, pick your campground and dates, then read the availability grid. Each cell shows the site type and status for that night, and a grid you understand before release saves seconds when you need them.
Select the site, add it to your cart and complete payment. Once a site is in your cart you usually have a limited checkout window, commonly around fifteen minutes, before it returns to inventory. Have your card ready before you add it, not while the clock runs.
Save the confirmation number and print or download the confirmation, the site map and arrival instructions. Many campgrounds have no signal, and gate check-ins often need the confirmation in hand.
If the screen says sold out, the window may not have opened yet, your session may have expired, or the site may have been held by someone mid-checkout. Refresh once or twice, not fifty times. If you see a queue or a temporary error, wait it out rather than reloading, which can drop your place.
Step 6: Search Cancellations and Respond Safely
Cancellations are the most reliable source of sites at popular parks. People change plans every week, and those dates come back into inventory at random moments.
Turn on alerts for every date you would accept, not only your first choice. Widen your campground list too, since a site ten minutes down the road beats no site at all.
When an alert fires, open the booking page and confirm the dates, site type and total before paying. Do not book a site that does not fit your rig just because it is available. And do not hold multiple overlapping bookings hoping one clears; check each cancellation window and drop the extras before their deadlines so you avoid fees.
You did it when your confirmation shows a site number, a site type that matches your vehicle, and arrival instructions you have saved offline.
Common Mistakes
Missing the release date. The most common failure. Find the release date and time on the official page, write it down with the time zone, and set two reminders.
Using an unverified booking website. Only official portals issue real reservations. Third-party sites resell at a markup and carry no guarantee.
Entering wrong vehicle information. A site assigned to an oversized vehicle will not fit an RV. Check length, height and trailer details against your actual rig.
Relying on one date. One date is one chance. Three dates across two campgrounds is three chances.
Refreshing constantly. Rapid reloads can lock your session or drop you from a queue. Refresh deliberately.
Ignoring site restrictions. Fire bans, generator hours, quiet hours and vehicle limits are enforced. A site you booked is not usable if you cannot follow the rules.
Booking a backup you dislike. Know your minimum acceptable site before release day. Settling for a bad site out of panic rarely ends well.
For last-minute trips, check first-come first-served campgrounds in the area, which open on a set date in spring and fill by early morning on weekends. Also look at nearby parks, private land permits, and dispersed camping on public land, where a 14-day limit applies and you set up well back from water sources, roads and trailheads.
Frequently Asked Questions
How far in advance should I book a campsite at a popular park?
For most federal campgrounds, bookings open roughly six months ahead, so start checking around six months out and be ready on the release date. Some flagship parks use longer windows near a year, and many state parks sell anywhere from a few weeks to over a year ahead. If your dates are flexible, booking two to four weeks after release often catches cancellations that nobody claimed.
What if a popular campground says reservations are not available?
Sold out usually means one of three things: the booking window has not opened yet, every site in your date range is held, or the inventory is genuinely gone. Check the release schedule first. If the window is open and inventory is real, widen your dates, move to a nearby campground, register for official availability alerts, and look at first-come first-served sites in the same park.
Can I get a camping reservation through a park lottery?
Yes, and for some parks a lottery is the only route. Lotteries usually cover the most sought-after sites in a park’s busiest campgrounds, entries open on a short window in the off-season, winners are drawn randomly, and you are charged only if you win. Read the entry rules carefully, since most lotteries limit one entry per person and disqualify duplicate entries.
How do I find cancelled campsites at a popular park?
Turn on the official availability alerts for every date you would accept, then add a third-party alert service if you are watching several parks at once. Alerts usually arrive by email or text within seconds of a cancellation, and popular dates can be taken within minutes, so have your account logged in and your dates ready. Watch for late-season cancellations in the two weeks before arrival.
Do popular parks accept walk-in campers if the campground is full?
Sometimes, but never count on it. First-come first-served campgrounds do take walk-ins, though weekend sites are often claimed by early morning. At reservation-only campgrounds, arriving without a booking usually means being turned away at the gate or directed to a first-come area elsewhere in the park. Check the campground page for its own policy before you drive out.
Can I change the dates after booking a campsite?
It depends on the system and how close to arrival you are. Many portals let you modify a booking subject to availability, while a change to a sold-out date is simply refused. Cancellations inside a short window can carry a fee, and some campgrounds charge a no-show fee if you never arrive. Read the policy at booking so you know the deadline before you need it.
Conclusion
If you remember one thing about how to get a camping reservation at a popular park, make it the release date. Find it on the official page along with the exact time and time zone, then choose three backup dates across two site types, build your account with accurate vehicle and payment details, and turn on availability alerts the same week.
On release day, be logged in early, synced to the right time, and ready to submit inside the cart window. If the dates are gone, stay patient with cancellations rather than refreshing, and know your first-come and backup options before you leave home.