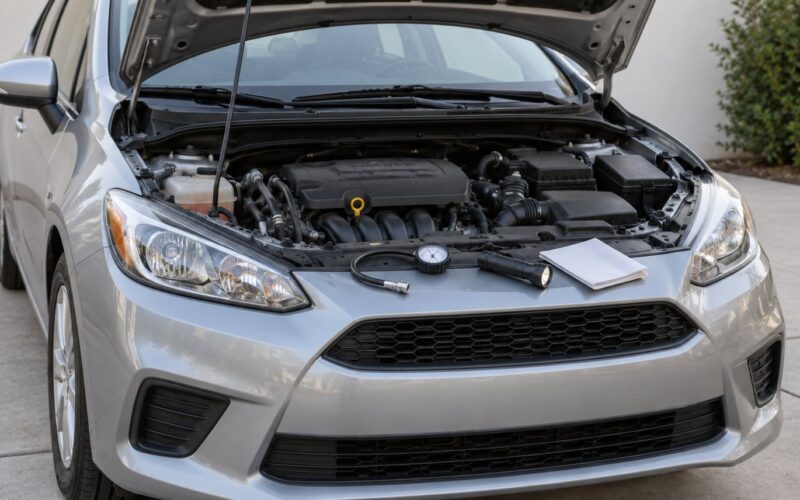
Check tire pressure before a long drive while the tires are cold, before you start the car or after it has been parked for at least three hours, and set every tire to the pressure listed on the driver’s door jamb placard. Add air one tire at a time with your own gauge, check all four plus the spare, and write the numbers down before you pack the car.
That is the whole job, and it takes about ten minutes. The reason it matters is that a tire measured right after driving reads 3 to 8 PSI high, so people routinely bleed a perfectly good tire and leave it soft for the next 400 miles of highway.
Reviewed for accuracy in 2026. The advice below follows standard tire care guidance from tire and auto clubs: cold readings, the placard number, and your own gauge.
Table of Contents
- What You Need
- Step-by-Step: How to Check Tire Pressure Before a Long Drive
- 1. Find the Correct Tire Pressure
- 2. Check Tires When They Are Cold
- 3. Measure Every Tire, Including the Spare
- 4. Compare the Reading and Inspect the Tire
- 5. Adjust the Pressure and Recheck
- Common Mistakes
- Frequently Asked Questions
- Should you check tire pressure before or after you drive?
- Why does my tire pressure go up after driving?
- Is the PSI on my tire the right pressure to run?
- What is the 4 PSI rule on tires?
- How accurate are gas station tire gauges?
- Can I drive a long trip with low tire pressure?
What You Need
You do not need much, and you definitely do not need to do this at a gas station.
- The recommended pressure for your vehicle. It is on the driver’s door jamb placard, on the driver’s door frame, or in the owner’s manual. Some vehicles also have a sticker on the fuel door or in the glove box.
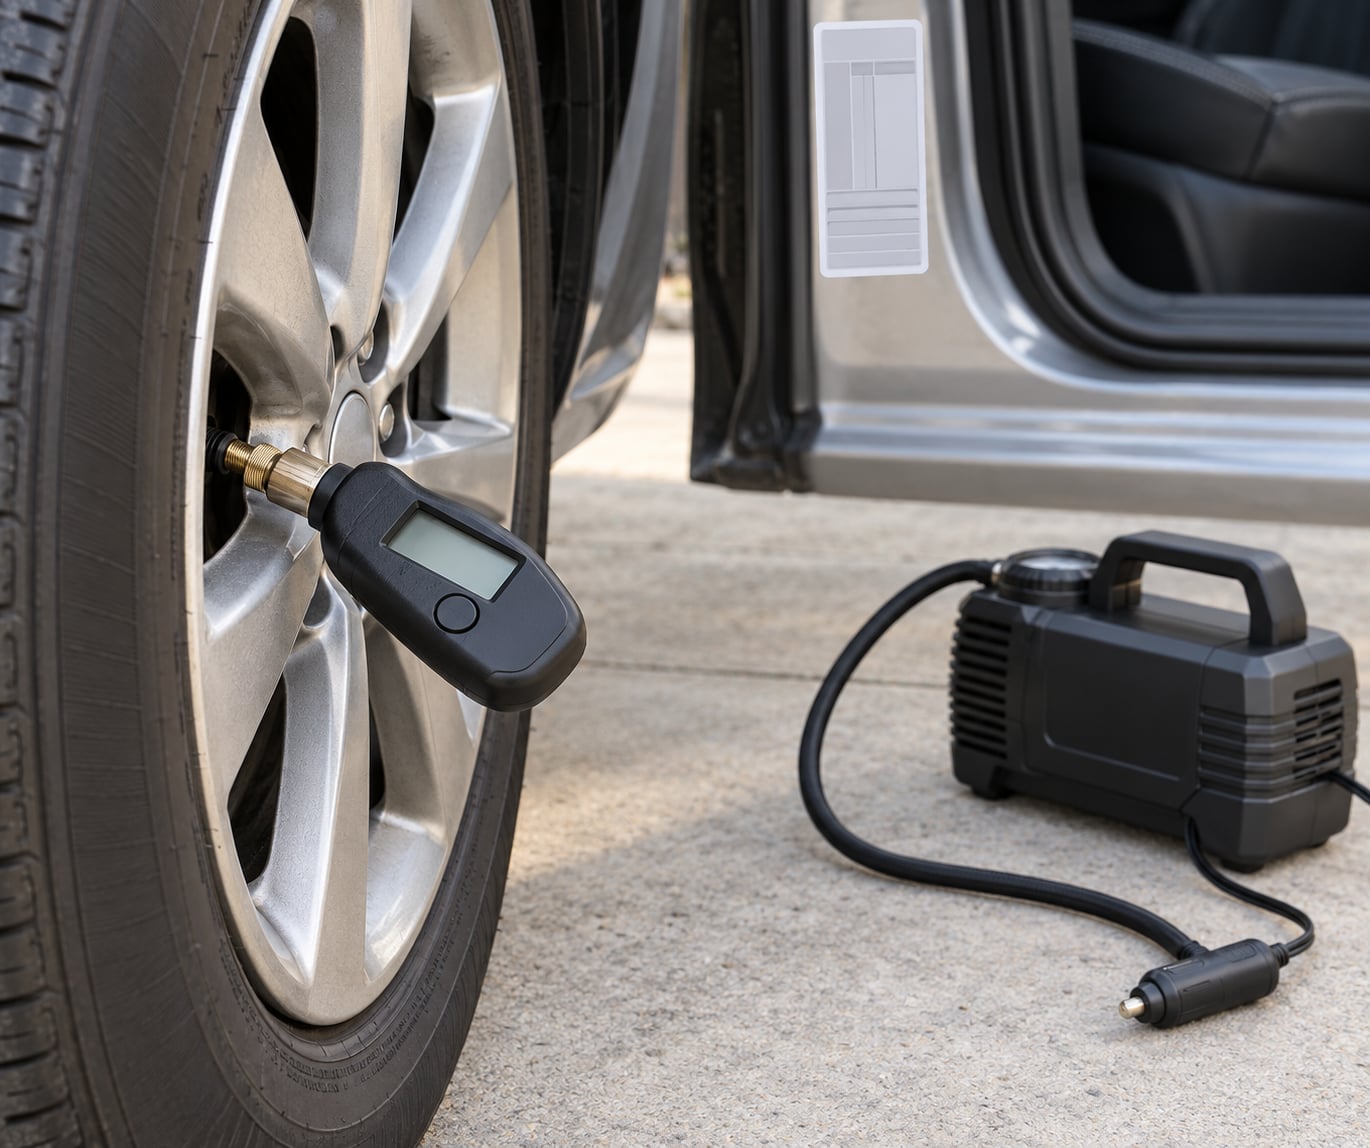
- An accurate gauge. A digital gauge with a lit display is easiest, a pen-style gauge is cheapest, and a dual-head gauge lets you move around a vehicle in the rain without swapping ends. Any of these beats a pump-mounted dial.
- A way to add air. A 12-volt portable inflator with an auto shutoff valve works well for topping up one or two tires. A hand pump or a foot pump is slower but never runs out.
- A flashlight and a rag. Valve stems sit in the dark inside the wheel well, and valve caps hide small valve cores that do not reseal properly if you drop one.
- Access to the spare. For a space-saver spare under the cargo floor or in the trunk, that means moving luggage. Do it before the car is loaded for the trip.
- Something to write on. A note, a phone photo, or a line in a notes app. Four numbers plus a target beats four guesses.
If you are renting a vehicle or driving someone else’s car, check the placard before you assume anything about the tires already on it. A rental fleet that has been topped up to the sidewall maximum is exactly the kind of setup that feels fine and steers strangely at highway speed.
Step-by-Step: How to Check Tire Pressure Before a Long Drive
1. Find the Correct Tire Pressure
The number you want is the recommended cold pressure for your specific vehicle, tire size, and load. That number lives on the driver’s door jamb placard, which is the sticker on the metal frame just behind the driver’s door when it is open.
The number molded into the tire sidewall is a maximum cold pressure rating for that tire. It is a structural ceiling, not a daily target. Running at or near it gives you a harsh ride, a crowned contact patch, faster center wear, and less grip in the rain.
| Number | Where it comes from | What it means |
|---|---|---|
| Recommended PSI | Driver’s door jamb placard | Your target for normal daily driving, front and rear, usually listed separately |
| Sidewall maximum PSI | Tire sidewall lettering | The highest cold pressure that tire is rated for. Not your target |
| TPMS reading | Dash display | An estimate from a sensor in the wheel, often rounded to the nearest whole PSI |
| Gauge reading | Your own gauge | The most accurate number you will get, provided the gauge is calibrated |
Placards often list two pressures, one for the front and one for the rear, and the two are rarely the same. The rear figure is often the higher of the pair because that axle is rated to carry more load, not because the back of the car is heavier. If the placard lists a third value for a full load, and you are towing or carrying heavy cargo, that full-load number is the one to use.
2. Check Tires When They Are Cold
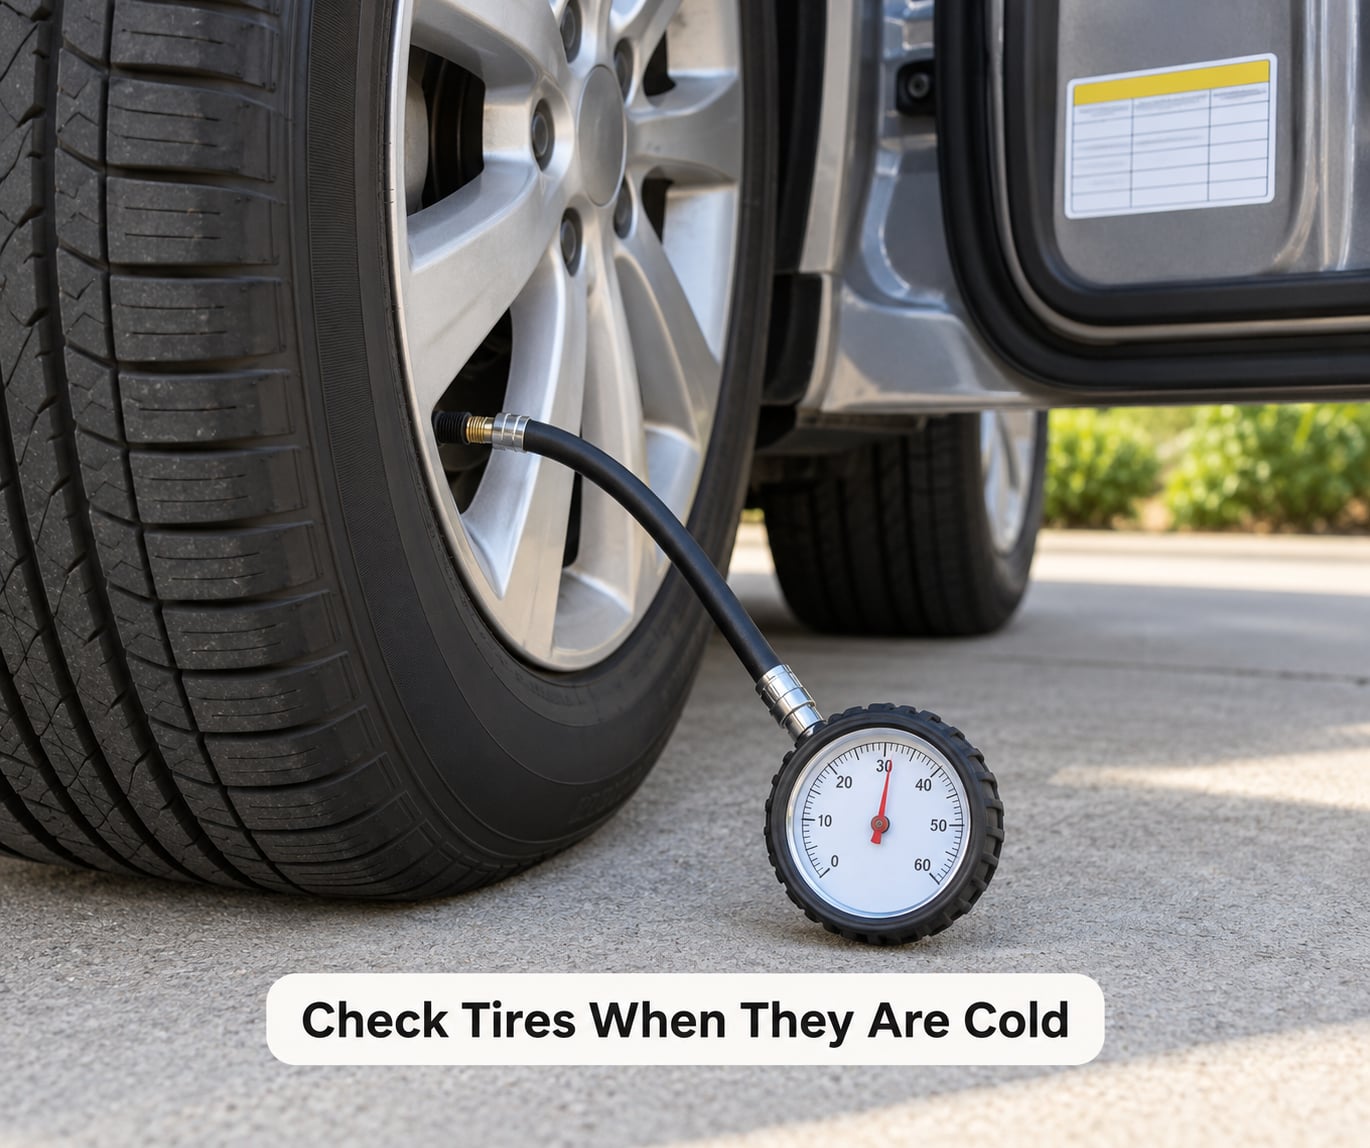
Cold tire pressure means the tires are at ambient temperature. Not warm from the drive to work, not heated by sunshine baking off the pavement, not hot after a run to the store. Ambient, or close to it.
Air expands as it heats, and roughly 1 PSI comes off the reading for every 10 degrees Fahrenheit a tire warms up. A tire that has been running at highway speed for an hour can easily read 5 PSI above its true cold value. Set your pressure hot and you finish the trip under-inflated, which is the opposite of what you wanted.
The shortcut most people use is called the 3/30 rule: if you have driven less than 3 miles, or the car has been standing for less than 30 minutes, the reading is close enough to cold to trust. It is a good memory aid and it came from the Bob Is The Oil Guy forum years ago, where it is still the piece of tire advice most people repeat.
Better still, do it first thing in the morning before you leave the driveway, or the evening before a trip, after the car has been parked since the day before.
3. Measure Every Tire, Including the Spare
Unscrew the valve cap and pocket it. Press the gauge onto the stem until it reads, and wait for the number to settle. A steady hiss means you pushed too hard on the handle and it is dumping air faster than the gauge can measure. Start over with a lighter touch.
Digital gauges are the least fuss, and a pen-style gauge is genuinely accurate as long as the tip seal is clean. If you inflate by feel with a hose and no gauge, you are guessing, and guessing wrong in either direction is worse than leaving the tire alone.
Check all four tires plus the spare. Owners of space-saver spares are the worst at this: those tires sit in a trunk or under a cargo floor in the dark, they lose air through the sidewalls over months, and a LifeProTips thread on checking the spare before a road trip drew over 700 reactions for exactly that reason.
Record each number with its position, front left, front right, rear left, rear right, spare. Written numbers turn “the tires look fine” into an actual check, and on the next visit you can see whether something is losing air.
4. Compare the Reading and Inspect the Tire
Compare each reading with the placard number for that position. Two things deserve a closer look. First, a gap of more than 2 or 3 PSI between two tires on the same axle usually means a slow leak, a wheel that lost a fastener, or uneven wear. Second, any tire more than about 25 percent under the placard value needs air before you drive, not after.
While you are down there, look at the tire. Walk your hands around the tread and sidewall looking for cuts, scuffs, bulges, and anything embedded in the grooves. A bubble or a bulge in the sidewall means the tire comes off the road and gets replaced, not topped up.
Check tread depth with a coin or the tread wear bars molded into the grooves. On a long drive you are often in rain traffic, and worn tread in standing water is where hydroplaning starts. Uneven wear on one side usually points at alignment; feathering across the tread points at the same thing.
Look at the DOT date code on the sidewall as well. The last four digits are the week and year the tire was made. Rubber ages whether you drive it or not, and tires that have sat six years in a driveway are worth replacing before a trip regardless of remaining tread.
5. Adjust the Pressure and Recheck
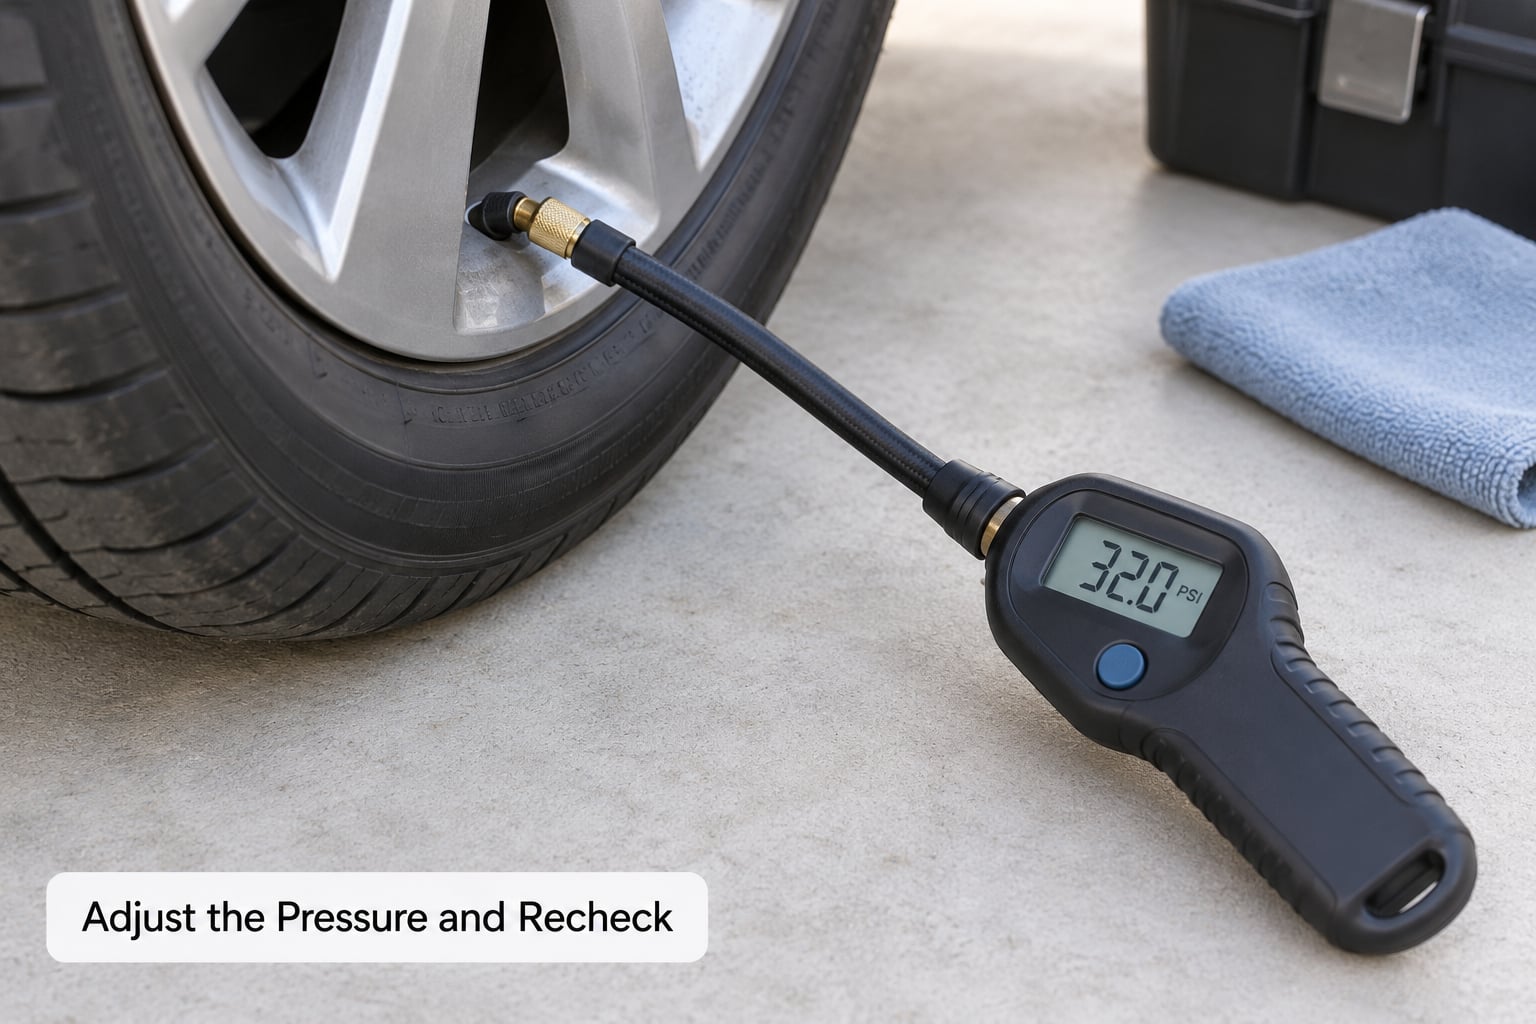
If a tire is low, add air in short bursts and check between each burst. Most portable inflators push air far faster than a tire can accept it, so two or three seconds of airflow at a time gives you control. Stop at the placard number, not at the round number that feels satisfying.
Never push a tire past the sidewall maximum, and never exceed the placard figure on a cold tire. If you are inflating a hot tire, add air in small amounts and expect to top it up again once it cools, because the hot reading already contains the expansion you are compensating for.
If a tire reads high on a cold morning, bleed it down slowly with the gauge button held open and watch the display, not by ear. Go down to the target and stop. Anything above the placard number loses you fuel economy and wears the center of the tread.
Finish by rechecking all five readings cold and confirming the valve caps are back on. Then, on your first fuel stop after the drive begins, check the hot readings against the cold numbers you wrote down. All four tires should have climbed by a similar amount. One tire that climbs far more than the others, or that has dropped below where you set it, is the one worth a closer look before you are halfway across the state.
Common Mistakes
Almost every tire problem on a long drive traces back to one of these.
Checking right after driving. This is the big one. A hot reading is 3 to 8 PSI high, and people respond by releasing air. An hour later that tire is genuinely under-inflated. If the only gauge available is at the station you just pulled into, add air to whatever reads low and leave everything above the placard alone.
Trusting a gas station pump gauge. Pump-mounted dials and cheap inflator displays are frequently out by 5 PSI or more in either direction, and there is no adjustment on most of them. One r/tires thread turned into a long argument about which stations were close and which were not. Carry your own gauge, use the station only to add air, and confirm with your gauge afterwards.
Using the sidewall maximum as the target. The sidewall number is the ceiling. A car running at its sidewall rating wears out a set of tires far sooner and handles worse in the wet.
Skipping the spare. It is the least used tire on the car and the one that has been losing pressure the longest. It takes two minutes once you know where it lives.
Forgetting the rear. Owners check the front, glance at the visible rear tire, and never touch the one in the trunk or under the cargo floor. Rear pressure affects stability and steering response, not just wear.
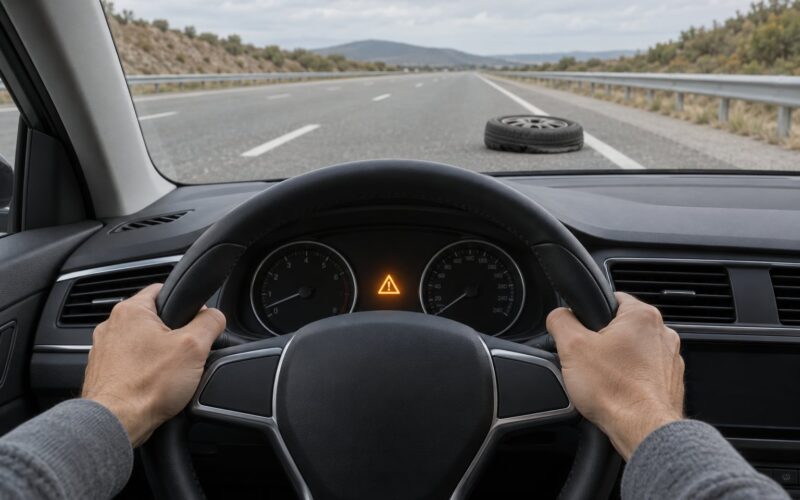
Ignoring the TPMS light. The dash sensor is usually within a PSI or two of the truth and sometimes more, and a slow leak can sit under the warning threshold for weeks. When the light is on and the gauge looks fine, find the tire that is lowest and add air to the placard number on all four anyway.
| What you see | What it usually means | Do this |
|---|---|---|
| 3 to 4 PSI under placard | Below the threshold where damage starts and handling goes soft | Add air cold and recheck |
| More than 4 PSI under placard | High risk of heat damage on a highway run | Add air now, check for a leak, do not leave it |
| Two tires on one axle differ by more than 3 PSI | Slow leak, damaged bead, or uneven wear | Inflate both to spec, then recheck after driving |
| Above placard on a cold tire | Over-inflated by someone or something | Bleed down slowly to the placard number |
| TPMS light on, gauge reads acceptable | Sensor out of calibration or a tire lower than the others | Set all four to placard PSI and see if the light clears |
| Low after a cold snap | About 1 PSI lost per 10 degree drop in ambient temperature | Add the difference and expect it back next winter |
| Sidewall bulge or cut | Carcass damage | Replace the tire before driving |
One more thing that trips people up before a winter trip: cold air itself lowers pressure. For every 10 degree drop in overnight temperature you can expect to lose close to 1 PSI, and mountain routes mean checking again when you change elevation rather than trusting the reading you took at the trailhead.
Frequently Asked Questions
Should you check tire pressure before or after you drive?
Before. Cold tire pressure means the tires sit at ambient temperature, so check first thing in the morning or after the car has been parked at least three hours. A tire measured right after driving reads 3 to 8 PSI high because heat expands the air, and bleeding that air off leaves you genuinely under-inflated for the rest of the trip.
Why does my tire pressure go up after driving?
Friction and flexing heat the air inside the tire, and heated air expands. The rule of thumb is roughly 1 PSI of added pressure for every 10 degrees Fahrenheit the tire warms up. Highway driving pushes that fast, so a hot reading is not a fault and does not mean you overfilled the tire before you left.
Is the PSI on my tire the right pressure to run?
No. The number molded on the sidewall is the maximum cold pressure that tire is rated for, not the pressure to drive at. Your target is the recommended cold pressure on the driver door jamb placard. Running near the sidewall maximum gives a harsh ride, wears the center of the tread, and reduces wet grip.
What is the 4 PSI rule on tires?
Several tire makers and auto groups use 3 or 4 PSI under the recommended cold pressure as a threshold for damage and safety concerns, because a tire that soft generates more heat and wears faster. Treat 3 to 4 PSI under as a prompt to add air now, not as a number to ignore on a long highway run.
How accurate are gas station tire gauges?
Frequently wrong by 5 PSI or more in either direction, and most pump dials have no way to be adjusted or calibrated. Use your own gauge for the reading, use the station hose only to add air, then confirm with your gauge. A cheap pen-style gauge costs almost nothing and removes the guesswork entirely.
Can I drive a long trip with low tire pressure?
Short trips to a pump are usually fine, but a long highway run on a tire 5 PSI or more under spec is where heat damage and blowout risk show up. If a tire is badly low, visible, or has a bulge or sidewall cut, do not drive it loaded. Find the cause before you leave town.
Do it before anything else on departure day. Park the car, read the number off the driver’s door jamb, check all four tires and the spare cold, add air where it is low, and write the readings down. Ten minutes now removes the most common cause of a bad trip, and you can stop and look at a tire halfway across the country without wondering whether the number on your dash was ever right.