Knowing how to inspect a car before a road trip is a 30- to 60-minute walk-around of fluids, tires, brakes, lights, battery and safety gear, done a few days before departure so a small fault gets fixed while you still control the timetable. Almost all of it needs your owner’s manual, an accurate tire gauge and daylight. If you have never done it, allow an extra 30 minutes for the first pass.
The reason to bother is simple. Most roadside calls trace back to something cheap and predictable: a tire a pound under pressure, coolant a finger’s width below the minimum line, a cracked wiper blade, a battery that has been sitting half-charged for a month. At home that is an afternoon and a small bill. Two hundred miles from anywhere it is a tow, a lost day, and a much bigger one.
Table of Contents
- What You Need
- How to Inspect a Car Before a Road Trip: Step by Step
- Step 1: Confirm the Car and Check the Paperwork
- Step 2: Look Over the Exterior and Body
- Step 3: Check the Tires
- Step 4: Open the Hood and Inspect the Engine Bay
- Step 5: Check Fluids and Fuel
- Step 6: Test Brakes, Steering, and Suspension
- Step 7: Inspect the Interior and Safety Equipment
- Step 8: Take a Short Test Drive
- Step 9: Resolve Problems and Document the Condition
- Common Mistakes
- Frequently Asked Questions
- How long does it take to inspect a car before a road trip?
- Can I check my brakes myself before a long drive?
- How much tire tread is safe for a road trip?
- Which warning lights should stop me from driving?
- Should I inspect a rental car before leaving the lot?
- Conclusion: Do a Final Safety Pass
What You Need
Gather everything before you walk around the car. Hunting for a flashlight halfway through the engine bay is how half-finished inspections happen.
- The owner’s manual or service book, for the tire pressure placard, oil specification, coolant mix and service intervals
- Registration, insurance details and the roadside assistance number, on paper or photographed on your phone
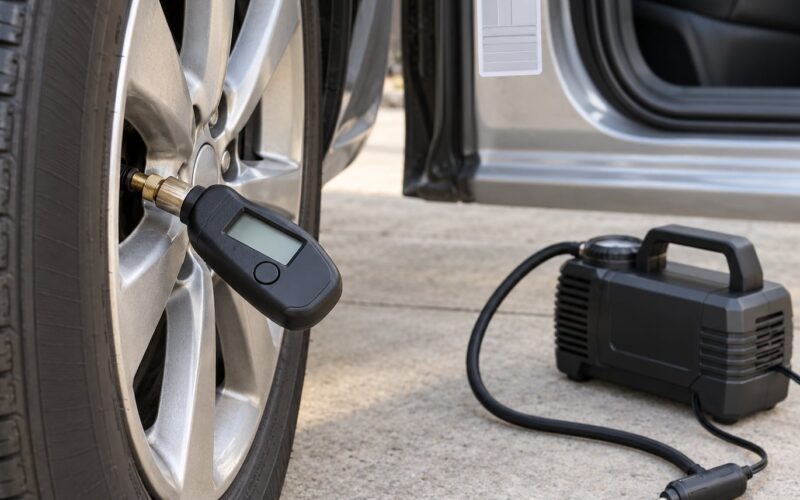
- A quality tire pressure gauge — the pen-type gauge on a key ring is often 2 to 3 PSI optimistic
- A flashlight or rechargeable work light, plus a clean rag and some paper towels
- A basic hand tool set: ratchet and sockets, a lug wrench or wheel key, a small torch
- A pen, a phone with a charger, and drinking water for the drive
- A means of recording faults: written notes, a voice memo, or dated photos
Two conditions matter more than the tool list. Do the inspection in daylight, because paint damage, cracks and slow fluid leaks hide in shade, and do it with the engine cold, ideally before the car has been driven that morning.
If the car is a rental, the documentation step moves to the front. Photograph and record every existing defect before you move the vehicle a foot, and do it in front of an agent when the location allows it.
How to Inspect a Car Before a Road Trip: Step by Step
Work through these nine steps in order and tick them off as you go. The order is deliberate: cheap and quick checks first, then the things that need the car to be running. If a step turns up a real fault, stop there and deal with it rather than pressing on.
Step 1: Confirm the Car and Check the Paperwork
Read the VIN plate on the dash or door frame and match the make, model, year and VIN against what you think you are driving. On a rental, match it to the agreement and the vehicle parked in the bay.
Confirm registration, insurance and fuel type, and note the current mileage. Find the tire pressure placard on the driver’s door jamb — you will need those numbers in Step 3, and the sidewall is not a substitute. Write down roadside assistance details before you need them.
Step 2: Look Over the Exterior and Body
Walk a full circle in daylight, crouching at each corner. Look at paint, panels, bumpers, mirrors, roof, grille, wheel arches and license plates, checking for dents, fresh paint overspray, mismatched panel gaps and misaligned bumpers.
Separate cosmetic wear from fresh impact damage. New paint, exposed primer, a scraped bumper corner or a loose trim piece usually means a recent collision, which is a reason to ask questions about the car’s history. Then look underneath and behind the parked car for fresh fluid spots on the ground.
Check the windshield for chips and cracks that spread from the edge of the glass, and make sure any camera or sensor housings are clear rather than blocked with tape or dirt.
Step 3: Check the Tires
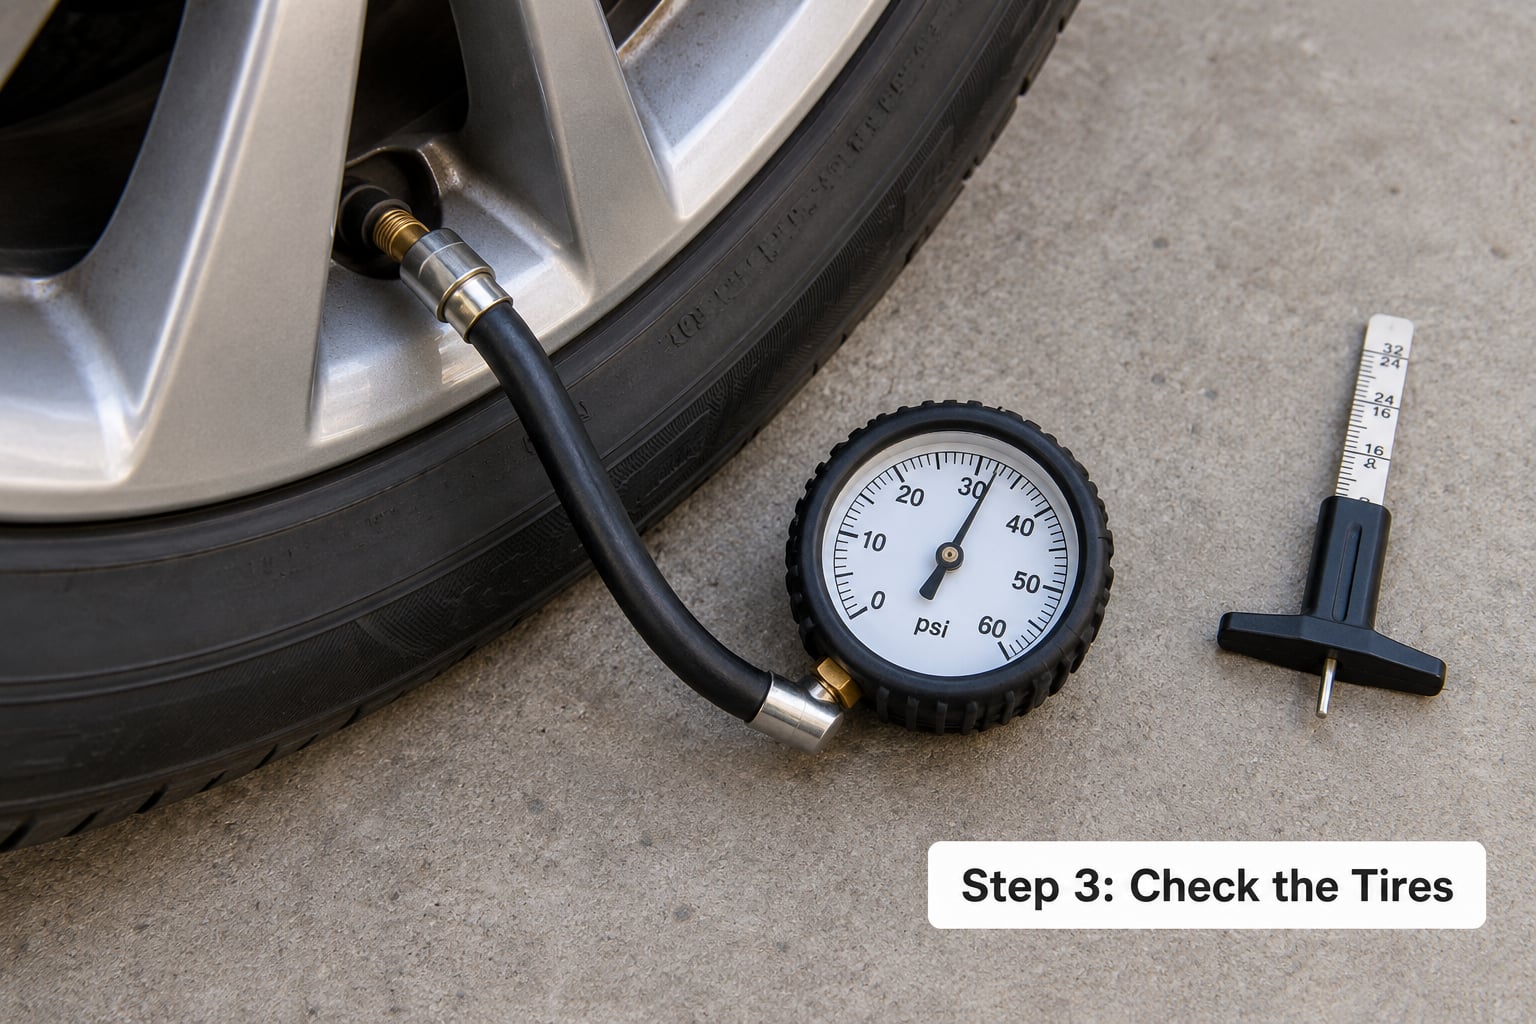
Inspect all four tires, and the spare if the car has one. Press the sidewall hard in a few places looking for bulges, look for exposed cords or sidewall cuts, and run a fingertip along the tread looking for uneven wear: feathering on one shoulder usually points to alignment, a bald patch in the middle to overinflation.
Check pressure cold, before you have driven more than a mile or sat in strong sun. Inflate to the door-jamb figure, which is the number the manufacturer engineered, not the higher maximum stamped on the sidewall. Tires commonly bleed about a pound a month in normal use, and many people set them by eye and run 5 to 10 PSI under.
For tread, the legal floor in most of the US is 2/32 inch, and you should not plan a long highway trip on the legal minimum. A US quarter is about 6/32 inch when its edge disappears into the groove; below that, replace before you leave. On a rental, photograph the tires with the tread visible so damage claims cannot be argued later. Confirm every wheel fastener is present and the wheel sits flush.
Step 4: Open the Hood and Inspect the Engine Bay
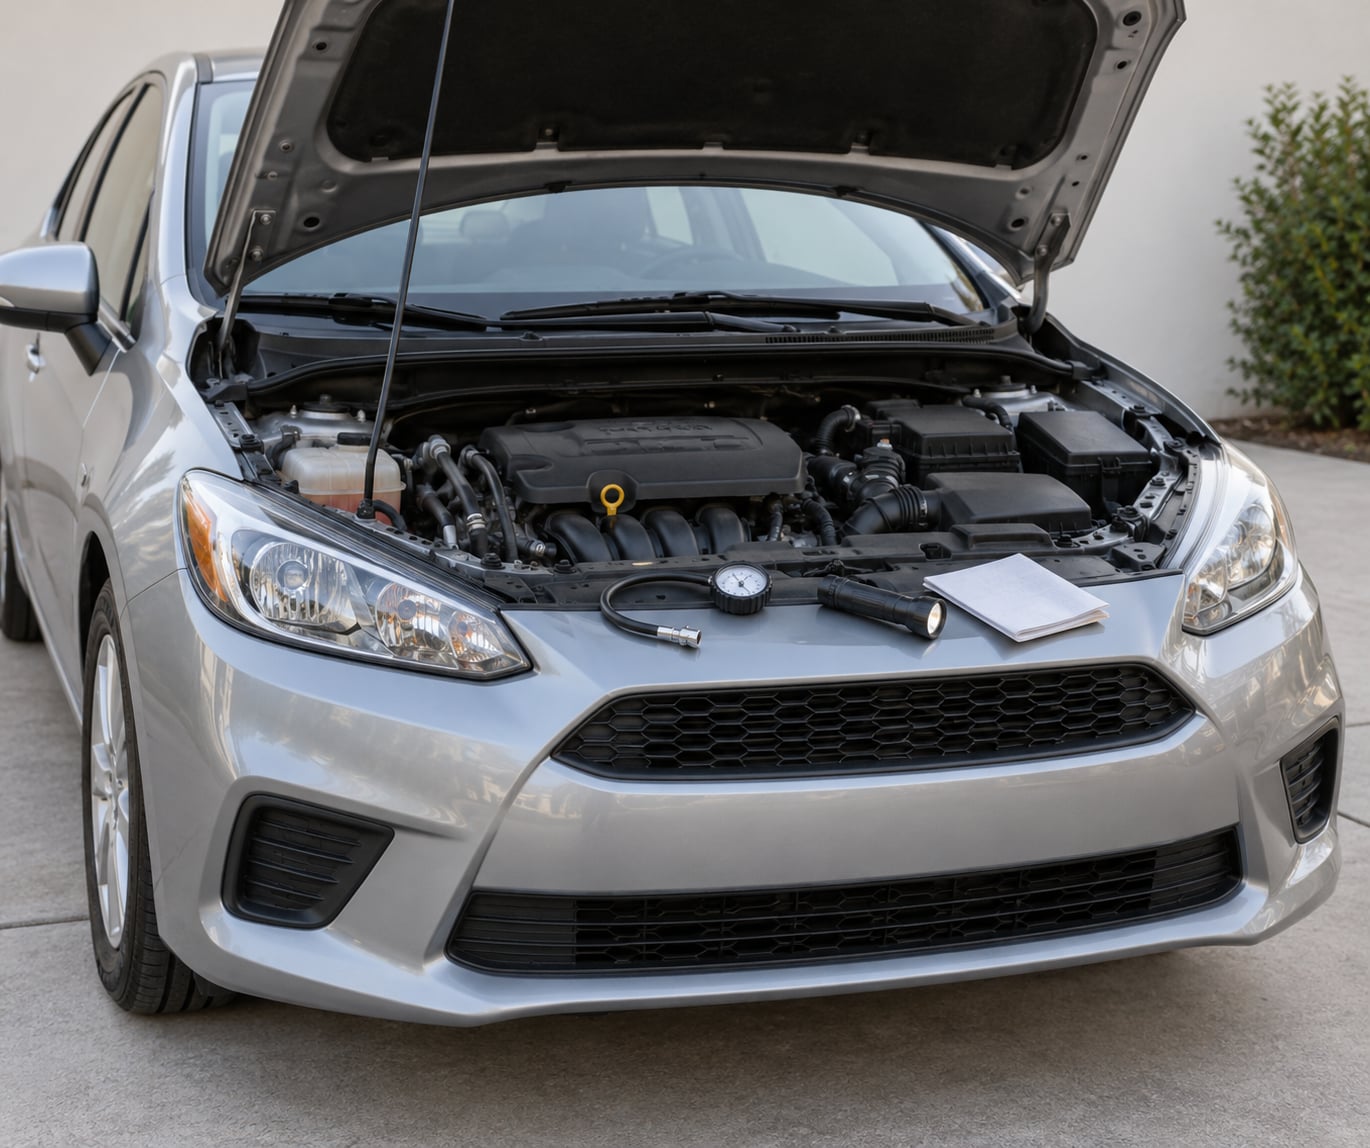
With the engine cold and off, identify the oil filler cap, coolant cap, brake fluid reservoir and windshield washer reservoir. Most cars color-code these, but read the labels on the caps rather than trusting color alone.
Look along the drive belts for glazing, fraying, cracking or missing ribs, and along the hoses for hardening, bulges, cracks or weeping. Look at the battery terminals for green or white crust and for clamps that move, and scan the wiring for insulation that looks chewed or brittle. Any burning smell, sweet coolant odor or hissing means stop.
One thing worth checking: if the oil-pressure or check-engine light is on at key-on with the engine off, someone may have bridged a switch to disable it. That is not a car you want on a desert highway.
Step 5: Check Fluids and Fuel
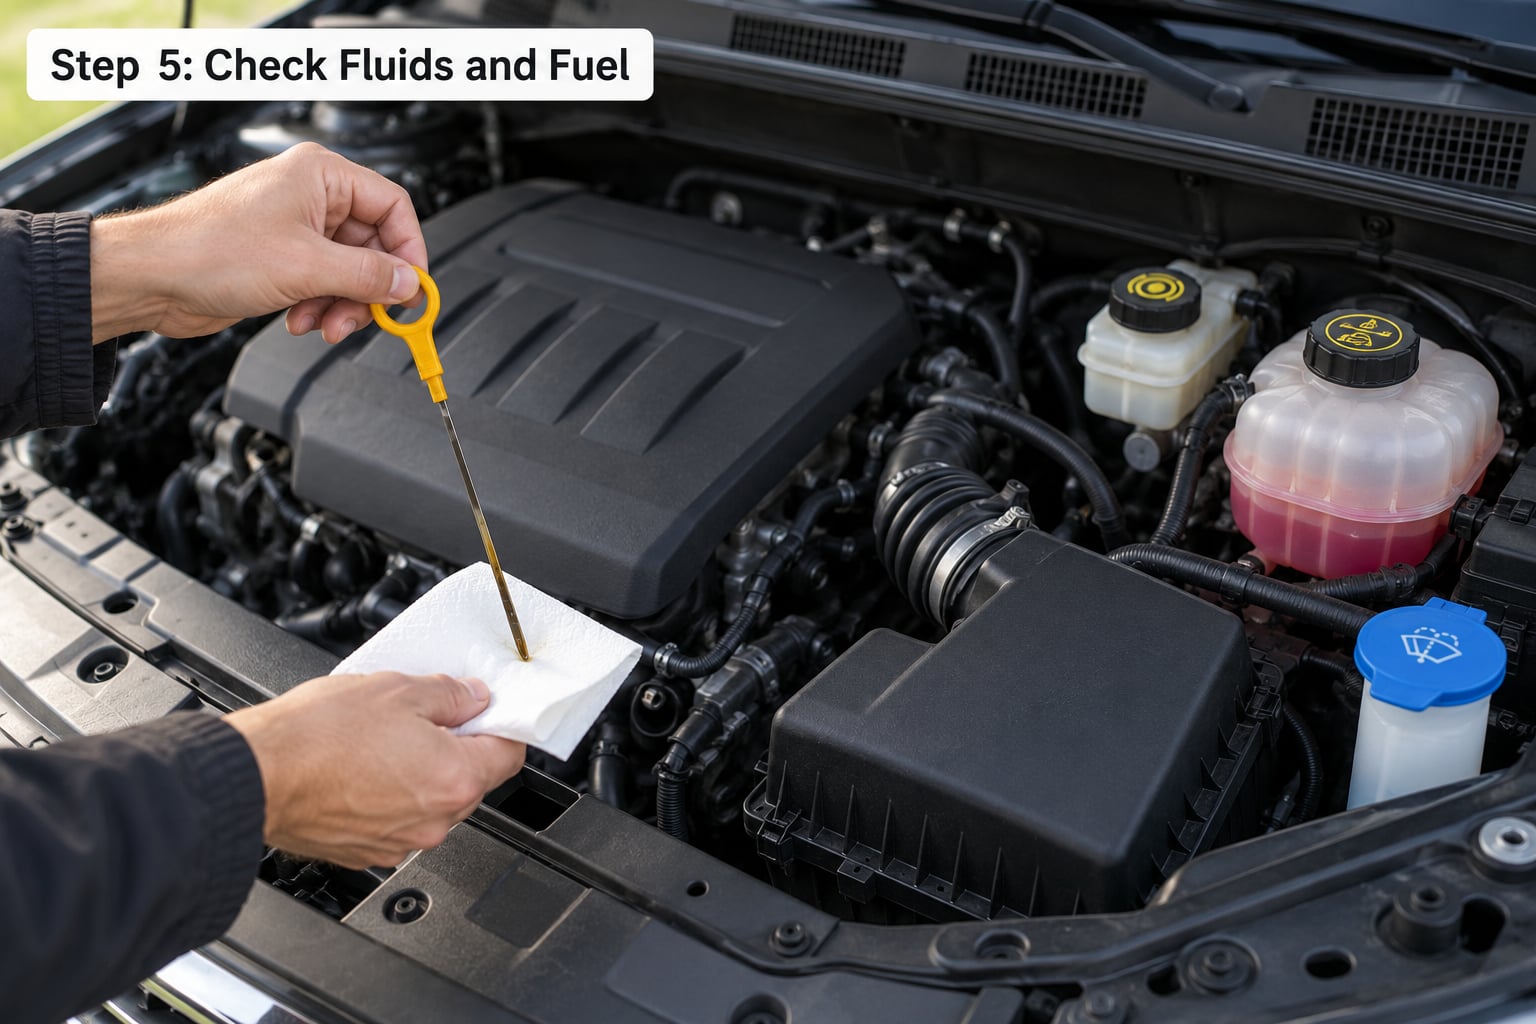
Park level, engine off and cold. Pull the dipstick, wipe it clean with the rag, reinsert it fully, then pull it again and read the film against the MIN and MAX marks. That two-pull method matters — a reading taken straight after a drive is partly oil still clinging to the rod.
Check coolant against the reservoir’s MIN and MAX lines with the engine cold, and confirm the mixture matches your climate. Overfilling is a real problem: excess coolant turns to steam under pressure, and coolant that has boiled away and been topped up with plain water leaves you short of freeze protection.
Check brake fluid above MIN and clear or amber in color. Dark, cloudy or gritty fluid usually means it is overdue for a service, and many manuals specify a change every two years. Top up washer fluid so you can see, and confirm fuel is well above a quarter tank. Fill it up now rather than at the last exit — pumps at highway rest areas cost more and one of them may be closed.
Step 6: Test Brakes, Steering, and Suspension
Set the parking brake on a mild slope and confirm the car holds without rolling. With the engine running, check pedal travel and feel: a pedal that goes soft, sinks to the floor or feels spongy means air or moisture in the hydraulic system, and you should not drive it that way.
Listen during the test drive for grinding, squealing, clicking or a hum that rises with speed, all of which are worth a shop’s attention. Feel for vibration in the pedal, a steering wheel that shudders, or a car that pulls to one side or wanders on a straight road.
What you cannot check by hand is pad and rotor thickness. Pads worn down to roughly 1/4 inch or less, and rotors worn to near their discard groove, need replacing before a long trip. Confirm wheel fasteners and that the caliper and disc have no visible rust or scoring. If anything feels loose, pulls, vibrates or fails to stop predictably, arrange professional service before departure rather than hoping it settles down.
Step 7: Inspect the Interior and Safety Equipment
Check every seat belt: pull it out, let it retract, confirm it latches, and check that the retractors hold. Make sure head restraints sit at roughly ear height, and that the driver’s seat reaches the pedals without your knees bending sharply.
Test all doors and the trunk latch, the window switches, the locks, the horn and both mirrors. Wipe the windshield and check the wiper blades for torn rubber or streaking rather than smearing. Confirm the washer jets aim at the windshield, and that the defroster blows air.
Then the safety gear. Every car should have a spare tire or a proper flat kit, a tire pressure gauge, jumper cables, a portable 12V compressor, a flashlight with working batteries, a first aid kit and a tow strap. On an older or high-mileage car, add a jug of the correct coolant, a few quarts of the specified oil, and a spare serpentine belt if yours is a known failure part. Put your roadside assistance number in the phone and on a card in the glovebox, where a passenger can find it if you are the one who cannot.
Start the engine and let it idle. All the dashboard warning lights should illuminate and then go out within a few seconds. A light that stays on, or one that flickers, is a live problem, not a quirk.
Step 8: Take a Short Test Drive
Before the car is loaded with luggage, drive a loop that includes gentle acceleration, a firm stop from about 30 mph, a turn each way and a steady run at highway speed. Luggage adds hundreds of pounds and raises your center of gravity, so any handling change is easier to spot empty.
Listen specifically for new sounds and feel for vibration. Watch the oil pressure, coolant temperature, check-engine and tire pressure lights. Look in the mirror after a few minutes for smoke or steam, park and look underneath for drips, then re-check the fluid levels and tire pressures cold.
Step 9: Resolve Problems and Document the Condition
Sort your findings into safety items and cosmetic items. Safety items — worn tread, low coolant, soft brake pedal, a warning light that stays on, a tire with a bulge — get repaired before departure, by you or by a shop. Cosmetic items get written down and photographed instead.
On a rental, this is where the paper trail matters. Photograph every panel with the sun behind you, get damage already on the vehicle countersigned or noted on the check-in sheet, and confirm the fuel policy and mileage rules. Note the fuel level and odometer at pickup, and again at return.
Then plan the trip: confirm the spare or the roadside plan, save the assistance number offline so it works without signal, and set re-check reminders. Roughly every 1,000 miles is a sensible pressure check, oil level every 500 to 1,000 miles or per your manual, and refuelling at a quarter tank. Keep your inspection notes with your trip documents rather than in your head.
Common Mistakes
Almost every failed pre-trip inspection comes down to one of these eight errors.
Checking only tire pressure. Pressure is the cheapest and most likely failure, which is why it gets the attention. Tread depth, sidewall bulges, uneven wear and a missing spare are what actually cause blowouts. Walk each tire by hand and gauge it.
Skipping the spare. A spare that was never checked is a spare that will not help. Inflate it, confirm the tool or key needed to mount it works, and check that the spare is the right size for the tire you would be replacing.
Using the sidewall maximum as the target. That number is the highest the tire is rated for, not what the car should run at. The door-jamb placard is the engineered target for your specific vehicle and load.
Inspecting a hot engine. Warm oil clings to the dipstick and inflates the reading, and opening a pressurized cooling system scalds. Wait until the car has sat for at least a few hours or cooled fully.
Topping fluids up without checking first. Adding coolant or oil “just in case” hides a low-level problem, which is often a failing pump, a stuck thermostat or an internal leak. Read the level, then decide.
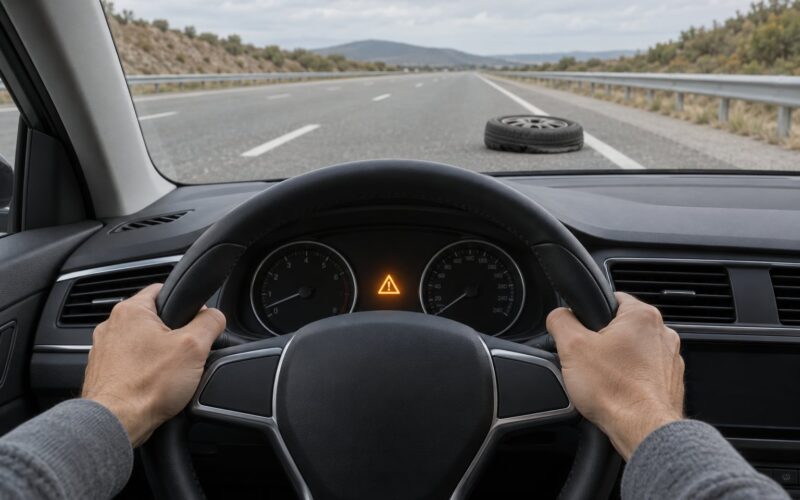
Ignoring a warning light. Red means stop soon. Brake, oil pressure, coolant temperature and charging lights, plus any flashing check-engine light, mean do not continue driving. Amber lights still deserve investigation before a long trip.
Trusting a rental walk-around with no evidence. Agents move fast and memory fails in a dispute. Photos with timestamps, noted on the check-in sheet, are what settle it later.
Treating a recent oil change as a full inspection. Fresh oil and filters address one system. They say nothing about brake pads, a 12V battery that has sat, a stretched belt or coolant due for change.
Whatever you skip, go back to the owner’s manual for the numbers, and hand anything you cannot judge to a qualified technician. That is not wasted time — it is the cheapest hour of the trip.
Frequently Asked Questions
How long does it take to inspect a car before a road trip?
Allow 30 to 60 minutes for a clean, daylight inspection of a car you know well, and 90 minutes on your first attempt. The tires, fluids, engine bay and interior checks take most of the time. Add 20 minutes if you also need to check the spare, top up fluids or take photos. On a rental, add time to document every panel and get the damage noted.
Can I check my brakes myself before a long drive?
You can check what you can feel and hear, but not what is hidden. Confirm the parking brake holds, the pedal feels firm, and the car stops straight with no grinding or squealing. You cannot measure pad thickness or rotor condition without lifting the car and pulling the caliper. If you have any symptom, get pads and rotors measured before departure.
How much tire tread is safe for a road trip?
The legal minimum in most US states is 2/32 inch, and you should not plan a long highway trip on it. Many drivers replace around 4/32 inch, because wet braking distances grow sharply as the grooves shallow. A US quarter sinks fully below the tread with its edge hidden, roughly 6/32 inch, which is a safe floor. Use a tread gauge rather than guessing.
Which warning lights should stop me from driving?
Stop and do not continue if the brake system, oil pressure, coolant temperature or charging light comes on, or if the check-engine light flashes rather than stays steady. Those signal an active fault that can end in roadside. Amber warning lights should be investigated before a long trip. Do not clear a code and assume the problem is gone.
Should I inspect a rental car before leaving the lot?
Yes, and the reason is practical rather than mechanical. A pre-trip inspection on a rental protects you from damage disputes: photograph every panel, wheel and window in daylight, note existing scratches and dings on the check-in sheet, and record fuel level and odometer. Confirm the spare or flat kit is present and that you know how to call roadside assistance.
Conclusion: Do a Final Safety Pass
Start with the paperwork and the tire pressure placard, then walk the car in daylight: tires and spare, fluids read cold, engine bay belts and hoses, brakes and warning lights, then a short loaded-nothing test drive. Anything that feels wrong gets repaired before you pack, and anything you find on a rental gets photographed before you drive away.
How to inspect a car before a road trip is not complicated, it is just easy to postpone. Ninety minutes a week before departure turns a tow in the middle of nowhere into a photo and a note in your phone.