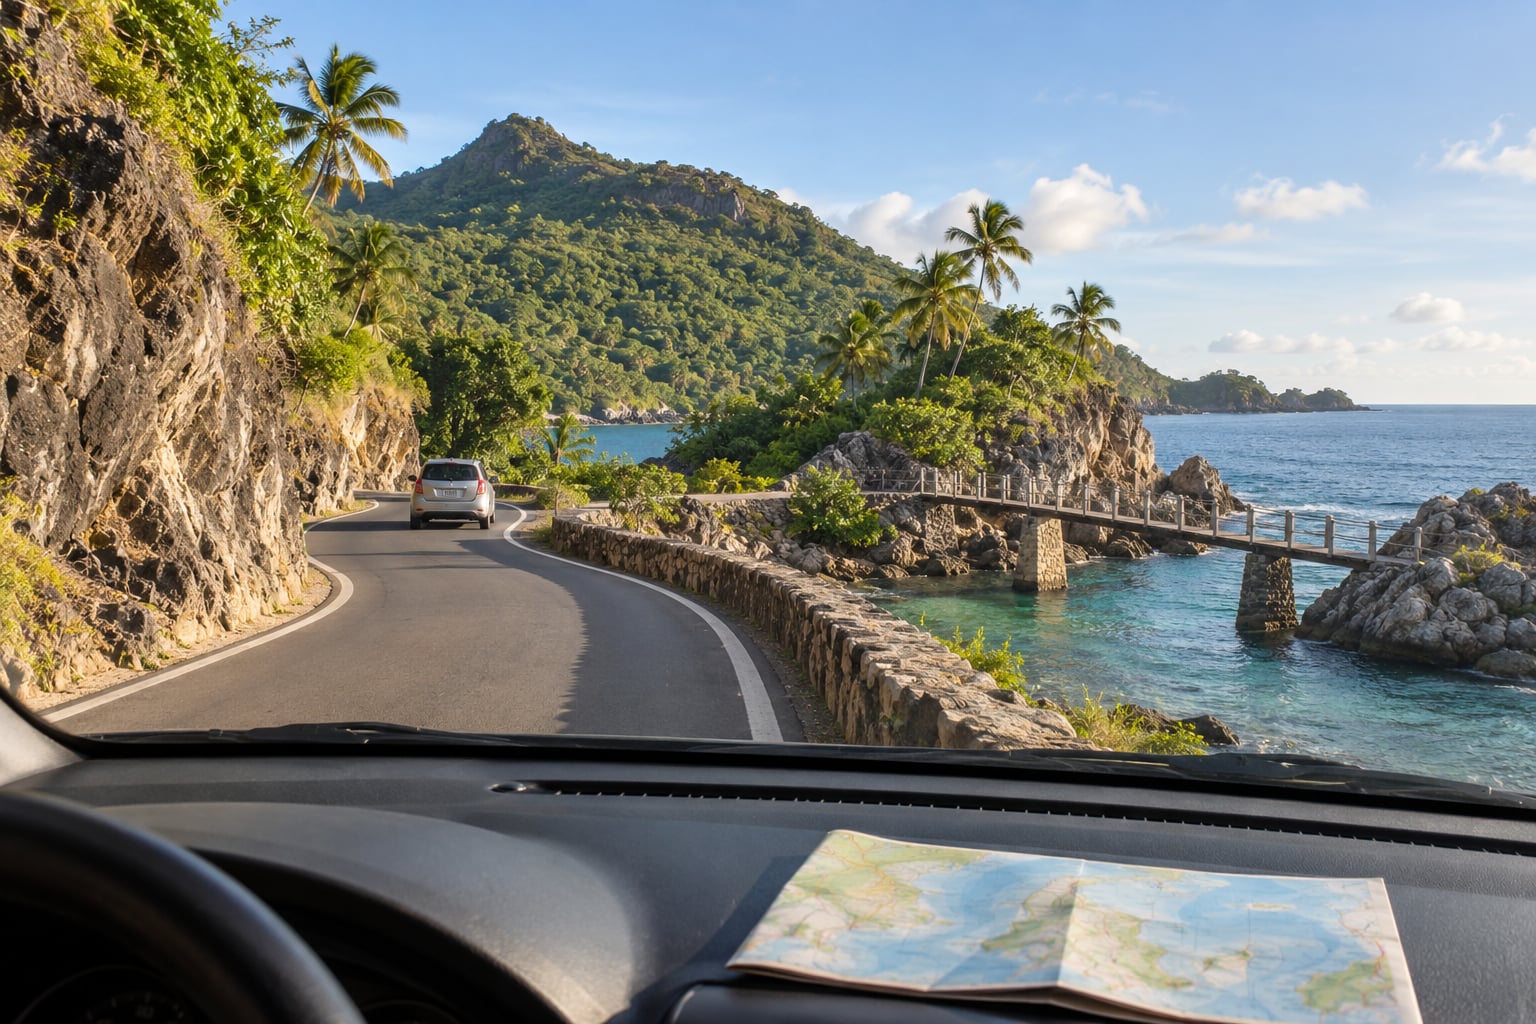
Learning how to drive safely on narrow island roads comes down to one habit: react earlier than feels necessary. Slow before the bend rather than on it, hold the side near the verge so oncoming traffic has room, sound a short horn before blind corners, and pull over at a wide spot instead of trying to squeeze past. It takes about ten quiet minutes to feel normal on an island road.
The reason island roads punish late reactions is simple geometry. There is no shoulder to swerve onto, often no centre line at all, and the sight line stops at a rock wall or a hedge. On a wide road you resolve a hazard by steering. Here you resolve it by having already removed speed, which is why the whole skill is anticipation rather than reaction.
Table of Contents
- What You Need: How to Drive Safely on Narrow Island Roads
- A car you can actually see out of
- Documents and a local permit
- An offline map and a phone that works
- Fuel, water, and a roadside kit
- A photograph of the car before you leave
- Time to slow down
- Step-by-Step
- Step 1: Check the Road, Car, and Route
- Step 2: Reduce Your Speed Before the Hazard
- Step 3: Position the Car for the Road
- Step 4: How to Drive Safely on Narrow Island Roads Around Blind Bends and One-Lane Sections
- Step 5: Pass Only When the Entire Road Is Clear
- Step 6: Watch for Gates, Animals, and Roadside Activity
- Step 7: Handle a Mechanical Problem or Crash Safely
- Common Mistakes
- Frequently Asked Questions
- What must you be aware of when driving along narrow avenues?
- How do you pass a car on a narrow road?
- Should I drive at night on island roads?
- What happens if I damage a rental car on a narrow road?
- What car size is best for narrow island roads?
- What are the 5 C’s of safe driving?
- Conclusion
What You Need: How to Drive Safely on Narrow Island Roads
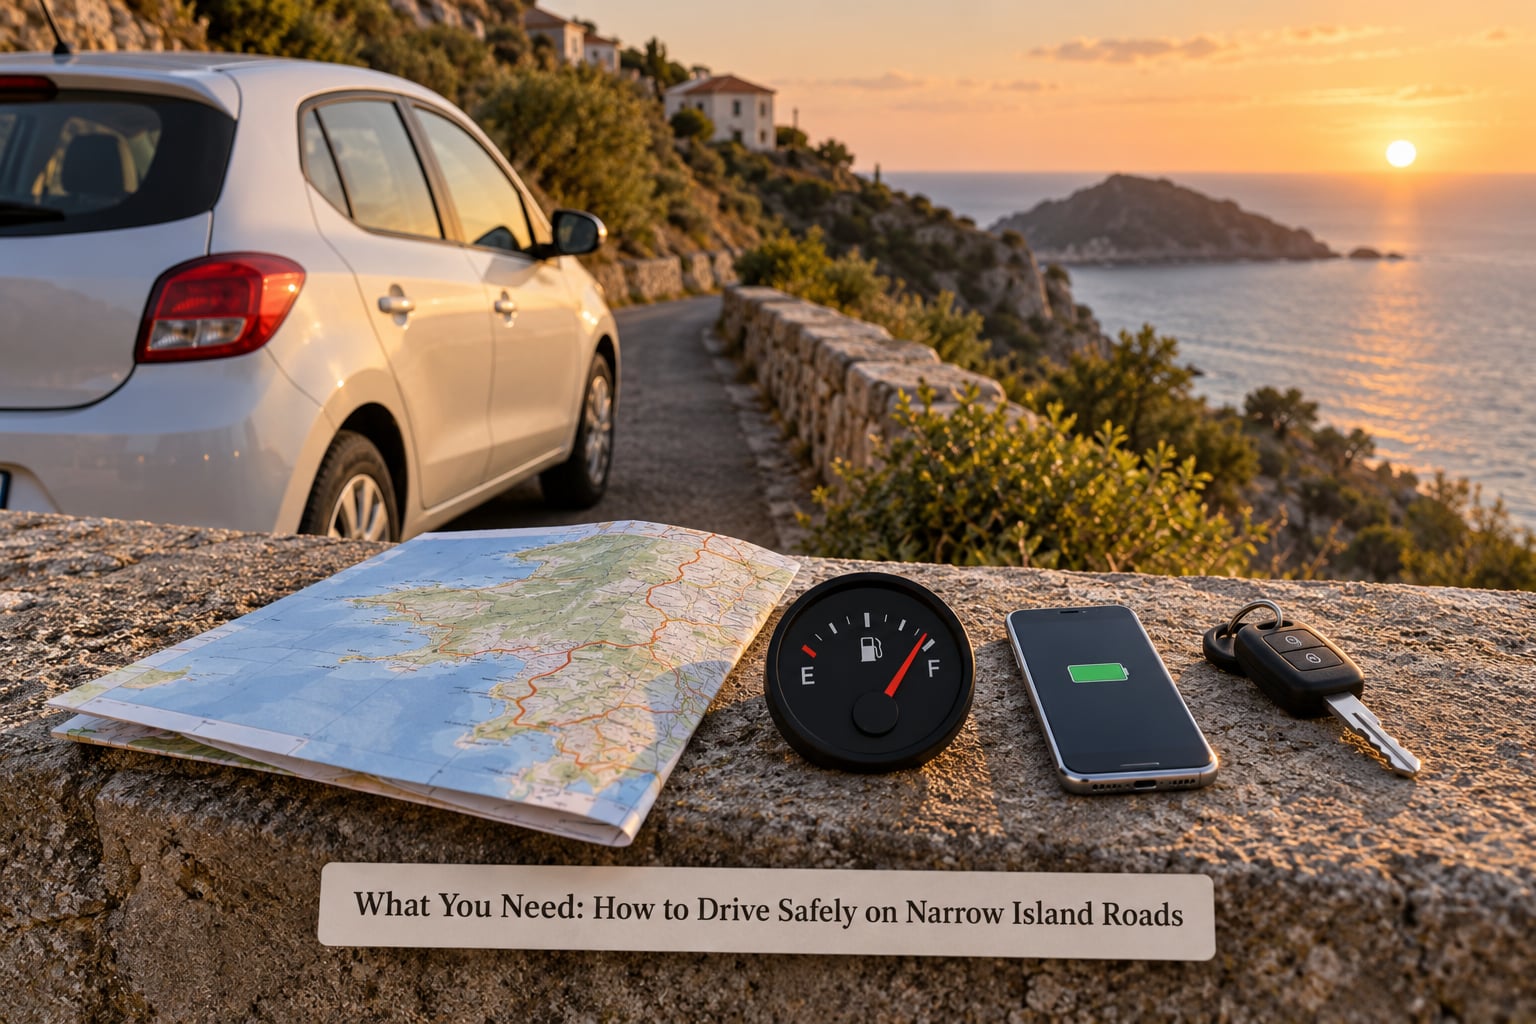
Before the first turn of the key, sort out six things. Get them wrong and every step that follows gets harder.
A car you can actually see out of
A small hatchback beats a mid-size SUV almost every time on an island. Narrower body, shorter wheelbase, better turning circle, and far less white paintwork for oncoming drivers to judge. If you plan on rough tracks or a mountain route with washouts, check the ground clearance in the rental terms before you accept the car, because most island roads are paved and the ones that are not get punishing fast.
Fold the side mirrors in before you pull away from the depot if the car has manual folding mirrors or a starting position for them. It is the single cheapest safety upgrade on the island, because it makes the gap ahead look far wider than it is.
Documents and a local permit
Your licence, your rental agreement, and whatever local driving permit the island asks visitors to carry. Some require a temporary permit obtained from a rental desk, a police station or a transport office, and a few countries want an International Driving Permit alongside your home licence. This is exactly the kind of detail that stalls you on day one, so sort it before you leave the hotel.
An offline map and a phone that works
Download the island offline before you set off and drop a pin on your accommodation and on the fuel station you need next. Signal is fine in town and gone for hours on a back road. A dead battery in a spot with no shoulder is a bad afternoon.
Fuel, water, and a roadside kit
Fill up before the long scenic stretch rather than halfway across it, since island fuel stations can be many kilometres apart and shut early. Carry a couple of litres of water, a phone charger cable, a torch, a reflective vest or triangle, and enough cash for fuel or a taxi if the car dies.
A photograph of the car before you leave
Shoot all four sides, both bumpers, every wheel and the windscreen with the odometer reading in frame, and email the images to yourself. Most scratches on island roads happen in parking bays and village streets where nobody stopped to look.
Time to slow down
Do not schedule a mountain switchback route or a cross-island transfer on your arrival day. Give yourself one easy day to learn the traffic side, the road feel and how long distances actually take. If a small island has a bus, a scooter hire or a boat taxi that reaches your beach, that is a legitimate choice rather than a cop-out, and it buys you the calm you need for the days you do drive.
Step-by-Step
Step 1: Check the Road, Car, and Route
Morning of the drive, check road closures, construction, bridge restrictions and weather. Island road work is scheduled in long blocks and a detour can add an hour without warning.
Sit in the car before you start the engine and set the mirrors, the seat and the steering feel so you do not adjust while rolling. Check the tyre pressure, the lights and the brakes, and look at the spare. Success check: you could get from the car to the road shoulder and back without opening a door into anything.
Step 2: Reduce Your Speed Before the Hazard
Treat the posted limit as a ceiling, never a target. The speed you want is the one that lets you stop inside the road you can see, and on a narrow island road that is usually far below the sign.
Use this as a starting reference and adjust it downward for what you can actually see.
| Road type | Typical width | Main hazards | Comfortable speed |
|---|---|---|---|
| Village street | About 3 to 4 metres | Parked cars, children, dogs, open doors, no markings | Walking pace |
| Coastal main road | About 4.5 to 5.5 metres | Blind bends, edge with no barrier, oncoming minibuses | 30 to 40 km/h |
| Mountain switchback | About 3 to 4 metres | Hairpin bends, rockfall after rain, no sight line | 15 to 25 km/h |
| Unlit rural road | About 3 to 4 metres | Unlit livestock, potholes, no shoulder | Daylight only if you can |
| Single-lane bridge | About 2.5 to 3 metres | No room to pass, low rails, water below | Crawl, then clear it |
Success check: you can name the hazard ahead and the speed that would let you stop before it. If you cannot, you are going too fast.
Step 3: Position the Car for the Road
Hold the side of the road nearest the verge and leave the middle of the road for oncoming traffic. This is the opposite of what wide-road habits teach you, and it is the habit that keeps narrow island roads workable.
Keep your wheels off the soft edges. Sand, coral grit and wet clay at the road edge give way with no warning, and a car that has dropped a wheel on the verge usually needs a recovery. Ignore painted edge lines too, since drivers on some islands drift well outside them in both directions.
On village streets with cars parked on both sides, that leaves a gap a metre or two wide. Folded mirrors, a steady crawl speed and your own body positioned slightly toward the centre of the road all help you judge it. Success check: you have never needed to look at your own door mirror to know whether a parked car has room for you.
Step 4: How to Drive Safely on Narrow Island Roads Around Blind Bends and One-Lane Sections
Slow down on the straight approach before the bend begins, because you cannot turn while braking hard on a curve with no shoulder. Ease off the throttle rather than stamping on the brakes, and let the car track around the bend while you look as far ahead as the bend allows.
Give a short tap on the horn as you approach a blind corner. It is standard courtesy on islands and a genuine safety measure, since it warns an oncoming driver, a cyclist or someone walking a dog that you are coming. One brief tap, not a long blast.
For a one-lane bridge or a stretch marked as a single-lane section, slow to walking pace and stay hard against your side. Stop short of the entry, check both directions, and only move on when the far end is clear. If another vehicle enters first, stop and let it cross. Never stop on the bridge itself, where there is nowhere to move if something comes the other way.
Success check: after every bend and every bridge you come out of the hazard still in control, at a speed you would survive a surprise in.
Step 5: Pass Only When the Entire Road Is Clear
Passing on a road with no passing place is the most common way visitors damage a rental car. Before you move off your line, you need three things: enough sight distance to see clear road ahead, a wide spot on your side to return to, and no vehicle or cyclist already in the section.
If any of those is missing, do not pass. Stop, put the car in low gear or park it, and wait. On a road with passing places, pull fully into the lay-by and let the other vehicle go first. Pulling over for a minibus, a local driver or a cyclist is normal island behaviour, not a sign you have done something wrong.
Meeting a cyclist or a scooter on a blind bend is its own problem. Slow down, move toward your own side without crossing the centre, and let them take the remaining width. If they slow down, you slow more. If a two-wheeled vehicle appears ahead on a hairpin, stop rather than try to squeeze past on the outside where the drop is steepest.
Success check: you have finished the day with no pass you were not certain about.
Step 6: Watch for Gates, Animals, and Roadside Activity
Hinged farm and property gates open outward across the carriageway, and they are rarely visible until you are close. Slow at every driveway and expect the gate, not just the house.
Drainage channels cross the road as bare concrete or steel bars, often with no markings. Cross them square and slowly, because hitting one edge can bounce a car into the ditch.
Goats, dogs, donkeys and birds appear without warning, usually at dawn and dusk. Slow right down rather than swerving, and keep both hands able to react. Sand, washed gravel and standing water after tropical rain can hide washouts and potholes, so after rain assume the road is worse than it looked from the car park.
Success check: you can name the three roadside hazards you expect in the next ten kilometres and you are going slowly enough to react to all three.
Step 7: Handle a Mechanical Problem or Crash Safely
If a warning light comes on, a tyre loses pressure, or you hear a change under the car, switch on hazard lights and reduce speed smoothly. Then move the car off the carriageway as far as you safely can, even if that means driving a short distance on the verge, so following traffic is not hitting a stationary car.
Do not attempt a repair in a blind bend or on a bridge. Once stopped, hazard lights on, key out of the ignition, and call your rental assistance number. Emergency numbers differ by island, so save the local number for the island you are on before you need it.
After a minor collision, stop, hazards on, and check everyone involved before anything moves. Photograph both vehicles, the road, the damage and the position with the wider scene in frame. Note the time and the other party’s details, then call the rental company before the vehicle is moved, except where moving it is the only way to avoid danger. Do not admit fault at the scene; describe what happened instead.
Success check: you have a photograph, a number to call and no one hurt.
Common Mistakes
Nearly every scrape on a narrow island road traces back to one of a handful of mistakes. Each has a simple correction.
Passing on a bend or with a car arriving. The correction is a rule, not a judgement call: no sight line, no pass.
Holding the centre of the road. On a road this narrow you are the obstruction. Correct it by staying near the verge and leaving the middle clear.
Braking hard inside a bend. The front end washes wide onto the wrong side. Brake before the bend, not in it.
Following another car too closely. Doubling up to a local driver on a road where you cannot see past them removes your ability to react. Keep a gap you would be happy to leave if their brake lights vanished.
Driving unlit mountain or rural roads after sunset. The honest recommendation is not to. There are no street lights, no shoulder and unlit animals, so if you must, drop to the speed you would use in fog and accept a longer route in daylight instead.
Leaving a parked car without looking first. On village streets the danger comes from the far side, where the doors, the mirrors and the pedestrians are.
Skipping the damage photos at the counter. Four minutes of photographs protects you from an argument about a scratch that was already there.
Trusting the map’s estimate. Island time includes gates, goats, a photo stop you did not plan and a pull-over to let traffic through. Add generous buffer to every transfer.
Your passenger has a job too. The navigator should watch the road ahead for hazards and the shoulders for pull-off spots, not for the fastest route, and should call hazards early and calmly. One passenger shouting about an upcoming bend is genuinely more dangerous than no passenger at all.
Frequently Asked Questions
What must you be aware of when driving along narrow avenues?
On narrow avenues you must plan for almost no escape space. Watch for parked cars with opening doors, pedestrians and children stepping out from between vehicles, oncoming traffic meeting you near a blind corner, and edges that drop away with no shoulder and no barrier. There may be no centre line, so keep to the side nearest the verge and leave the middle of the road clear for oncoming vehicles. Treat the posted limit as a ceiling and drive at the speed that lets you stop within what you can see.
How do you pass a car on a narrow road?
Only pass when the entire section is clear. You need enough sight distance to see open road ahead, a wide spot on your side to return to, and no oncoming vehicle or cyclist already entering the bend. If any of those is missing, stop and wait rather than squeezing by. When you do meet another car on a road with no passing place, the vehicle with the nearest safe place to pull in should use it, and the other reverses to it slowly. Hesitation costs minutes; a mirror fold costs real money.
Should I drive at night on island roads?
Avoid it where you can. Unlit rural and mountain roads have no street lighting, no shoulder, unlit livestock and potholes that only show up in headlights. If you have to drive after dark, stay on the main coastal route if possible, keep the speed down to what you would use in fog, use dipped headlights, and assume there is nothing beyond the beam. Short of a genuine emergency, moving the journey to daylight is the safer choice on almost every island.
What happens if I damage a rental car on a narrow road?
It usually comes out of your damage excess, so the cost depends entirely on the cover you bought at the counter. Photograph everything at the rental desk before you drive away, then again after any incident. Report it to the rental company as soon as possible, do not admit fault at the scene, and keep the photos and paperwork. Zero-excess cover is worth considering seriously if your route includes village streets, mountain switchbacks or unpaved tracks.
What car size is best for narrow island roads?
A small hatchback is the practical choice on almost every island. It is narrower, has a shorter turning circle, fits through village streets where two cars barely pass, and gives you a wide view down the road from a high seating position. A larger vehicle only makes sense if your route includes rough tracks or badly broken mountain roads with high ground clearance. Fold the mirrors in where the car allows it and you will see far more of the road ahead.
What are the 5 C’s of safe driving?
The 5 C’s are Condition, Concentration, Caution, Control and Courtesy. On a narrow island road they map directly onto the work: check the condition of the road and your car, concentrate because hazards arrive late, slow down as caution, keep both hands and a steady speed in control, and give way through courtesy. A sixth word fits island driving particularly well: calm.
Conclusion
Slow down before the hazard, not during it. That single habit is what makes the difference between a relaxed island drive and a scraped rental car.
The short version of how to drive safely on narrow island roads is position and patience rather than nerve. Keep yourself toward the verge so an oncoming vehicle always has room, keep your wheels off the soft edges, and only act once you can see the whole path ahead is clear. Do that consistently and the map estimate will simply take a little longer than you expected.