Finding the rideshare pickup area at an airport comes down to one rule: rideshare drivers may only load passengers in a designated zone, and every airport labels that zone in a slightly different way. The short version is to clear your bags, follow the signs marked Ride App Pick-Up, TNC, or Ground Transportation, and only request the ride once you are standing in the zone the app describes. It takes about ten minutes of walking and far less than that of confusion.
Most of the frustration comes from requesting the ride too early, while you are still deep inside the terminal. The app drops a pin, the driver drives to it, and neither of you ends up where the other expects. A few extra minutes of walking first saves twenty of circling the building.
Table of Contents
- What You Need
- Step-by-Step: How to Find the Rideshare Pickup Area at an Airport
- 1. Confirm Your Airport, Terminal, and Pickup Type
- 2. Follow Terminal Signs for Rideshare or Commercial Pickup
- 3. Ask Airport Staff if the Pickup Location Is Not Obvious
- 4. Walk to the Assigned Zone and Check the Curb Number
- 5. Wait in the Designated Area and Confirm Before Boarding
- Common Mistakes
- Frequently Asked Questions
- How does Uber know where to pick me up at an airport?
- Do I wait outside the terminal for my rideshare?
- What if the app sends my pickup point to the wrong spot?
- Is it better to pre-book a rideshare at the airport?
- Where is the rideshare area for international arrivals?
- How much should I tip an airport rideshare driver?
- Conclusion
What You Need
Before you leave baggage claim, check you have these six things sorted. It takes about a minute and it removes most of the guesswork later.
- A confirmed ride request in the Uber or Lyft app, with the airport selected so the pickup instructions match your terminal.
- The airport name and terminal you actually landed at, especially at multi-terminal airports where the same airline uses several buildings.
- Mobile service or a screenshot of the pickup instructions, because concrete terminal walls and basements routinely kill your data connection.
- Your exit door, island or pillar number, which is the fastest way to tell a driver exactly where you are.
- Your driver’s name, car model, colour and licence plate from the app notification.
- A plan for luggage and mobility: request an XL when you have several bags, and ask the information desk for the step-free route to the rideshare zone.
Step-by-Step: How to Find the Rideshare Pickup Area at an Airport
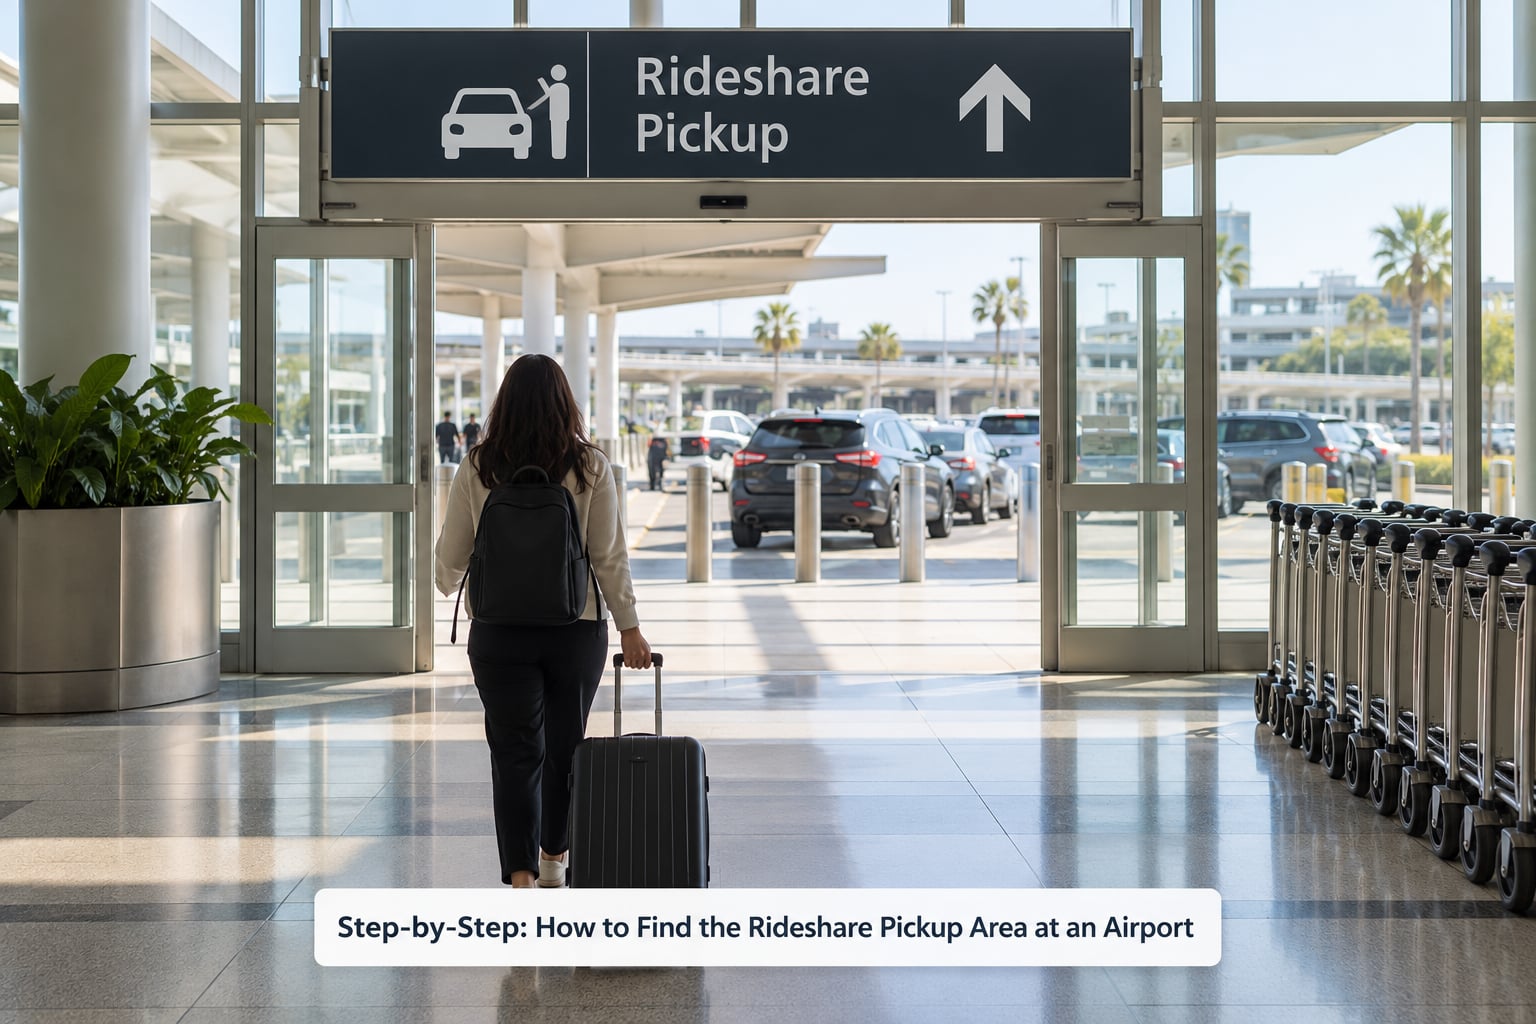
Work through these in order. Skipping step one is how people end up at the taxi rank with a driver circling the block.
1. Confirm Your Airport, Terminal, and Pickup Type
Open the app and check the pickup details before you move. The request screen should name the airport, the terminal or concourse, and often a specific zone, bay, or numbered curb lane.
If the pickup type field says something like Scheduled pickup, pre-order, or meet and greet, that changes your whole approach. A scheduled request means the driver heads to a designated staging lot first, then comes to you, so you should not wander out to a curb looking for them.
Getting this wrong at an airport is common because terminals are numbered, lettered, or both, and the terminal you departed from may not be the terminal you land at. A quick check of your boarding pass versus your arrival terminal takes ten seconds.
2. Follow Terminal Signs for Rideshare or Commercial Pickup
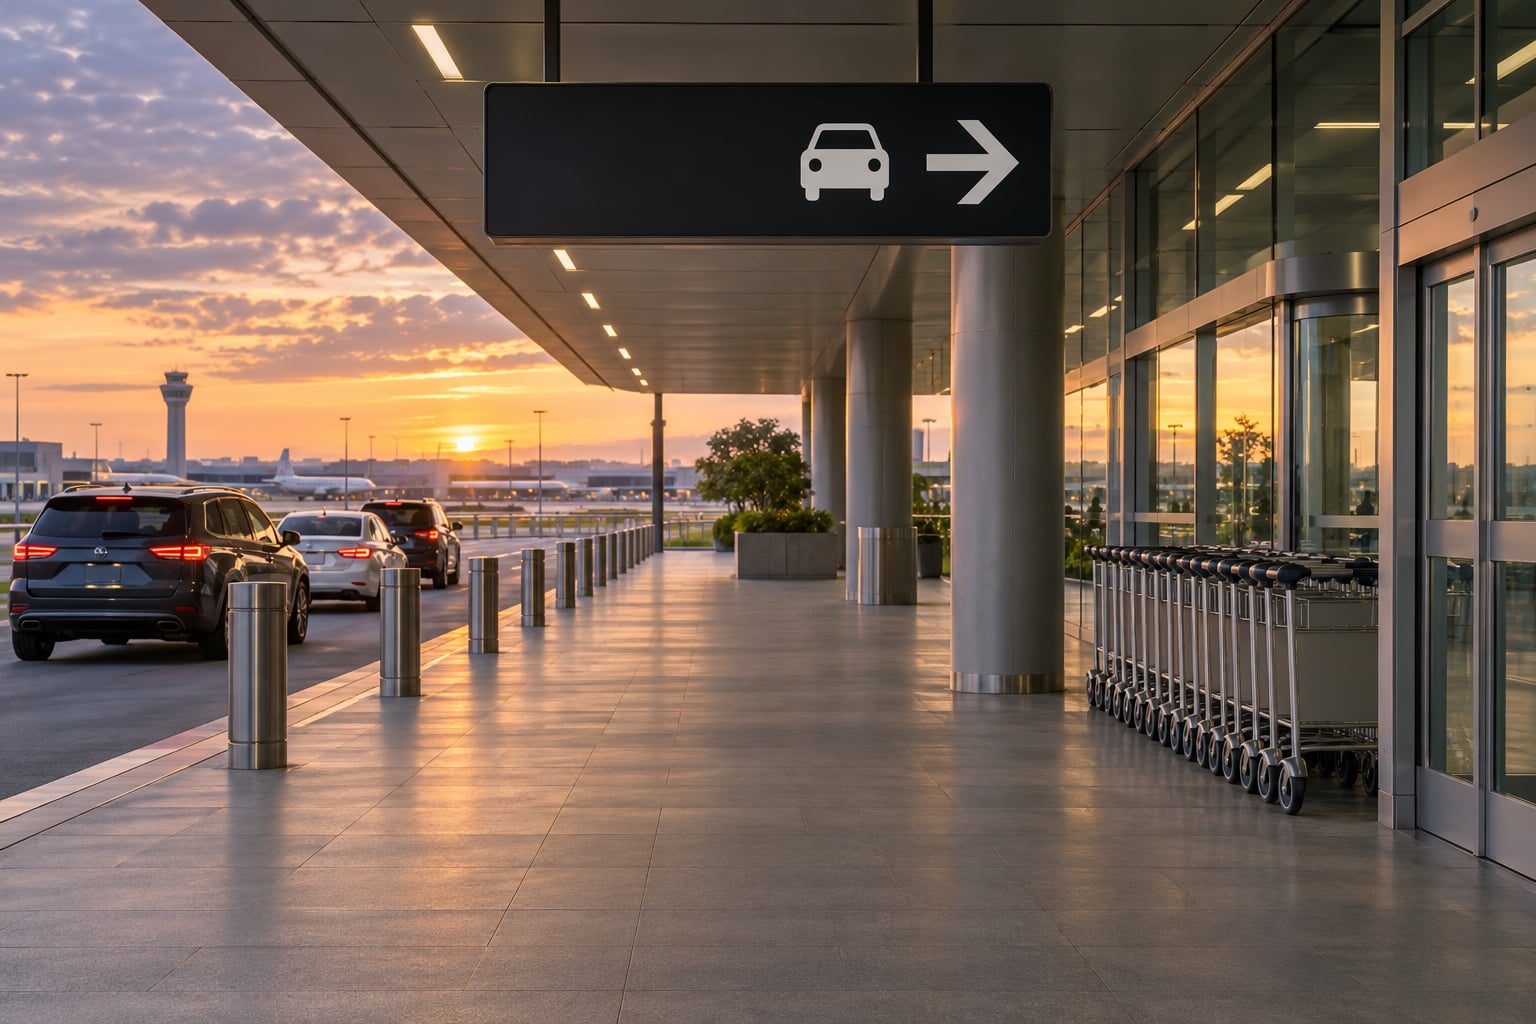
From baggage claim, walk toward the exit doors and start reading overhead signs. Look for Ride App Pick-Up, TNC or Rideshare, Ground Transportation, Commercial Vehicles, or Taxis and Shuttles.
These labels are not decoration. At Seattle-Tacoma, passengers reach the Ride App Pick-Up area by crossing the skybridges that sit a level below ticketing and a level above baggage claim. At San Diego, you cross the main crosswalk from baggage claim to the Transportation Plaza, and rideshare pickup is in the second lane. At Newark, ride app pickup runs across zones 8, 9 and 10 on the third curb outside arrivals.
Notice the pattern: the rideshare area is frequently on a different level than the taxi rank, and it is sometimes one floor up and across a bridge. If the sign you are standing under points to taxis and shuttles only, you have not arrived yet.
3. Ask Airport Staff if the Pickup Location Is Not Obvious
If no sign mentions rideshare, ask someone rather than guessing. Information desks, security officers, and ground transportation staff answer this question dozens of times a day.
Ask a specific question: “Where is the ride app pickup for Terminal 2, and is it inside or outside?” Specificity matters, because a vague “where’s Uber?” gets a vague answer. Add “which level” and “is there a walk involved” and you will usually get the curb number too.
At O’Hare, for example, passengers arriving at Terminals 1, 2 and 3 have rideshare pickups centralized on the Upper Level departures roadway, which is genuinely counter-intuitive after arriving on the lower arrivals level. Airport staff will tell you that in one sentence. Guessing takes ten.
4. Walk to the Assigned Zone and Check the Curb Number
This is the step where to find the rideshare pickup area at an airport becomes concrete. Match the app’s instructions against the physical signs: the bay number, the pillar or island letter, the curb lane, the garage floor, or the colour-coded panel.
Some zones are a curb directly outside a numbered door. Others are on a dedicated roadway level, and some send you across a skybridge into a parking structure or a surface lot a few minutes away. At Boston Logan, the rideshare area moved to a parking area roughly a five-minute walk from Terminal A.
If your app shows a pickup point that involves a 10 or 15 minute walk down a side road while your driver is a minute away, trust the airport signage over the suggested walk. That suggestion is a pin, not a verified route.
5. Wait in the Designated Area and Confirm Before Boarding
Stand inside the marked zone, out of the traffic lane, with your bags close. Expect a wait measured in a few minutes rather than seconds, because drivers circulate and stage between arrivals.
Before you get in, match three things: the driver name, the car model and colour, and the licence plate shown in the app. If the driver is holding a phone out the window asking who is looking for them, walk on and open the app yourself.
Send your driver the pillar number or door number as soon as you reach the zone. It removes the most common failure, which is a car parked one island over from where you are standing.
Common Mistakes
Almost every painful airport rideshare story traces back to one of these six errors.
Standing at the taxi or cell phone lot curb. The cell phone lot is where people wait for arriving passengers to call them, and it is never a legal loading zone for rideshare. Walk past it to the marked rideshare or ground transportation area.
Requesting the ride from inside the terminal. Signals degrade badly indoors, so the pin can land on the wrong roadway or the wrong level, and the driver drives to a spot you cannot reach from the passenger exit. Walk to the zone, then request.
Following an old screenshot or an old guide. Pickup areas move with little warning, which is exactly why travelers ask the same question at Logan, LAX and Dallas Love Field. Trust the current app screen and the airport’s own page over any pinned post, including mine.
Assuming the rideshare area is on the arrivals level. Several large airports send departing-level traffic, not arrivals-level traffic, to the pickup roadway. O’Hare is the classic case, and reading a sign beats assuming.
Requesting before your bags come out. Airport rules cap how long a driver can wait, so a driver who arrives while you are still at the carousel may circle or leave. Request once you are actually in the zone with your luggage.
Flagging an unmarked car. Never get into a vehicle that is not clearly the one named in your app, no matter how helpful the driver seems. Confirm name, car and plate first, every time.
Frequently Asked Questions
How does Uber know where to pick me up at an airport?
The app uses your phone’s location, the terminal you are standing in, and the airport’s own pickup zones that drivers are given in advance. GPS is accurate outdoors and poor inside terminals, which is why the app tells you to walk to the pickup area first. Once you reach the marked zone, the pin lands on the curb or bay where the driver is allowed to load.
Do I wait outside the terminal for my rideshare?
Usually yes, but not on the sidewalk at random. Airports designate a specific zone, which can be a numbered curb, an island outside a numbered door, a bridge to a garage level, or a surface lot a few minutes away. Wait inside that zone, away from moving traffic, and only after you have your bags and your driver is close.
What if the app sends my pickup point to the wrong spot?
Check the airport’s own ground transportation page or ask an information desk, then move to the zone they describe and message your driver the new pillar or door number. If the suggested walk is long but your driver is already nearby, the airport signage wins. You can also re-drop the pin once you are physically inside the pickup zone.
Is it better to pre-book a rideshare at the airport?
Where it is offered, a scheduled or pre-order pickup is usually calmer, because the driver stages in a waiting lot instead of circling the terminal. Lyft currently limits pre-order airport pickups to a small set of hubs, including LAX, MDW and ORD. Elsewhere, request the ride once you are standing in the pickup zone with your luggage.
Where is the rideshare area for international arrivals?
International arrivals often use a different curb from domestic ones, because customs and immigration release you into a separate arrivals hall. At O’Hare, Terminal 5 handles international arrivals, while Terminals 1, 2 and 3 have centralized rideshare pickup on the Upper Level departures roadway. Expect a longer walk and check the app’s arrival terminal before you leave the secure area.
How much should I tip an airport rideshare driver?
Tipping at an airport is entirely optional and there is no airport-specific rule. Most riders tip in the app the same way they would on any trip, or simply round up after a long-haul flight and a lot of luggage. If a driver helps with bags at the curb, a small extra tip is a nice touch but never expected.
Conclusion
Three things to do first, in order: confirm your terminal and read the pickup instructions in the app, follow the airport’s Ride App Pick-Up or TNC signage until you reach the numbered zone, and check the driver’s name, car and licence plate before you open the door. That sequence works at almost any airport, and it stays useful in 2026 even as specific curbs change from one season to the next.