What to check when returning a rental car comes down to four things you can prove: the fuel level your agreement asked for, the odometer reading, the condition of the body, and the fact that every belonging is out of the car. Damage, cleaning and fuel charges usually arrive days or weeks after the rental ends, so the evidence you control at drop-off is what decides whether a bill sticks.
A complete return takes about ten minutes if you do it deliberately, and roughly three minutes of scrambling if you do it at the rental counter with a flight in ninety minutes. The difference between those two versions is almost always the photos.
Table of Contents
- What You Need
- Step-by-Step: What to Check When Returning a Rental Car
- 1. Re-read the agreement before you drive to the return point
- 2. Refuel to the level the agreement requires
- 3. Record the odometer
- 4. Clear out the car properly
- 5. Photograph and record the condition
- 6. Return the keys and get proof
- 7. Close out the payment and the deposit
- How to Complete the Final Vehicle Inspection
- How to Confirm Fuel, Mileage, and Extra Charges
- Common Mistakes
- Returning the wrong car or the wrong lot
- Skipping the photos because the car looks fine
- Missing the return deadline
- Losing belongings in the car
- Accepting an incomplete receipt
- Paying a post-rental charge on the spot
- Frequently Asked Questions
- Can I return a rental car after hours?
- How do I dispute damage charges after returning a rental car?
- Do I need to return a rental car with a full tank?
- What proof should I keep after returning a rental car?
- Can I leave the keys with someone else when returning a rental car?
- Conclusion
What You Need
Gather these before you pull into the return area, not after. Most of them are already in the car with you.
- Your rental agreement or app screen. You need the return location, return date and time, the fuel policy wording and the mileage allowance. The paper copy in the glove box usually works fine.
- A phone with a camera. Video works better than stills for a walkaround, but photos of the fuel gauge and odometer need to be readable.
- The fuel receipt from the station where you refuelled. In some markets the receipt is part of the fuel policy, not a nicety.
- Any child seat, ski rack, GPS unit or cable you added. Add-on equipment is often billed separately if it goes missing.
- A pen. Useful for signing a condition report and writing your own notes on it.
- Twenty minutes of slack. Not because returns are slow, but because the fuel station near an airport return lane is frequently busier than the airport itself.
If you rented the car on a credit card, keep that card handy. Rental coverage from a card issuer is one of the strongest tools you have when a damage bill turns up later.
Step-by-Step: What to Check When Returning a Rental Car
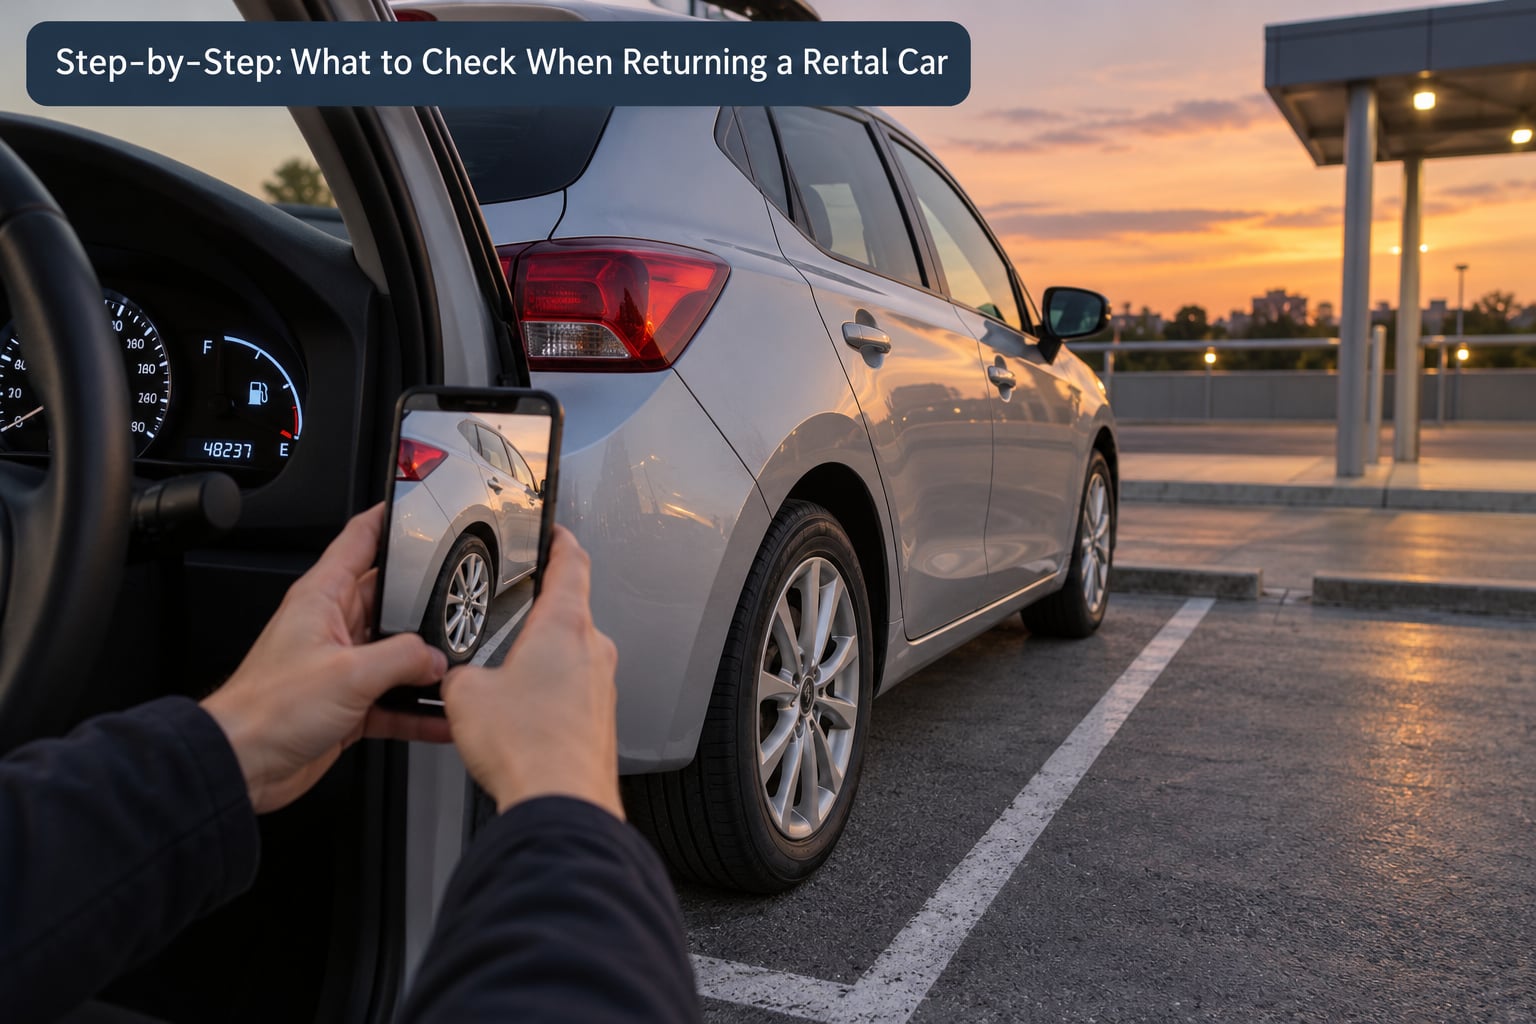
Seven steps, in this order, cover a standard return. Do the fuel first and everything after it gets quicker, because the fuel stop is the one part with a hard deadline attached.
1. Re-read the agreement before you drive to the return point
Open the agreement while you still have a passenger or a quiet parking spot. You are looking for four lines of text: return location, return date and time, required fuel level, and the mileage allowance included in your rate.
Also check whether you bought prepaid fuel. If you did, skip the fuel station entirely and note that the car was returned at whatever level the gauge shows, because the fuel is already paid for.
2. Refuel to the level the agreement requires
Full-to-full means you take the car back full and you are only charged for what you put in. Same-to-same means you return it at the level on the pickup slip, often marked on the fuel gauge as a position between E and F rather than as a number.
Photograph the gauge next to the pump reading before you pay, keep the receipt, and refuelling near the return location rather than ten miles back on the motorway. The mark-up on a company-run refuel is usually far above the pump price.
3. Record the odometer
Take one clear photo of the odometer reading with the whole display in frame. If the agreement includes a mileage allowance, compare the number against the pickup figure to see whether you are inside it.
Frame the fuel gauge and the odometer in a single shot when you can. One image showing both saves an argument later about which reading belonged to which moment.
4. Clear out the car properly
Check the glove box, the console lid, the door pockets, the seatback trays, the trunk under the boot floor and any pockets in the headrests. Charging cables are the classic item that follows people home for six months.
You do not need to vacuum, but you do need the interior to look like a normal rental interior. Sand tracked in from a beach road, a spilled coffee, sunscreen on the upholstery and a child seat with crumbs under it are the four things that turn into a cleaning fee.
5. Photograph and record the condition
Walk the car before you hand over the keys, with your own eyes and your own camera. Details of that walkaround are in the next section, because the shot list matters more than most people expect.
6. Return the keys and get proof
At a staffed counter, hand the keys to an agent and ask for a printed or emailed return receipt that shows the date, time, location, fuel level and odometer. At an after-hours bay, use the key drop box or return slot specified in your agreement, photograph the car and the bay number one final time, and pull the receipt or confirmation from your email the moment it arrives.
Note the time gap. The official receipt time often reflects when staff process the car, not when you parked it. If that gap runs long, keep any photo that shows the clock on your phone at the moment you walked away.
7. Close out the payment and the deposit
Check your rental card statement a few days later to confirm the final amount settled as expected. Note when the security deposit hold is released, since that authorisation can take several business days to drop off, and longer if your bank treats it differently from an ordinary charge.
How to Complete the Final Vehicle Inspection
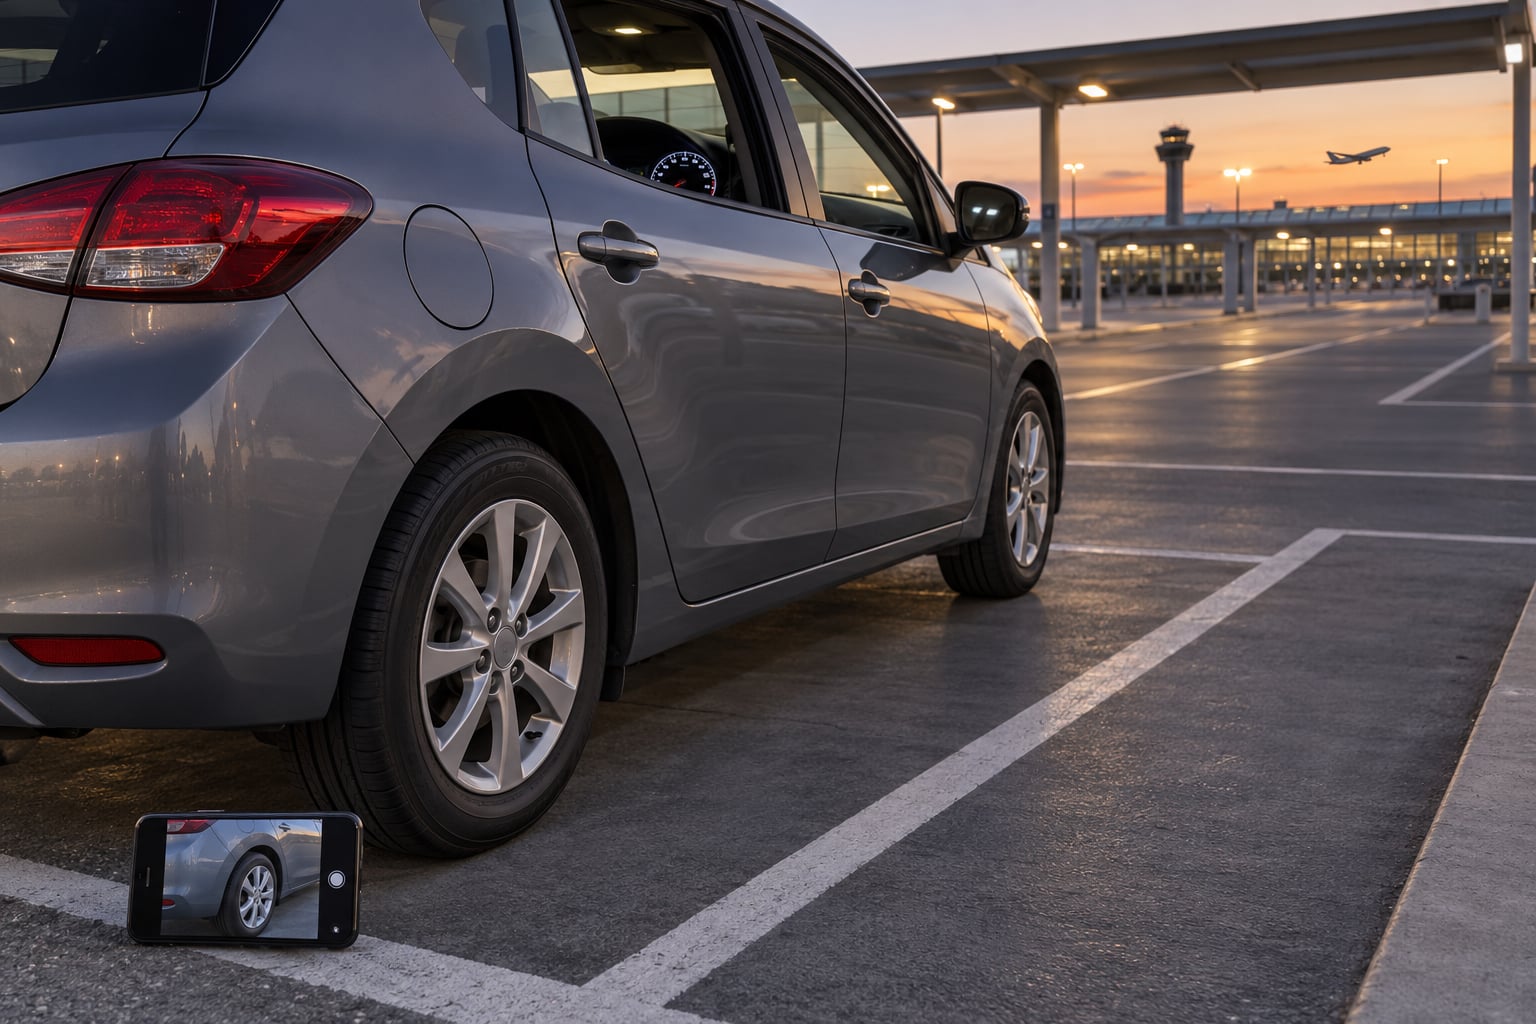
Inspect the car where you parked it, in daylight or under good lighting, before keys leave your hand. Many branches now run camera-based damage scanners over the car as you pass, so assume any panel is being looked at closely.
A minimum evidence set, and the counts I would aim for:
- Context shots: 2. One wide shot of the parked car in its bay, one of the same car from the opposite corner so the location and time are both established.
- Walkaround: 8. Front, rear, both sides, both front corners, both rear corners. Keep the car fully in frame in each.
- Wheels and glass: 4. Each of the four wheels or alloys, plus the windscreen if you noticed any chip. Rim kerbing is a frequent post-rental charge.
- Dashboard: 2. Fuel gauge and odometer, ideally together, with the ignition on and every digit legible.
- Interior: 3. Front seats and dash, rear seat, and the boot with the boot floor lifted.
- Any known mark: 1 close-up each. Existing scuffs get their own frame rather than being buried in a wide shot.
Then handle the paperwork. Compare the car against the condition report from pickup and point out anything that has not changed. Write your own note on the inspection sheet if marks are missing from it, photograph the annotated sheet, and ask for a copy. An unsigned or missing inspection sheet is the reason many disputes stall.
How to Confirm Fuel, Mileage, and Extra Charges
Fuel, mileage and add-ons are where the avoidable charges cluster. Confirm each one before you drive away from the counter.
Run down this table before you accept the receipt. Each charge has a matching action that prevents it.
| Charge | When it applies | How to avoid it |
|---|---|---|
| Refuelling charge | Returned below the fuel level the agreement requires | Refuel to the required level and keep the pump receipt |
| Late return | Car back after the return time, past any grace window | Check the clock and leave a 20-minute buffer |
| After-hours fee | Return handled by a key drop outside staffed hours | Return during opening hours when the trip allows |
| Cleaning fee | Heavy sand, mud, spills or stains left inside | Empty the car and remove stains before returning |
| Damage charge | New damage claimed after your rental ends | Timestamped photos at pickup and return, in the same parking area or lighting |
| Loss of use | Damage billed, plus a charge per day the car is off the road | Same evidence; a disputed damage claim blocks this too |
| Mileage overage | Driving past the allowance included in the rate | Compare the odometer with the allowance before you accept the receipt |
| One-way fee | Dropped at a location other than pickup | Expected only if you booked it, so check the receipt for one line item |
Then look at the receipt itself for lines you did not expect: prepaid fuel you never bought, a young-driver fee if you are under the age threshold, a toll pass or admin fee, an insurance or collision damage waiver charge when your credit card already covers you, and any satellite radio or fuel service charge added at the counter. Ask about each one on the spot, because explaining it later is far harder.
Common Mistakes
Most return problems come from doing one of these six things.
Returning the wrong car or the wrong lot
Airport return areas often have separate lanes for on-airport and off-airport brands, and identical-looking vehicles in adjacent rows. Confirm the bay number or lane on your agreement before you park, and check the trunk contents against your own bag count before leaving the seat.
Skipping the photos because the car looks fine
It looked fine when you had it, and it looks identical in a dispute six weeks later without pictures. The walkaround takes ninety seconds. Old scratches, faded warnings and low-pressure tyres are exactly the things you cannot recall later.
Missing the return deadline
A grace window of fifteen minutes to an hour is common but not universal, and it often applies per day rather than per minute. Check the agreement, then aim to be physically parked before the return time rather than driving toward it.
Losing belongings in the car
Do one final sweep after the photos, not before. Lost-item handling typically means a fee, and the item has to be found by a warehouse team weeks later, if at all.
Accepting an incomplete receipt
A receipt showing a total but no odometer, no fuel level and no signature is weak evidence in either direction. Ask for the version that includes all three, or photograph the inspection sheet and the printed totals together.
Paying a post-rental charge on the spot
When a damage or fuel charge appears weeks after the car is gone, do not pay it immediately to make it disappear. Ask in writing for the inspection report, the damage photos and the repair invoice, keep copies, and note that a card issuer chargeback generally has a 60-day window from the statement date. Written follow-up costs nothing and often resolves the charge without a dispute at all.
Frequently Asked Questions
Can I return a rental car after hours?
Yes, most branches have an after-hours return bay or key drop box, and your agreement will name the location. Park in the marked bay, photograph the car, the fuel gauge, the odometer and the bay number, then drop the keys in the box or slot. Your responsibility for the car lasts until staff process it, so a staffed return during opening hours gives you far stronger evidence than an unstaffed drop. Get the emailed receipt as proof of the exact time.
How do I dispute damage charges after returning a rental car?
Ask the rental company in writing for the full inspection report, the damage photographs, the time and date of the alleged damage and the repair invoice, and attach your own timestamped photos from pickup and return. If the charge still stands, dispute it with your card issuer, which normally means doing so within 60 days of the statement date on which it appeared.
Do I need to return a rental car with a full tank?
It depends on the policy written in your agreement. Full-to-full means the car goes back with a full tank, same-to-same means the same level it left on, and a prepaid fuel option means you can return it at any level because the fuel is already charged. Photograph the gauge next to the pump reading and keep the receipt either way.
What proof should I keep after returning a rental car?
Keep the return receipt or emailed confirmation with the date, time, location, fuel level and odometer, plus the annotated condition report if one was completed. Hold on to your timestamped photo set, a short walkaround video, the fuel receipt and the note of which bay or slot you used. Store them somewhere other than your phone gallery until the final amount has settled on your card.
Can I leave the keys with someone else when returning a rental car?
Usually yes if that person is listed as an authorised driver and you notify the branch beforehand. Someone who is not on the agreement can still drop the keys, but they may be asked to sign a condition report you never see, so the evidence trail ends there. If you must use a stand-in, give them your photo shot list in writing and ask them to send everything to you before they leave the car.
Conclusion
Take the timestamped photos before the keys leave your hand, save the final receipt somewhere durable, and confirm that the rental company has actually recorded the return before you walk away from the bay.
Those three things take about two minutes and they decide every dispute that follows. Everything else on this list saves you money at the counter; the evidence is what protects you weeks later, when you no longer remember the scratch that was already there.