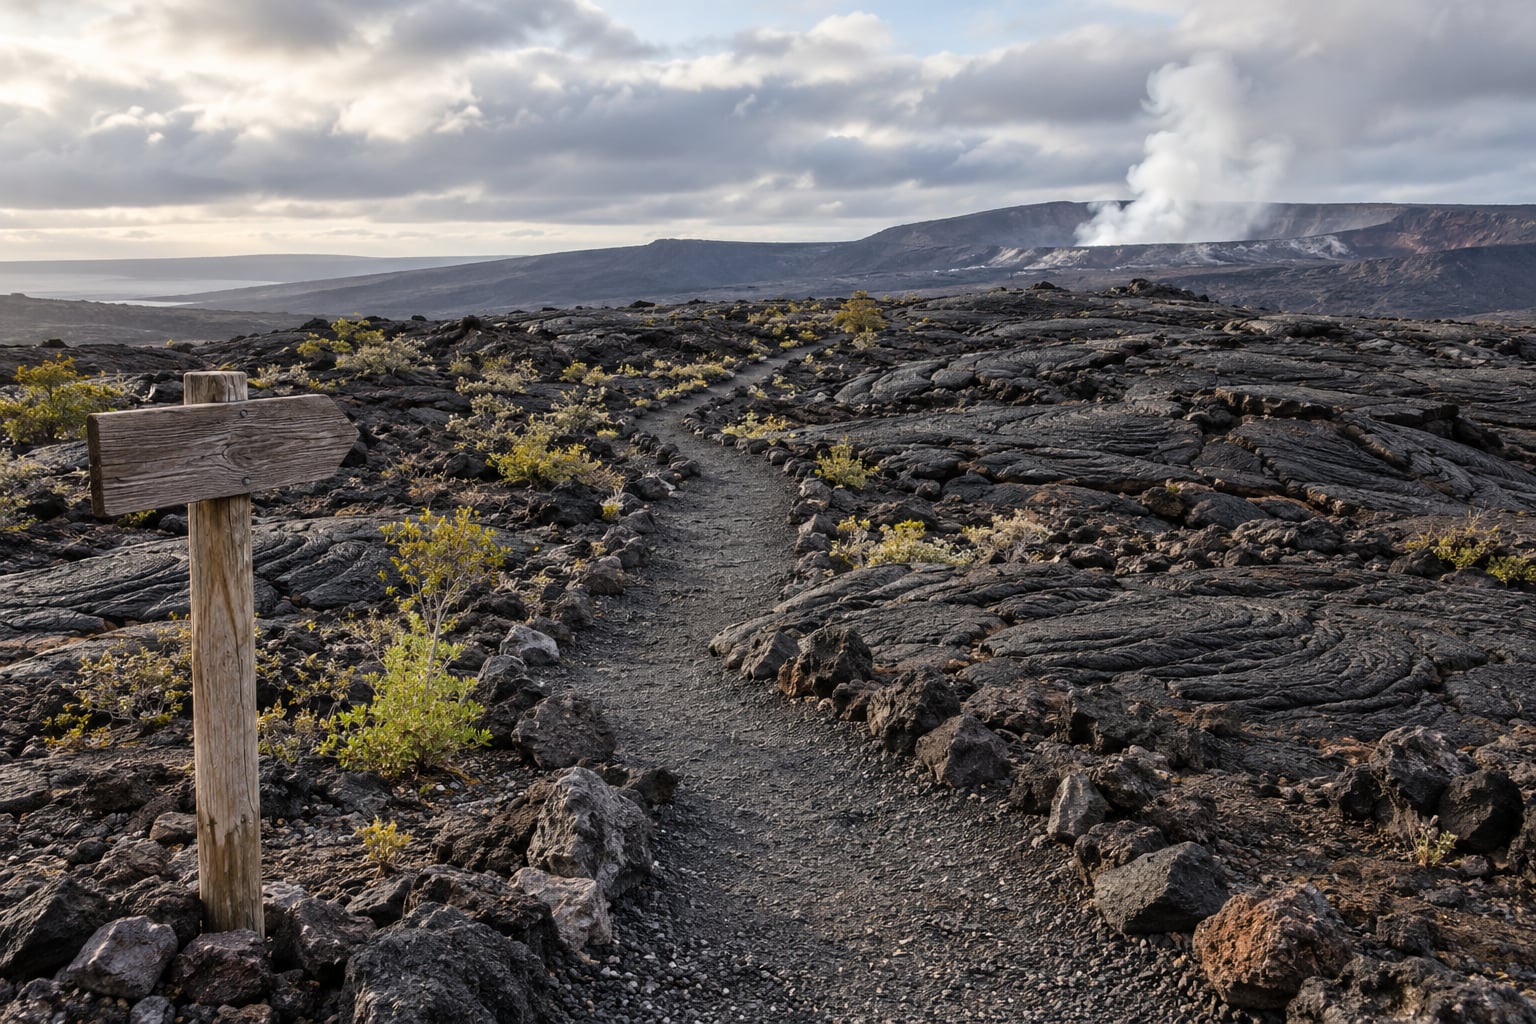
Learning how to visit a volcano national park safely comes down to four things: check the official alerts the day you travel, stay behind every barrier, protect yourself from volcanic gas and vog, and pack for sharp lava rock with weather that turns fast. Most of the danger is not the glowing lava you came to see. It is the sulfur dioxide near a crater rim, the haze that irritates lungs, and ground that looks solid and is not.
Budget a full day, and build in a plan B. A road that was open when you booked can be closed by a ranger the morning you arrive, and a trailhead parking lot that empties at 8 a.m. is already full by 10.
Table of Contents
- What You Need
- Official alerts and closure notices
- A flexible itinerary with a backup route
- Clothing and footwear
- Water, food and sun protection
- Navigation and communication tools
- Activity-specific gear
- Step-by-Step: How to Visit a Volcano National Park Safely
- Check Official Alerts Before Choosing a Route
- Match the Activity to Current Conditions
- Prepare for Heat, Weather, and Changing Terrain
- Keep a Reliable Communication and Navigation Plan
- Observe Volcanic Features Without Approaching Hazards
- Leave the Area If Conditions Change or You Feel Unwell
- Common Mistakes
- Frequently Asked Questions
- Can you visit Kilauea without a tour?
- Where is the safest place to be during a volcanic eruption?
- Do I need a respirator for vog?
- What should I do if I smell sulfur near a volcano?
- How much time should I plan for a volcano national park?
- What are the biggest mistakes visitors make at national parks?
- Final Safety Checklist
What You Need
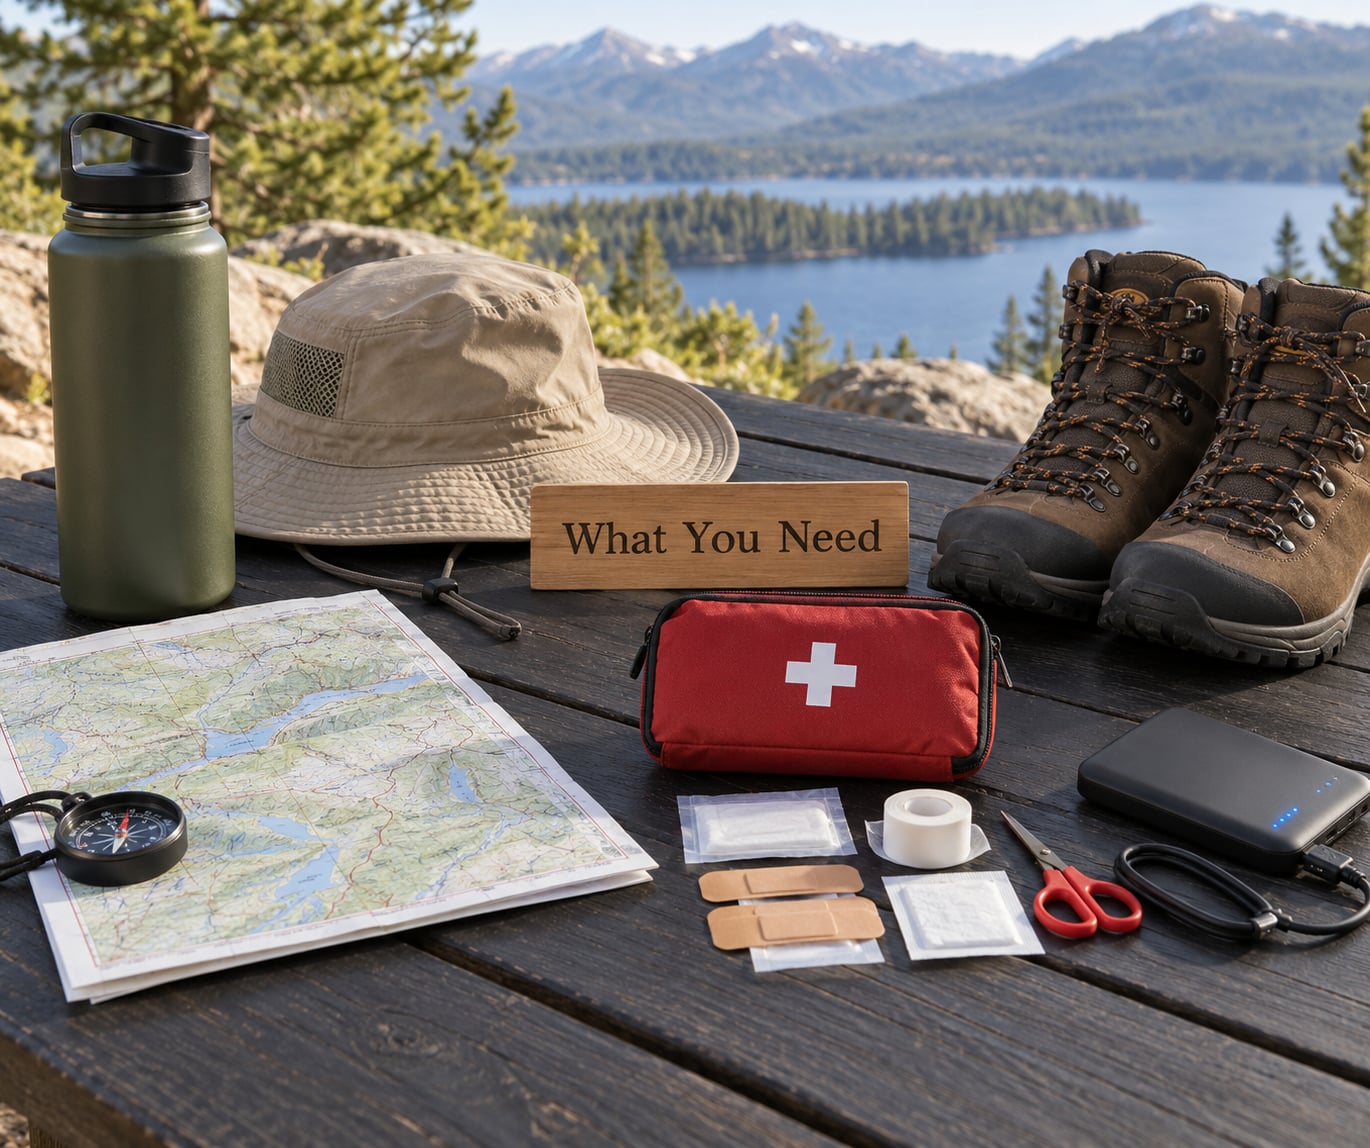
The exact list changes with the park, the season, the elevation and the specific trail or crater you are heading for. A day at a roadside overlook needs almost nothing. A crater-edge hike at 2,000 metres needs boots, layers and more water than you think. Treat the list below as the baseline and adjust it against the park’s own current guidance.
Official alerts and closure notices
Before anything else, find the official page for the park you are visiting. At an active park such as Hawai'i Volcanoes, the National Park Service alerts page carries road closures, trail closures, area restrictions and facility status, and the USGS Hawaiian Volcano Observatory carries the eruption status and daily updates. County civil defense offices post air quality and evacuation notices. Bookmark all three rather than relying on a blog post written last month.
A flexible itinerary with a backup route
Build your day around one primary stop and one alternative you would be happy with instead. Visitors who planned a single crater overlook have shown up to find it closed and had no plan, which turns a good day into a long drive through parking lots. Having a second trail in mind costs nothing and saves the trip.
Clothing and footwear
Closed-toe boots with grip beat sandals every time. Cooled lava rock breaks into shards with edges you will feel through a thin sole, and the surface is uneven even when it looks flat. Long trousers protect shins, and a light long-sleeve shirt covers skin when you walk through scrub.
Water, food and sun protection
Carry more water than your route suggests, because heat, altitude and slow basalt terrain all drain you faster than a flat walk would. Many volcano parks have few or no refill stations once you are past the entrance area, and restrooms are scarce. Fill every bottle before you start. A wide-brim hat, sunscreen and sunglasses matter at open crater overlooks with no shade at all.
Navigation and communication tools
Download offline maps before you lose signal, because cell coverage is unreliable across lava fields and inside lava tubes. Carry a charged phone, a power bank, and a satellite messenger or personal locator beacon if you are heading into backcountry terrain. Write your route and turnaround time down and send it to someone at home.
Activity-specific gear
- Headlamp for lava tubes and for night viewing, with a spare battery.
- N95 respirator if the air quality index is poor, when gas is present, or when you are sensitive to fumes. It filters particles like vog and ash; it does not protect against gas.
- Trekking poles on long, uneven crater-rim trails, and gaiters if ash or fine grit is falling.
- First-aid basics including blister care, since everyone walks further than planned on loose rock.
Step-by-Step: How to Visit a Volcano National Park Safely
Check Official Alerts Before Choosing a Route
Read the National Park Service alerts page for the park, then the USGS or equivalent observatory feed, then the local civil defense notices. Look at road conditions, trail closures, fire danger, volcanic activity updates, the weather forecast and whether visitor facilities are open. Do it the night before and again the morning you drive out.
You know the plan is working when you can name your trail, its status, its expected conditions and a second option in one sentence each. If the park page has been quiet for months, that is not proof that nothing changed; it just means you need to call the ranger station.
Match the Activity to Current Conditions
Overlooks and short paved walks on an open road are the lowest-commitment options and the easiest to abandon. Crater-edge trails, steep descent routes and anything into backcountry require more skill, more water and a longer window to get out. When activity is elevated, park staff may close the roads that normally get you the closest views, so plan for the distance you are actually allowed.
Stay on authorized paths and follow ranger instructions every time. A formation that looks cold can hide a hot fracture beneath a crust, and ground beside a fresh flow can be hollow. If a barrier is up, the ground behind it is considered unsafe by the people whose job is to know.
Prepare for Heat, Weather, and Changing Terrain
Weather at an active volcano park can go from bright sun to a downpour in under ten minutes, even when the forecast is clear. Add wind that picks up near exposed crater rims and a temperature drop that surprises you at elevation. Layer so you can add and remove without stopping to dig through a pack, and keep a rain shell within reach rather than at the bottom.
Volcanic dust and fine ash sting eyes and lungs, so protect both. Volcanic gases are heaviest in crater bottoms, near fumaroles and inside lava tubes, where the air can be markedly worse than at a rim. Watch for headache, dizziness, throat irritation or unusual tiredness in yourself and in children, and treat those signs as a reason to move upwind or leave, not as something to push through.
Terrain is the quiet hazard. Fresh basalt is rubbly and slow, older lava fields are uneven, and wet rock on road cuts slick fast. Slow down on descents, where most falls happen.
Keep a Reliable Communication and Navigation Plan
Cell service is thin or absent across big lava fields, and it fails exactly where you need it most. Download the offline map before you arrive, screenshot the trailhead coordinates, and note your parking location in a shared note so you can find the car later.
Share your plan with someone at home: where you are going, which trailhead, your vehicle description, your turnaround time and when you expect to be back. Agree on a check-in time and what happens if you miss it. If your party is more than one strong hiker from a road, or you are entering terrain with no reliable signal, a satellite messenger or personal locator beacon is worth the weight.
Observe Volcanic Features Without Approaching Hazards
Watch lava, steam, vents, fumaroles, ash and crater lakes only from designated viewing areas, and stay behind every barrier and closure line. The danger zone around an active vent can change within hours as the ground cracks and collapses, so a distance that was safe yesterday tells you nothing today. Do not assume a feature is inactive because it looks quiet, and never touch or cross closed ground.
Legal viewing distance is set by park staff, not by how brave you feel. Visitors reaching permitted overlooks have described fountaining visible from well over a mile away, which is more than enough to be a memorable view.
| Hazard | Where it happens | Who is most affected | How to stay safe |
|---|---|---|---|
| Sulfur dioxide and other volcanic gases | Crater bottoms, rift zones, fumaroles, lava tubes | Children, older adults, anyone with asthma or heart conditions | Stay upwind, keep distance, leave if you feel unwell, carry an N95 for particles not gas |
| Vog, the volcanic haze | Drifts downwind and can travel far across the island | People with respiratory or heart conditions | Check the air quality index, limit exertion on bad days, keep medication with you |
| Unstable ground and lava tubes | Crater rims, fresh flows, tube ceilings and floors | Everyone, especially on the rim or after rain | Stay on marked trails, keep back from edges, use a headlamp, never enter a closed tube |
| Sharp, unstable lava rock | Anywhere on a lava field | Anyone in sandals or thin-soled shoes | Closed-toe boots, long trousers, slow pace on descents |
| Heat, sun and dehydration | Open overlooks and exposed trails | Young children and older hikers | Carry extra water, rest in shade, turn back early rather than late |
| Sudden rain and flash runoff | Gullies and low ground, often with little warning | Anyone caught below a slope in a downpour | Leave low ground when rain starts, do not cross flooded channels |
Leave the Area If Conditions Change or You Feel Unwell
Know your exit triggers before you need them, because adrenaline makes people push on. Turn back or leave when weather closes in, when lightning is close, when a closure notice appears, when the ground ahead looks unstable, when ash starts falling heavily, or when you have any sign of heat illness or breathing trouble. Worsening conditions, injury, an air quality spike and official closure all mean the same thing: head to a staffed, safe place and reassess there.
For a serious injury, difficulty breathing, loss of consciousness or a suspected heat stroke, call emergency services right away rather than walking out on your own. Then call the park dispatch or ranger station so they know where you are and can direct responders. Do not try to diagnose yourself or a companion; describe what you see and let medical professionals handle it.
Common Mistakes
Most problems come from a handful of repeated errors, and each has a simple fix.
- Relying on outdated park information. A blog post or a booking made weeks ago tells you nothing about this morning. Fix: check the official alerts the night before and the morning of arrival, every time.
- Underestimating elevation and weather. Crater rims feel cool in the morning and punishing by midday. Fix: carry layers, water and a real turnaround time, and treat the forecast as a starting point rather than a promise.
- Starting with too little water. Fix: fill every container before the trailhead, because refill points are rare past the entrance area.
- Telling nobody your plan. Fix: send your route, vehicle and check-in time to someone at home before you start.
- Approaching barriers or ignoring closures. The ground behind a closure line is considered unstable by definition. Fix: stay on the authorised side, every single time, even when others step past.
- Hiking beyond current ability. A crater-edge trail looks short on a map and takes twice as long over loose rock. Fix: check distance, elevation gain and time honestly, and pick the shorter option when in doubt.
- Continuing after a warning sign appears. Headache, breathlessness, shaking, confusion or a headache that will not shift are all stop signals. Fix: stop moving, get to fresh air, and get out or get help.
- Leaving no room in the plan. Fix: park early, keep a second trail in mind, and accept that on eruption days traffic and parking will shape your day more than your itinerary will.
Two more worth naming. Do not fly a drone near a park or over an active vent without checking park rules, which usually prohibit it near staffed and restricted areas. And keep to marked paths; a shortcut across a lava field is how people end up off-route with no signal.
Respect rangers, follow signage, give wildlife space, and pack out everything you carry. The same rules that protect you protect the next visitor and the park itself.
Frequently Asked Questions
Can you visit Kilauea without a tour?
Yes. Kilauea and most other volcano park sites can be visited entirely on your own, and for many people that is the better option because you set your own pace and stop when you want. A guided or audio tour adds context about the geology and the eruption history, which is genuinely useful for first-timers, but it is not a safety requirement. Check the alerts, drive the open roads, and stick to maintained trails.
Where is the safest place to be during a volcanic eruption?
Safest means farthest from the active area while still inside an authorised viewing spot. During an eruption, use designated overlooks and closed-area viewpoints that park staff have opened for visitors, and stay upwind. The safest ground is generally a maintained trail or road well outside restricted areas, never a crater rim, a lava flow, a fumarole field or a lava tube. Follow current official guidance, since exclusion zones can change by the hour.
Do I need a respirator for vog?
Most visitors do not, but it is a reasonable precaution when the air quality index is unhealthy, when you have asthma, COPD, a heart condition or are pregnant, and when you plan a long hike or exertion near an active vent. A standard N95 filters particles such as vog and ash, but it does not filter sulfur dioxide or other gases, so a mask never replaces moving away from the fumes. If your symptoms build while you are out there, leave.
What should I do if I smell sulfur near a volcano?
Sulfur smell means volcanic gas is close, and the concentration you smell is not a reliable measure of what you are breathing. Move upwind and uphill, away from crater bottoms, fumaroles, lava tubes and rift zones, and keep children and pets out of the gas. If a headache, dizziness, throat irritation or unusual tiredness builds, get to fresh air and leave the area. Seek medical help for breathing difficulty or chest pain.
How much time should I plan for a volcano national park?
Plan a full day for the main trails, overlooks and the drive itself, because distances look short until you are walking over loose lava rock. Two days is comfortable if you want sunrise, evening lava viewing and a slower pace. Parking fills early at popular trailheads and the park is large, so a half day usually means you see one area properly rather than several areas badly.
What are the biggest mistakes visitors make at national parks?
The repeated ones are arriving with stale information, underestimating water, heat and elevation, choosing a route longer than your fitness allows, ignoring closures and barriers, and leaving no route plan with anyone at home. The fix for each is simple: check official alerts the same morning, carry more water than you think, pick the shorter option, and stay on the authorised side of every boundary.
One more question comes up often, so it is worth answering plainly: if you fall or slide into a crater or onto a fresh flow, do not try to climb out of a gas-filled depression. Call out, stay as still as the ground allows, send your location with a text if you have any signal, and call emergency services or the park dispatch. Volcanic crater rims are steep, undercut and hot in places, and self-rescue is how a bad fall becomes a serious injury.
Final Safety Checklist
Before you leave home:
- Official park status, alerts and closures checked the night before and again that morning.
- Route chosen, with a shorter backup route you would be glad to walk instead.
- Weather forecast read, and a turnaround time set in writing.
- Water filled at every stop, food packed, sun protection in the bag.
- Boots, layers, rain shell and any gear your specific trail needs.
- Offline map downloaded, phone charged, power bank packed.
- Route, vehicle and check-in time sent to someone at home.
- Emergency contacts written down: park dispatch, ranger station, emergency number.
On the trail:
- Stay on the authorised side of every barrier and closure line.
- Watch for gas, headache, breathlessness, heat symptoms and unstable ground.
- Leave when conditions change, not when you finally feel like it.
- Watch children and pets closely near sulfur vents and crater edges.
Start with the park’s current official guidance, and when conditions are uncertain choose the conservative option. The same basics hold at other active volcano parks such as Lassen Volcanic and Mount St. Helens, where the geology differs but the rule is identical: trust the alerts, respect the boundaries, and turn back early.