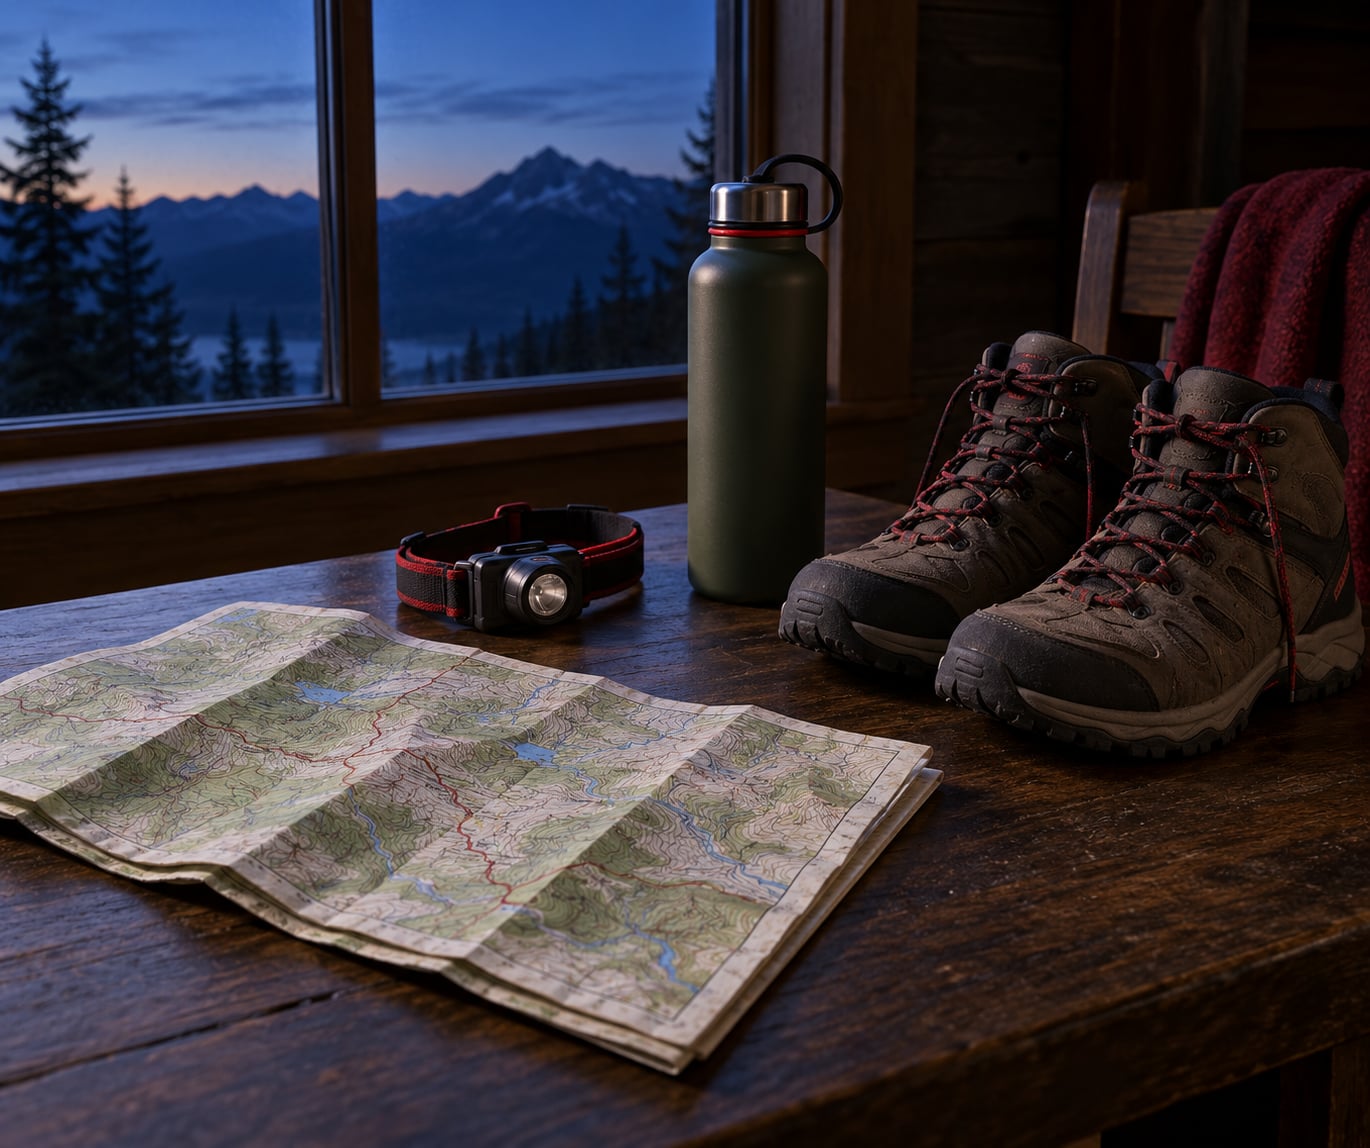
How to plan a sunrise hike safely comes down to one habit: work backward from sunrise, not forward from an alarm. You pick a viewpoint, look up civil twilight and sunrise times for that date, add a summit buffer and a slack margin for slow dark terrain, and back into your trailhead start time. Then you set a hard turnaround clock time, pack for cold and darkness, and leave a trip plan with a person who will actually call you. Plan it that way and a 2am start becomes a normal morning walk with better light.
A sunrise hike takes three to five hours of your day, and most of it happens before you can see well. That single fact is what makes the planning different from a normal day hike: cold before dawn, a headlamp instead of daylight for the first part of the climb, tired decision-making, and a descent that often happens after the sun has dropped back behind the ridge.
Below is the sequence I use. Work through it top to bottom and the risky parts become boring.
Table of Contents
- What You Need to Plan a Sunrise Hike Safely
- How to plan a sunrise hike safely in eight steps
- Step-by-Step: How to Plan a Sunrise Hike Safely
- 1. Choose a Route That Matches Your Experience
- 2. Check Weather, Trail, and Daylight Conditions
- 3. Create a Route and Emergency Plan
- 4. Pack for Darkness, Cold, and Delayed Returns
- 5. Test Equipment and Prepare for the Start
- 6. Hike Conservatively and Turn Back When Needed
- Common Mistakes
- Frequently Asked Questions
- How early should I start a sunrise hike?
- Is it safe to hike alone before sunrise?
- Do I need a headlamp if the moon is bright?
- What should I do if the trail is wet or visibility is poor?
- How much daylight should I leave for the return?
- Can I use my phone instead of carrying a paper map?
- Conclusion
What You Need to Plan a Sunrise Hike Safely
You need route information before anything else: a map or official trail description with distance, elevation gain, terrain type, and the names of the junctions along the way. Elevation gain drives your pace more than distance does, so a three-mile route with 1,500 feet of climbing takes far longer before sunrise than the same trail at noon.
You also need the conditions desk: a forecast source, the land manager’s official trail alerts page, and the sunrise and civil twilight times for your specific date and location. Civil twilight is the stretch before sunrise when you can see silhouettes and read a map but cannot see roots and rocks underfoot. That period is your navigation window, and it is shorter than most people assume in mountainous terrain.
On the gear side, here is the short list:
- A reliable headlamp plus a second light source that does not depend on the first one
- Spare batteries or a charged power bank, kept close to body heat
- A baseplate compass and an offline topographic map downloaded to your phone
- Layers: a base layer, an insulating midlayer, a shell, and gloves and a hat you can put on without stopping
- Water plus a way to treat or purify more if there is no reliable source
- High-energy food you can eat one-handed while moving
- A first-aid kit, a whistle, an emergency bivy or blanket, and a headlamp that works if your phone dies
- A satellite messenger or personal locator beacon for anywhere without cell service
- The name and phone number of a person who is staying awake for your call
Download your maps offline the night before and open them once while you have Wi-Fi to confirm they actually work in airplane mode. A phone with no signal and no cached map is a paperweight, and a paperweight cannot find your trailhead.
How to plan a sunrise hike safely in eight steps
- Pick a route with a short, easy return
- Look up sunrise and civil twilight times for your date
- Work backward to set your trailhead start time
- Check the forecast, official alerts, and moon phase
- Set a hard turnaround time before you leave home
- Scout the route in daylight if you have never hiked it
- Pack the ten essentials for pre-dawn conditions
- File a trip plan and pack the night before
Step-by-Step: How to Plan a Sunrise Hike Safely
1. Choose a Route That Matches Your Experience
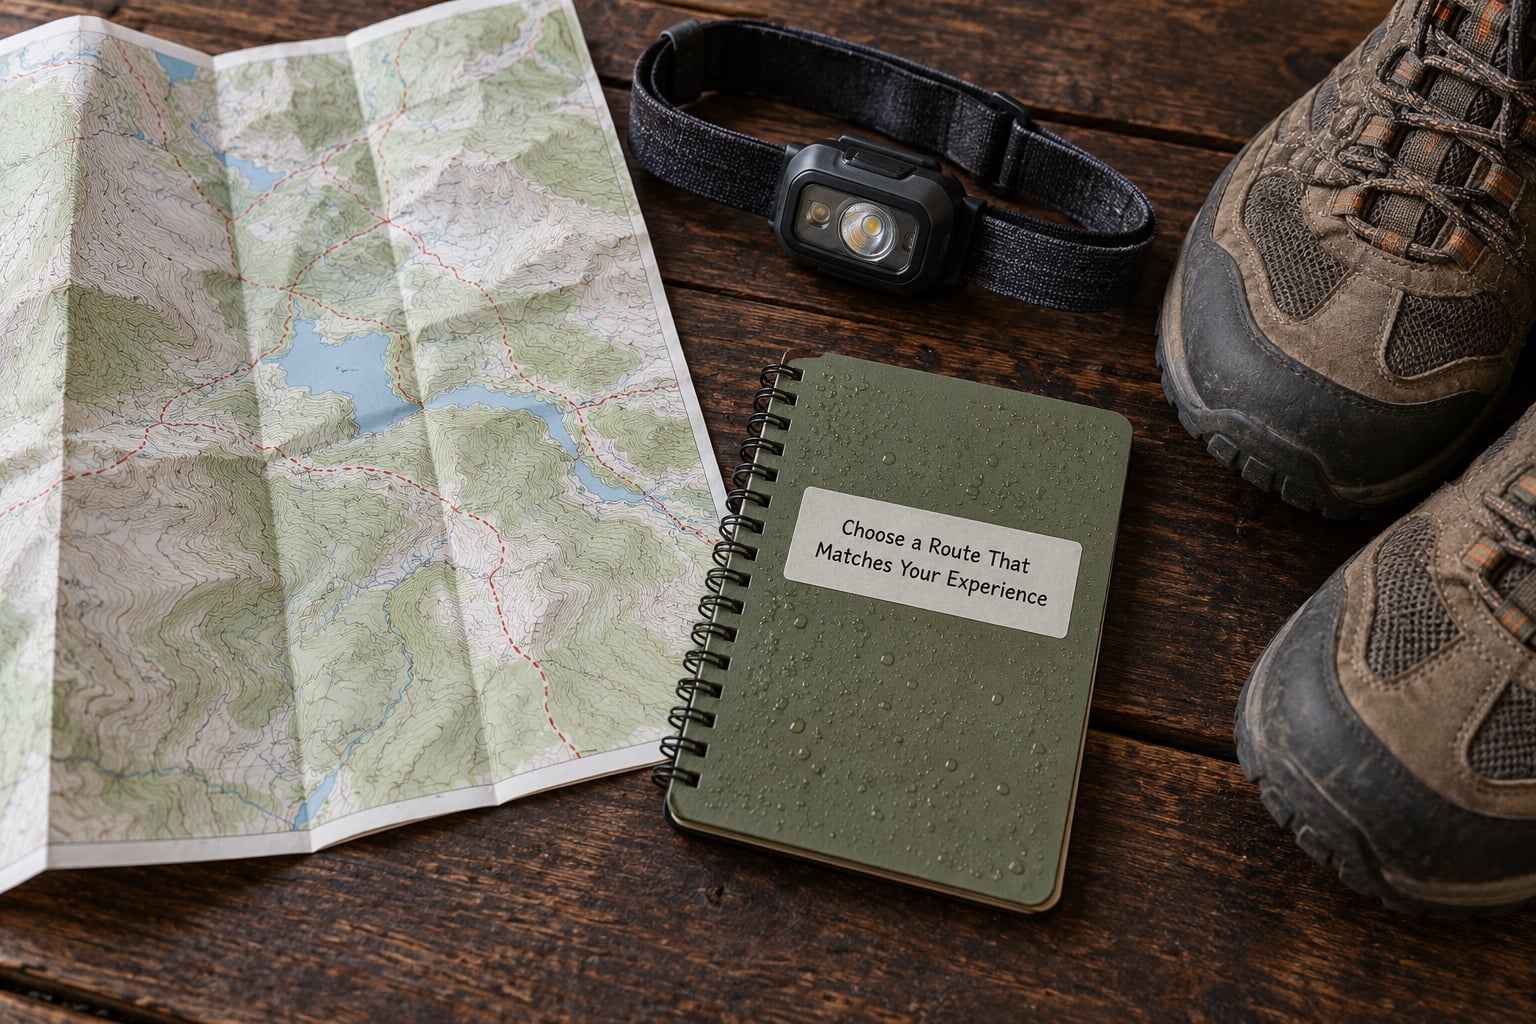
Start with the return, not the summit. A good sunrise route is short, has obvious waypoints, and gets you to a viewpoint with an easy, short descent. For a first attempt, most people do well with something under four miles round trip and under 1,500 feet of gain, with a bailout point you can reach in under an hour.
An easy day hike is not automatically a safe pre-dawn hike. Daylight hides loose rock, washboard roots, and the exact spot where the trail crosses a creek. It also gives you a decade of daylight hiking experience to draw on, and pre-dawn removes both.
You know the route is the right one when you can name three specific things: where you will be at first light, where you will turn around, and how you will get back to the car from the viewpoint. If any of those three is vague, the route is too ambitious for a sunrise attempt yet.
2. Check Weather, Trail, and Daylight Conditions
Pull the hourly forecast, not the daily one. The useful numbers are precipitation, wind, and the temperature at the time you will actually be on the ridge, not the high for the afternoon. The hourly forecast also shows when the cloud deck breaks, which matters more than any other variable for the shot you are waking up for.
Then check official alerts. Trail closures, seasonal gates, snowpack reports, fire restrictions, and bridge or road status all change the plan, and only the land manager’s own page is worth trusting over a social media post. Check them twice: once when you choose the route and again the night before.
Note three times for your location: civil twilight, sunrise, and the time the sun clears the horizon behind your viewpoint. Moon phase matters too. A bright moon near full will light open ground and ridges well enough to walk without a headlamp in flat terrain, but it does nothing under tree cover or inside a ravine, so treat it as a bonus rather than a plan.
Postpone or switch routes when you see sustained wind forecast above about 25 mph on an exposed ridge, thunderstorms anywhere along the daylight window, an official closure, a new snowpack you have not walked on, or an ice-crossing you cannot see. Switch routes, and postpone when any of those make the descent the hardest part of the day.
3. Create a Route and Emergency Plan
Write the plan down in one place. Include the trailhead name and coordinates, the route as a sequence of named waypoints and junctions, your expected one-way and return times, the turnaround time, the alternate exit you would use if the main descent looks bad, your parking location, your vehicle description, and the exact time you expect to be back.
Then leave it with a person. That person needs your route, your vehicle, your expected return time, and the number to call that goes to you rather than to a partner who is asleep. Agree on the escalation in advance: if you are not back by your stated time plus 30 minutes, they call the trail’s rescue number with your last known checkpoint.
The plan is adequate when you can hand it to a stranger and they could find you. If it says “we’ll be up Grand Peak all morning,” it is not a plan.
4. Pack for Darkness, Cold, and Delayed Returns
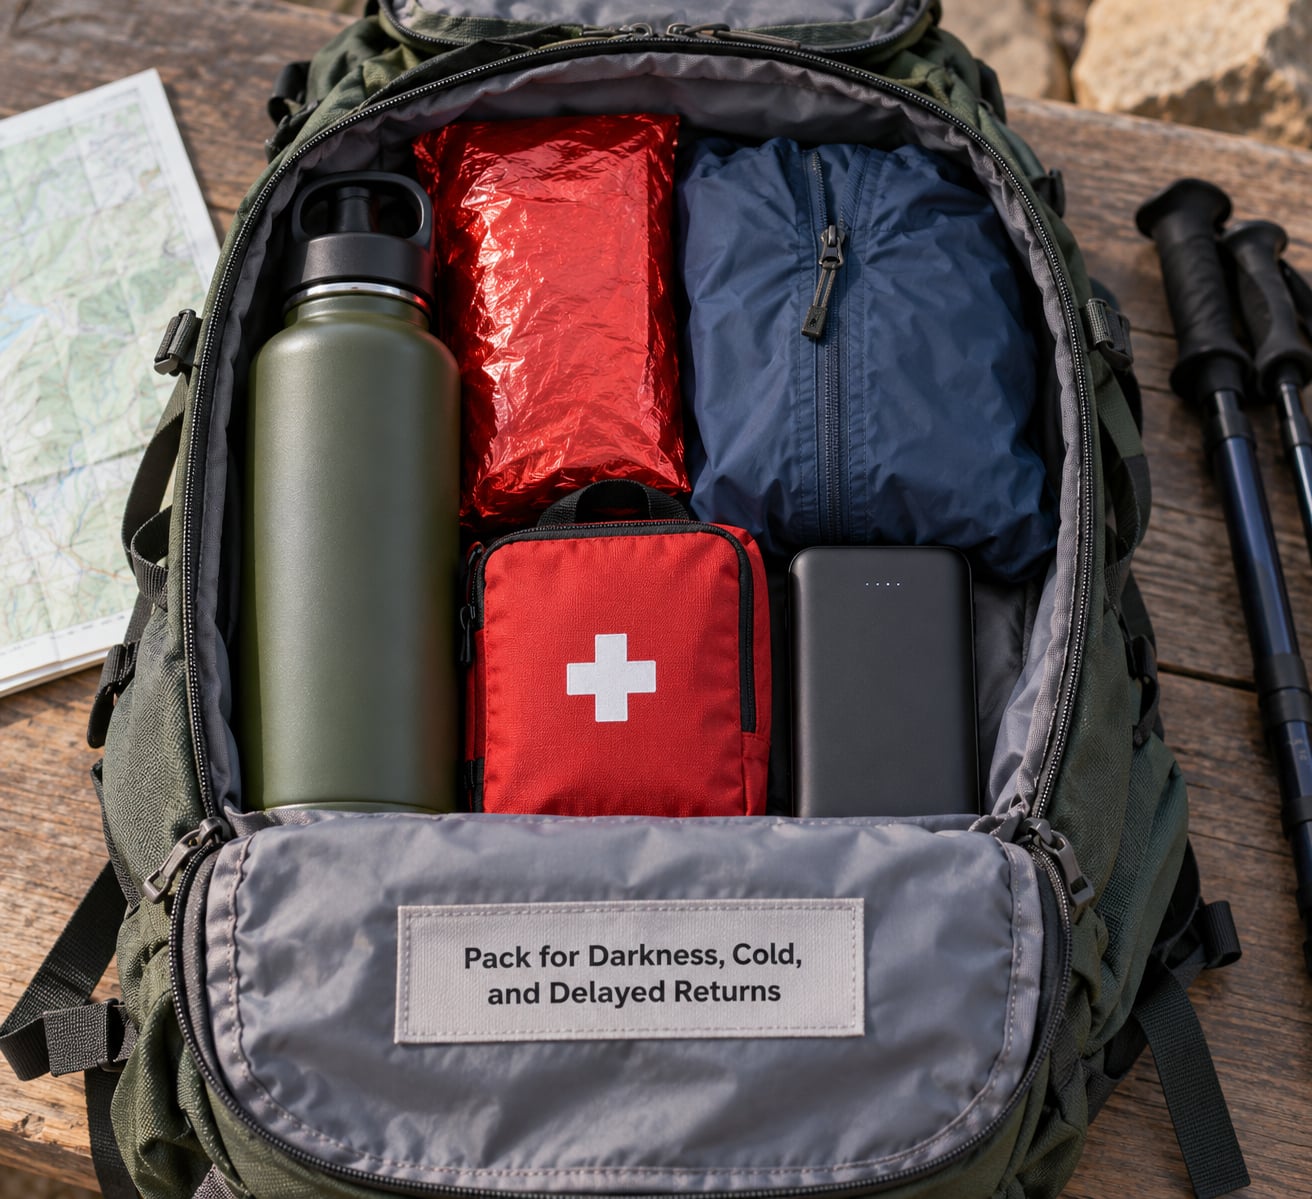
Battery life is the first thing to solve. Cold weather cuts battery performance noticeably, so keep spare cells or a power bank in an inside pocket where your body keeps them warm, not loose in the pack. A separate backup light, even a small one, matters more than people expect: the most common gear failure on a pre-dawn hike is a headlamp that dies at the exact wrong junction.
Insulation is the second. Pre-dawn temperatures on a summit ridge in shoulder season can sit well below what the daytime forecast suggested, and you will be stationary and sweating-free while you wait for the light. A packable down or synthetic jacket you can put on over your layers handles the wait and the cold descent after the sun leaves the ridge. Add a rain shell in the pack rather than on your body; wearing it early means you strip it before you need it.
Then cover the rest: enough water for the actual duration plus a delay, extra food you do not plan to eat, a first-aid kit with blister care, sun protection for the long bright second half, insect protection in season, and a communication device that works without a cell tower.
Group size and conditions change the pack without adding much weight. Going with someone means carrying a shared shelter layer and a shared first-aid kit. Going alone means carrying the communication device and the spare light without relying on a partner’s kit. Any forecast for rain, cold, or wind earns you one more insulation layer.
You have packed correctly when you can pull any one item blindfolded, and when your total weight is close to what you carried on a normal day hike of the same length. If the sunrise hike has become a two-hour pack for a three-hour hike, something is wrong.
5. Test Equipment and Prepare for the Start
Test the headlamp and the backup the night before, on both settings, and confirm you can change cells or settings without looking. Charge the power bank and any device that carries your offline maps. Do this before bed, not at 1:30am in the dark, where you are one fumbling thumb away from a dead phone.
Set two alarms. Prepare water and something easy to eat for before you start, because a pre-dawn body running on a few hours of sleep will thank you for the calories before the climb rather than at the top.
Arrive at the trailhead early enough to find the trailhead itself. In the dark, parking lots with many similar entrances eat twenty minutes on their own. Use that buffer to find the register, read the posted notices, confirm you are at the right trail, and note the time.
Final go-or-no-go check at the car: forecast still acceptable, alerts unchanged, lights and batteries working, maps open offline, water and food packed, phone charged, and your turnaround time still achievable at your current pace. Two of those failing means you go home or you shorten the route on paper.
6. Hike Conservatively and Turn Back When Needed
On the trail, keep the group together and match your slowest person. Move slowly enough that you can see the next blaze, cairn, or junction rather than the one you are standing on, which is the standard advice that shows up on every hiking forum from the Adirondacks to the Pacific Northwest. Missing junctions is the most reported navigation problem on dawn descents.
Take a real break ten minutes before you feel tired. Fatigue removes the judgment you need for the decision you will have to make at the top, and tired hikers routinely push past a turnaround time that they would never have chosen fresh.
Watch the light and the weather as you climb, not just at the summit. If cloud builds, wind picks up, or visibility drops, make the turnaround call earlier rather than later, because conditions on the way down will be worse than conditions right now.
Turn back when the route, the visibility, or your own condition stops feeling manageable, and do it without negotiating with yourself at the viewpoint. The sun comes up tomorrow.
Afterwards, send your contact the message you promised, even if you are already driving. Then check your gear before you unpack: a dead cell is a battery you did not check, a wet glove is a shell that was not where you thought, and a missed blaze is a map you did not look at. Note the one thing that slowed you down and carry it into the next trip plan.
Common Mistakes
Starting without a route picked out. Sunrise hikers frequently want a new view and decide which one to chase from the summit in the dark. Pick the route and the turnaround before you leave the car, and treat a change of mind as a reason to continue, not to improvise.
Depending on a phone with no backup. Cold drains a battery faster, and download caches fail exactly when you need them. Carry a paper map section or a compass, and put a backup light in the pack rather than in your hand.
Choosing gear based on the promised sunrise. The photo is never the deciding factor. If the conditions push your start time back two hours, you need the extra insulation layer and the extra food, not a faster route.
Failing to tell anyone. An unshared plan cannot help you, and hiker search and rescue is expensive and slow without a last known point. The contact needs the route, the turnaround, the expected return, and an agreement to escalate.
Hiking alone without the experience to do it. Solo pre-dawn hiking works fine for people who already know the route and have done a night hike before. Everyone else should start with a partner or pick a short, well-marked route close to the trailhead.
Extending past your return time. This is the mistake that turns a sunrise hike into a night hike you did not plan. Most long dawn descents happen because someone lingered at a viewpoint and started the descent after the sun had already dropped behind the ridge.
Three habits cover most of the rest: set the turnaround time before you start, leave the trip plan, and carry a layer you could put on immediately if you stop moving.
Frequently Asked Questions
How early should I start a sunrise hike?
Work backward from first light at your viewpoint, not from the alarm. Add the expected ascent time plus a 20 to 30 minute summit buffer, then add 30 to 45 minutes of slack for slower dark terrain, and back into your trailhead departure time. Most people end up leaving between one and two hours before civil twilight, which is earlier than it sounds.
Is it safe to hike alone before sunrise?
It can be, if the route is short, well marked, and one you already know in daylight, and if you leave a full trip plan with a named contact and an overdue escalation time. If the route is unfamiliar, technical, remote, or has no cell coverage, go with a partner for your first few dawn hikes. The risk on a solo dawn hike is not the wildlife, it is having a problem nobody knows about.
Do I need a headlamp if the moon is bright?
Bring one anyway. A bright moon lights open ground and ridges, but it does almost nothing under tree cover, inside a ravine, or on a cloudy night, and you cannot predict cloud cover for the exact hours you will be out. Treat moonlight as a bonus that lets you walk faster on open terrain, not as a replacement for a headlamp and a backup light.
What should I do if the trail is wet or visibility is poor?
Assume it will still be wet when you turn around, because a shaded descent stays damp long after the ridge dries out. Slow down, keep a steady pace, watch the next blaze or cairn rather than the one behind you, and turn around earlier than planned if you are losing time. If visibility collapses to fog in daylight, the safest move is usually to shorten the route, not to push for the viewpoint.
How much daylight should I leave for the return?
Pick a turnaround time that leaves at least an hour of usable light after sunrise, and reach the viewpoint no later than first light. That margin covers a slower descent, a stop for photos, and the part of the trail where the sun is still behind the ridge. If you arrive at the viewpoint in full daylight, you left too late, not that you got lucky.
Can I use my phone instead of carrying a paper map?
A phone works if you download the maps offline and confirm they render in airplane mode, but treat it as a convenience rather than your only navigation. Cold cuts battery life, and a dead phone at a junction in the dark is a serious problem. Carry a compass and know how to use it, or carry the relevant map section as a backup.
Conclusion
The safest first action is to choose a route with a short, easy return and work backward from sunrise to your start time, leaving at least an hour of daylight after the sun comes up. Check the official conditions the night before, set a turnaround time you cannot argue with, and postpone rather than compromise safety when the forecast turns.
Run the six steps once before you leave home and the alarm stops being the scariest part of a sunrise hike. Most hikers who keep doing this one report the same thing: the light is the reason, and the planning is what makes it repeatable.