To plan a national park road trip, work backwards from the days you have: subtract the days spent driving between parks and one full buffer day, then divide what’s left across no more than three parks. Book the hard-to-get items first — timed entry, campgrounds, park lodges — then fill each day around one major attraction instead of five.
That order matters because the two things that actually break these trips are reservations and distance. Most parks no longer take every visitor on a first-come basis, and the distance between places like Zion and Sequoia is measured in hours of real mountain driving, not miles on a map.
This guide walks through the whole process, from the toolkit you assemble before choosing a route to the last checklist the night before you leave. It takes an hour or two of honest work upfront and saves the kind of scramble that ruins a trip in the first two days.
Table of Contents
- What You Need
- Route-planning tools
- Park information for every stop
- Vehicle preparation
- Reservation records
- Emergency supplies
- Trip documents
- Step-by-Step: How to Plan a National Park Road Trip
- 1. Choose the Parks and Define the Trip
- 2. Set the Route and Driving Pace
- 3. Check Reservations, Closures, and Entry Rules
- 4. Build the Daily Itinerary
- 5. Prepare the Vehicle and Travel Kit
- 6. Handle Food, Lodging, and Park Logistics
- 7. Review the Plan Before Leaving
- Common Mistakes
- Overpacking the itinerary
- Underestimating mountain roads
- Trusting mobile service to save you
- Ignoring reservation rules
- Planning every hour of every day
- Arriving at the popular places at midday
- Believing an AI or search answer without checking
- Skipping the buffer day
- Frequently Asked Questions
- How many national parks can I fit into one week?
- Do you need reservations to enter a national park?
- How far in advance should I book campgrounds and lodges?
- Should I rent an RV for a national park road trip?
- Is there cell service in national parks?
- What do I do when a road or trail closes mid-trip?
- Conclusion
What You Need
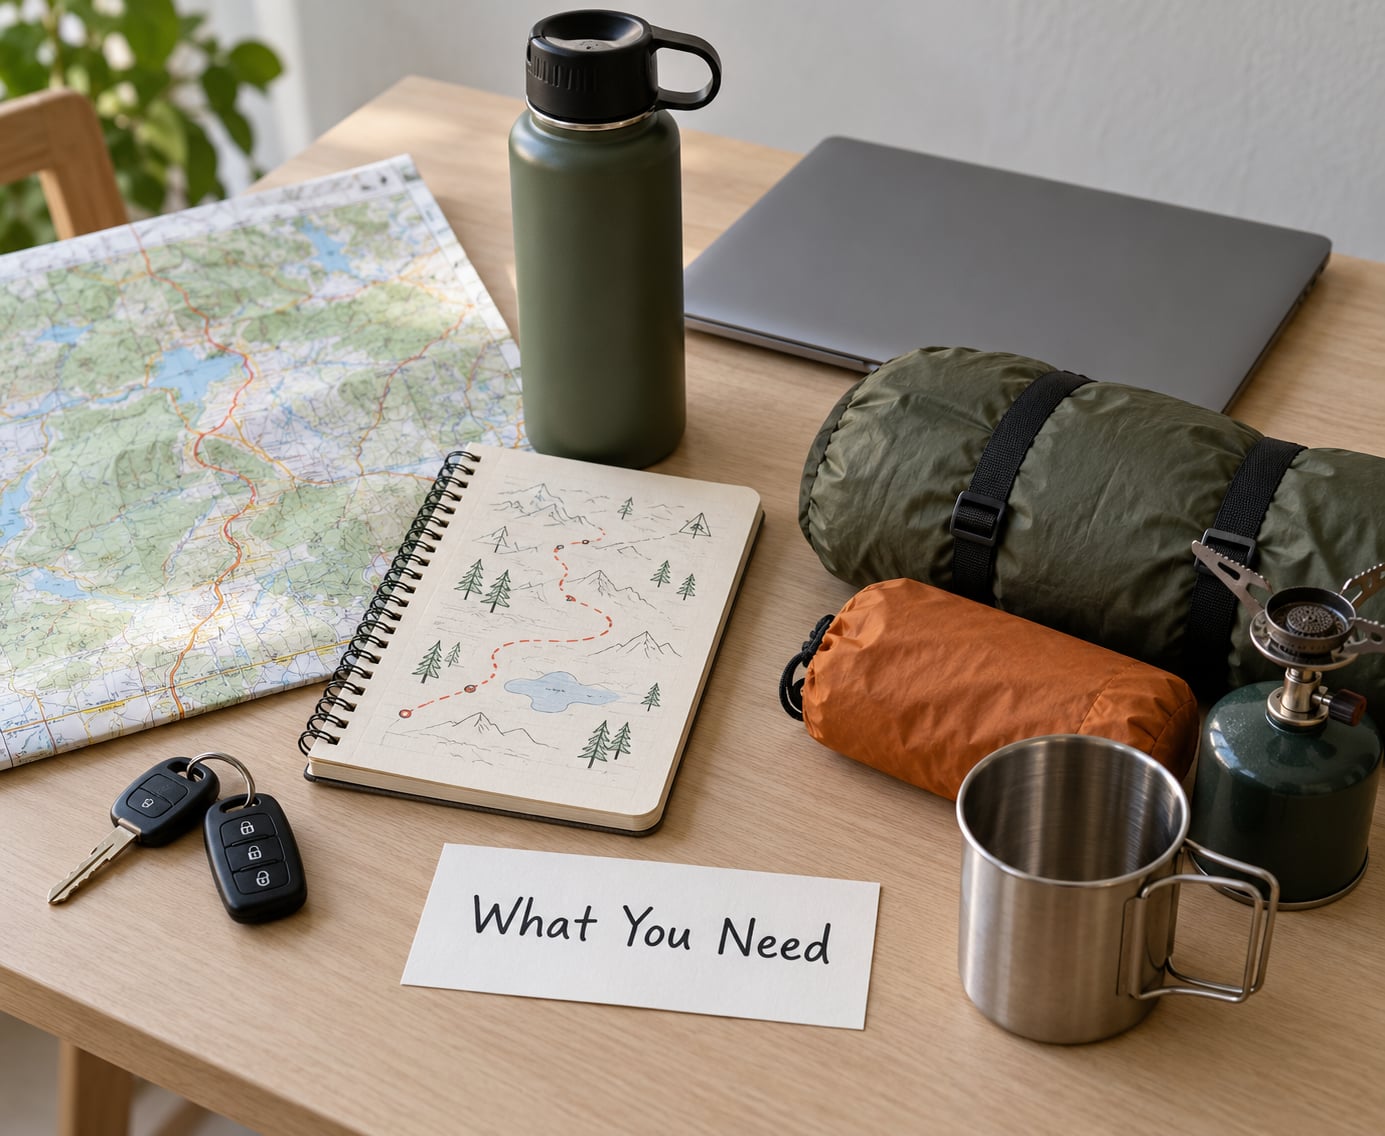
You need six groups of things, and only two of them are gear. Most of the work in planning a national park road trip happens in the notebook, not the trunk.
Route-planning tools
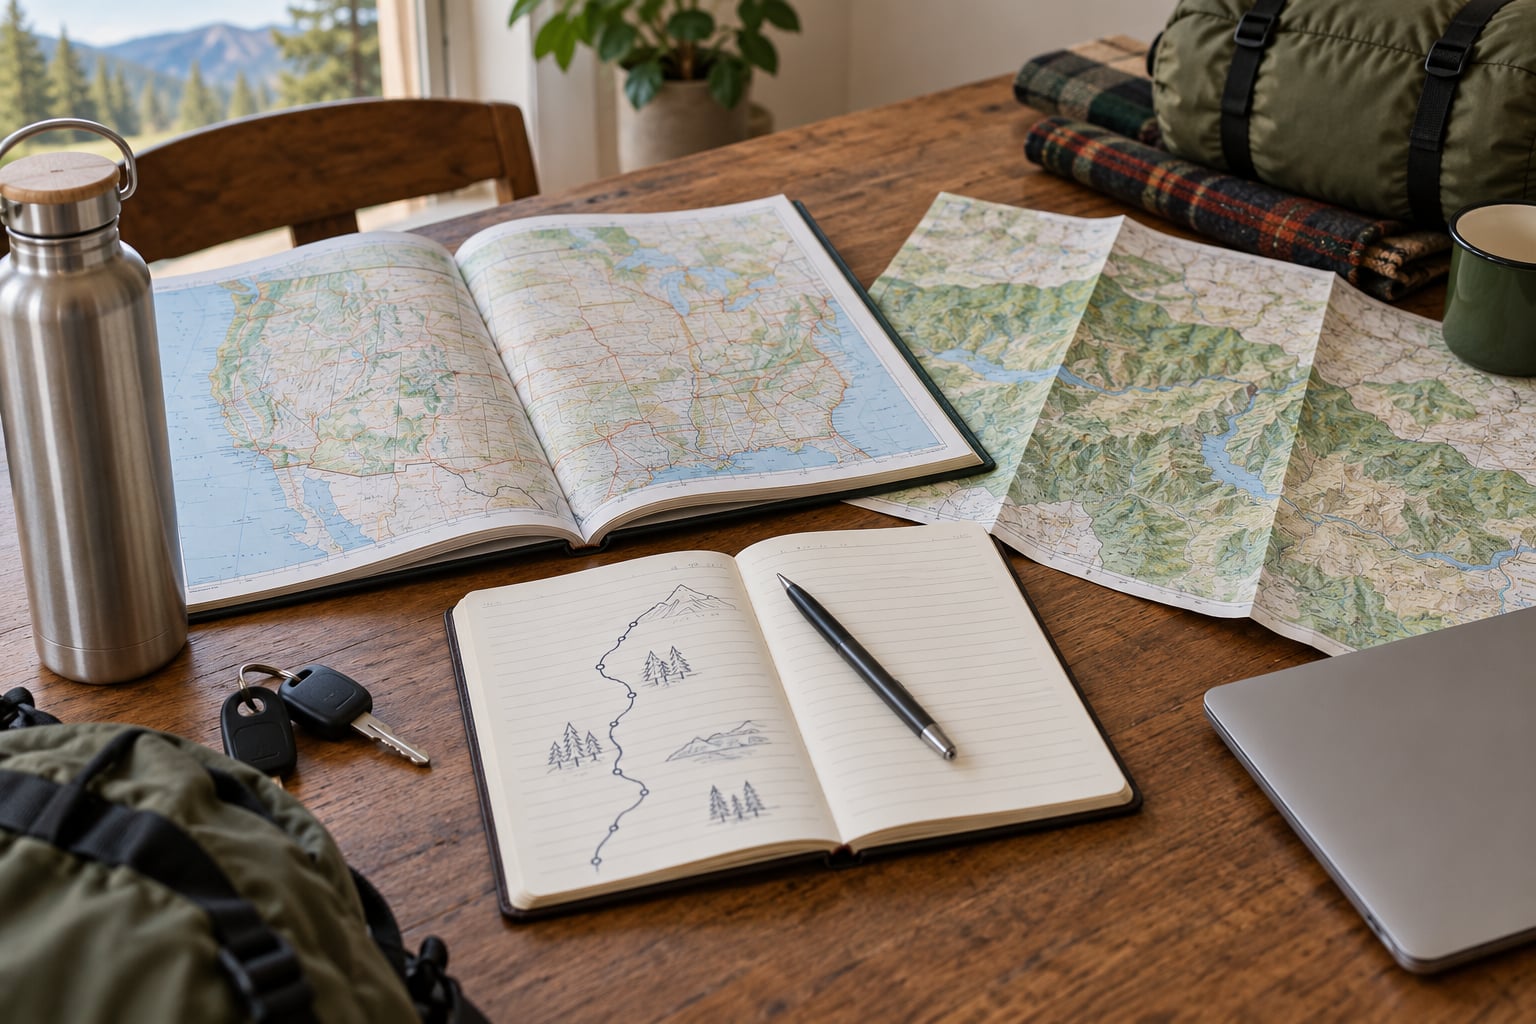
- A paper road atlas or printed park map for the whole route, kept in the glove box.
- Offline digital maps downloaded to your phone before the trip, covering the full corridor including the stretches between parks.
- Official park road and alert pages bookmarked on the phone, checked the morning of every driving day.
Download the offline maps over a strong connection at home. Most park valleys and many scenic byways have no usable cell service at all, so live navigation is not a plan.
Park information for every stop
For each park you are considering, pull the current operating hours, seasonal road status, entrance and timed entry rules, shuttle requirements, campground booking window, trail and road closures, and any recent fire or wildlife-related restrictions. Write it on one page per park and print it.
These rules change every year, and the changes are not always announced widely. A road you read about last summer can be closed by snow, wildfire, or construction for the entire week you are there.
Vehicle preparation
- Tire condition, including the spare, and the tools to change it.
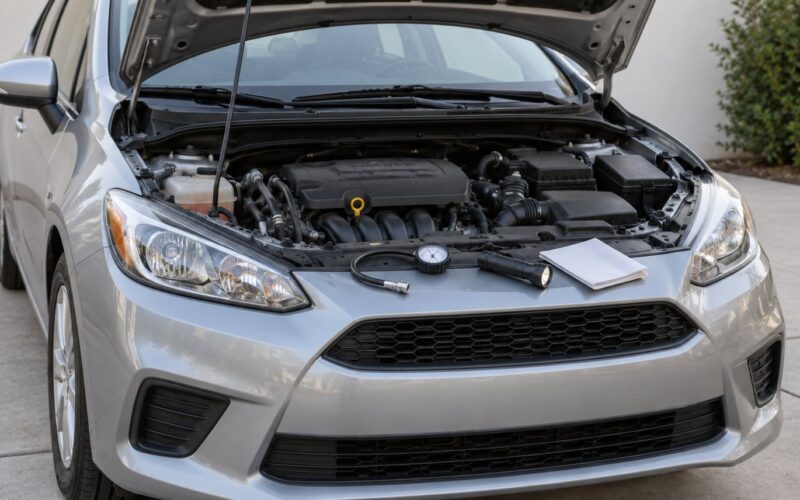
- Fluid levels topped off before the first mountain stretch.
- Tow or roadside coverage, especially if you are towing a trailer.
- A realistic fuel range on a full tank, measured in hours of driving, not miles.
- Height and length clearance confirmed for any vehicle over about 9 feet 6 inches.
Check your vehicle’s clearance limit against every road and garage you plan to use. Long vehicles are restricted in some parks, and the detour around a closed tunnel can add hours.
Reservation records
Store every confirmation number, in three places: an email searchable offline, a photo on your phone, and a printed page in the car. Include the entry window, gate name, and the cancellation policy. You cannot rebook on a dead network, and rebooking is exactly what you will need if plans change.
Emergency supplies
- Water for one person per day, plus extra if you are above 8,000 feet.
- First aid kit, headlamp per person, and a basic repair kit for tires and straps.
- Fire extinguisher, shovel, and bear canister or spray where the park requires it.
- Extra blankets, a tarp, and a power bank.
- Satellite messenger or inReach device for trips beyond cell coverage.
Trip documents
Driver’s license, vehicle registration, proof of insurance, your park pass if you bought one, an emergency contact card, a medication list, and travel insurance details. Note the nearest hospital or urgent care clinic to each overnight stop. That is a five-minute task and it removes the worst of the worst-case panic.
Step-by-Step: How to Plan a National Park Road Trip
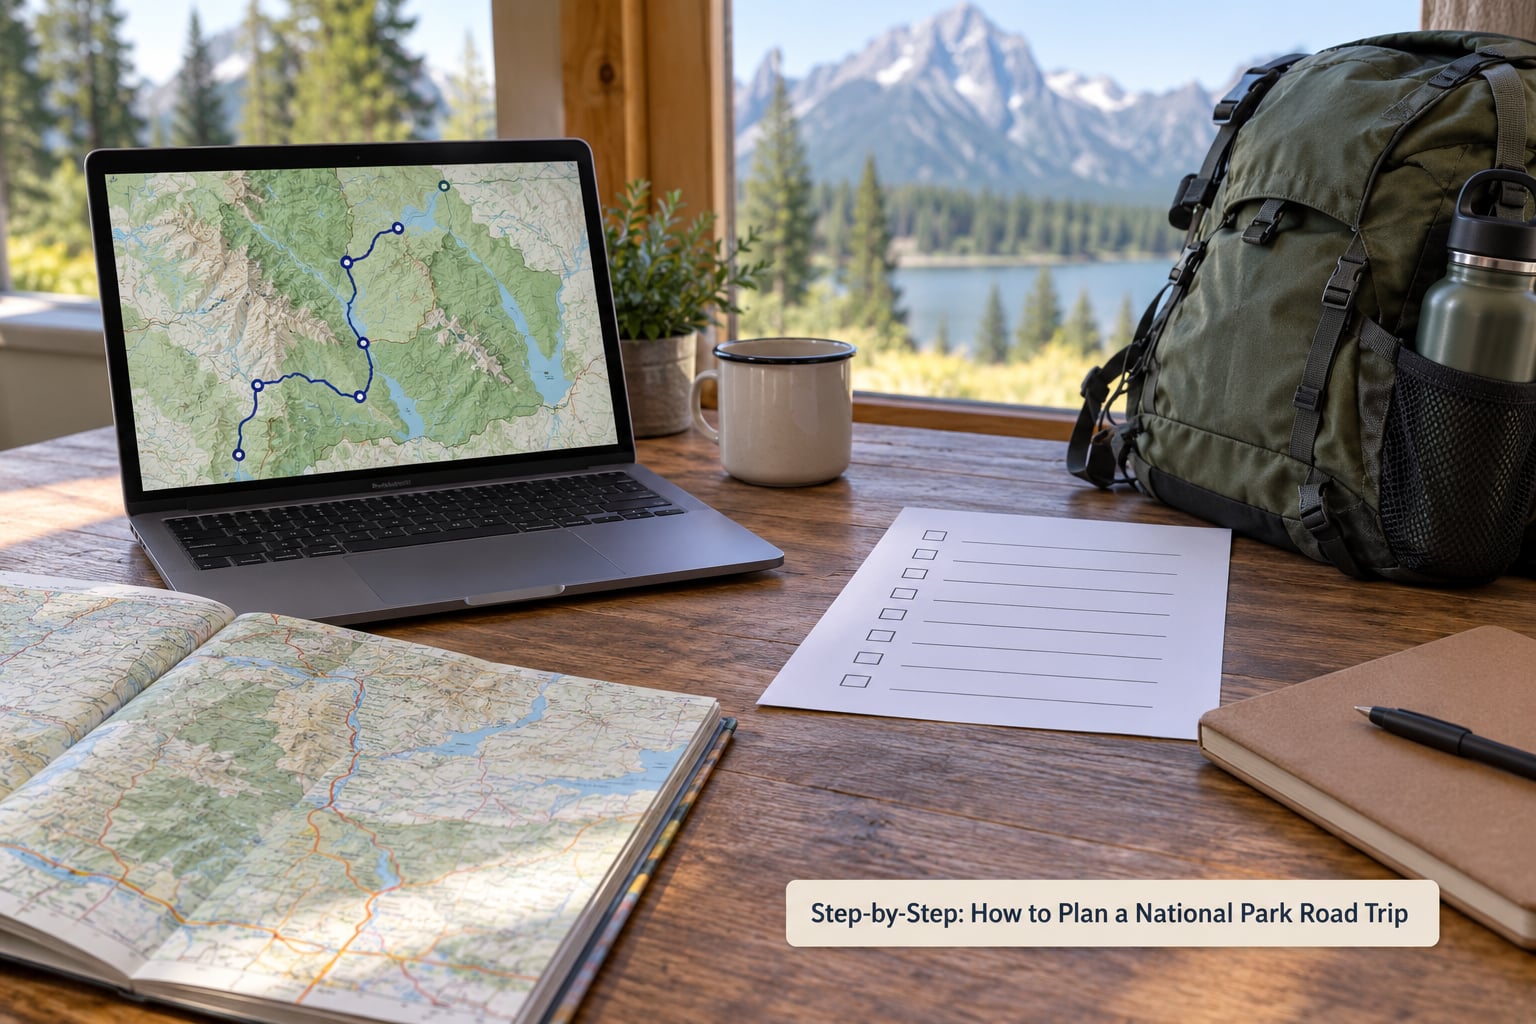
Here is the full process in order. The numbered version is a summary; the detail under each heading is what turns a list into a trip you can actually execute.
- Choose the parks and decide the trip shape: which region, how many stops, drive days, buffer days.
- Set the route and driving pace with realistic hours, fuel stops, and overnight towns built in.
- Check reservations, closures, and entry rules for every park and every road segment.
- Book in the correct order: timed entry first, then campgrounds and park lodges, then nearby lodging, then the vehicle.
- Set the budget including entrance fees, pass break-even, fuel, food, and lodging.
- Prepare the vehicle and travel kit for no cell service, altitude, cold nights, and wildlife.
- Build each day around one major attraction and one optional activity, with a buffer.
- Review the plan the week before, name your droppable park, and confirm everything is downloadable.
1. Choose the Parks and Define the Trip
Choose fewer parks than you think you can do. A comfortable pace is two or three parks on a ten-day trip, and that assumes you accept several long driving days.
Geography matters more than wish lists. Parks clustered in one region share gateway towns, similar elevations, and the same weather window. Parks scattered across the country turn your trip into a week of interstate driving with brief park visits at the end of each leg.
Match the parks to the kind of trip you actually want:
- One full day is enough for a small day-use park with a single viewpoint, a short walk, and a scenic drive.
- Two days is the minimum for most parks with a signature trail or a sunrise viewpoint, because you want morning light and evening light.
- Three to five days is realistic for the big parks where the sights are spread across long internal drives — Yellowstone, Yosemite, Grand Canyon, Zion, Rocky Mountain.
Several widely repeated park-to-pairing itineraries work because they follow this rule. The Southwest loop with a park every two or three days, and the northern tier pairing of two adjacent parks, both give you full days without pretending each stop is a day trip.
Before you commit, check three limits honestly. The vehicle: can it handle the road surface, length, and grade you are routing through? The travelers: does everyone in the group enjoy long days on foot, or does a day hike with a hundred feet of vertical gain already fill it? The season: are the passes and high roads open during the window you can travel?
2. Set the Route and Driving Pace
Set your route by driving hours per day, not by miles. Most drivers underestimate mountain roads badly because the map does not show grade, curves, wildlife, or construction zones.
Use these numbers as your budget, not a goal to beat:
- 2 to 3 hours of driving per day if you want meaningful park time the same day.
- 4 to 5 hours as a full transfer day, with nothing else scheduled.
- 6 hours or more only as a one-way repositioning day, and only if you are rested for the following morning.
That means a park listed as 90 miles away can take four hours, and a 300-mile interstate leg is not a rest day even though it looks easy. People get this wrong most in the national parks because the interstate feels like the drive is over while an hour of switchbacks into a canyon still waits.
Then check the road class. A scenic byway with stops is not travel time, it is the day itself. Add 30 to 60 minutes for every genuine stop, and treat wildlife as part of the drive rather than a delay — animals on park roads are a safety issue that slows traffic all afternoon.
A loose rule of thumb for the length of a day is worth keeping in your head: no more than about 3 hours of continuous driving, 3 hours of activity, and 300 miles in a day. Nobody invented that, and nobody would call it a science, but it is a decent sanity check when your itinerary starts looking heroic.
Build in breaks on purpose. Stop every two hours for ten minutes, get out of the car, stretch, drink water. Fatigue causes mistakes more often than bad driving does, and most of those mistakes happen in the last hour of a long day.
Finally, place your overnight stops where services exist rather than in the middle of the park. Gateway towns are where fuel, groceries, laundry, and a decent dinner are actually available.
3. Check Reservations, Closures, and Entry Rules
Verify every access and entry rule on the official park page, and check it again the week before you leave. This is the step that decides whether your itinerary works, and it takes the most planning time because the rules differ park by park.
What to verify, park by park:
- Entry requirements — whether the entrance or a busy corridor requires a timed entry reservation during your dates, which gate it covers, and whether you can still enter without one at a different gate.
- Camping — which sites are reservable, which are first-come-first-served, and the exact date the booking window opens for your site type.
- Lodging — whether the park lodge books on a fixed annual date, a rolling window, or a set release day, and how far ahead that falls before your trip.
- Shuttles — where private vehicles are barred entirely and a timed shuttle seat is required instead.
- Roads and facilities — seasonal opening dates for high-elevation routes, construction closures, and which visitor centers, campgrounds, and services are shut for the season.
Campground booking windows are the detail that catches out almost everyone. Many campgrounds open reservations six months ahead on a rolling schedule, which means a mid-September site may not appear on the calendar until a specific month and day. Some park lodges release rooms once a year on a single date, and the popular sites go within minutes. Write down the exact release date for each booking you need, put it in your calendar, and be online when it opens.
Now build the backup plan. For every park on the route, know the second-choice entry or campsite, the alternative road if the main one closes, and the nearest town where you can sleep if the park itself is unreachable. Government shutdowns and wildfire closures have knocked facilities out of service with very little notice, and a plan made at home costs nothing.
One more habit worth having: confirm what an AI tool or a search summary told you against the park’s own page. Trip planning summaries have sent people to seasonal roads that were shut for the season. An answer that sounds specific is not the same as an answer that is current.
4. Build the Daily Itinerary
Give each day one major attraction and one optional activity, then stop. The optional one is what you drop when the drive runs long, the trail is closed, or the weather turns — which is why it is listed separately from the thing you would hate to miss.
A realistic day shape looks like this:
- Sunrise to 10am: the main activity. Wildlife is most active, the light is best, and parking is easier before the mid-morning rush.
- 10am to noon: second viewpoint, a short walk, or the visitor center. Something with a low failure rate.
- Noon to 1pm: fuel, an actual sit-down meal, and a break in the heat.
- 1pm to 4pm: the optional activity, or a longer scenic drive if the morning went long.
- 4pm to 6pm: travel to the next overnight stop, arriving with light left to spare.
- Evening: dinner, shower, laundry, and charging every device.
Protect one loose day across the whole trip. It absorbs a road closure, a missed sunrise, a slow wildlife jam, or a kid who needs a slower day. Without it, the entire itinerary shifts and the last two days turn into a race against the return flight.
Also plan meals and fuel rather than assuming they exist. A long transfer day can have exactly one reliable stop for lunch, and it may close early. Fill the cooler and the fuel tank before the long leg rather than during it.
5. Prepare the Vehicle and Travel Kit
Prepare the vehicle like a support base, because in a long day at a park the car is where half your gear lives. The essential items are tire care, fuel range, offline navigation, water and food, layers, sun protection, first aid, and a plan for communication.
Fuel and range. Know how far you actually go on a full tank, and refill at half a tank inside park areas where distances between services are long. Know where the next fuel is before you enter a remote valley, because some park roads are 60 to 100 miles from a station with no cell service to help you change your mind.
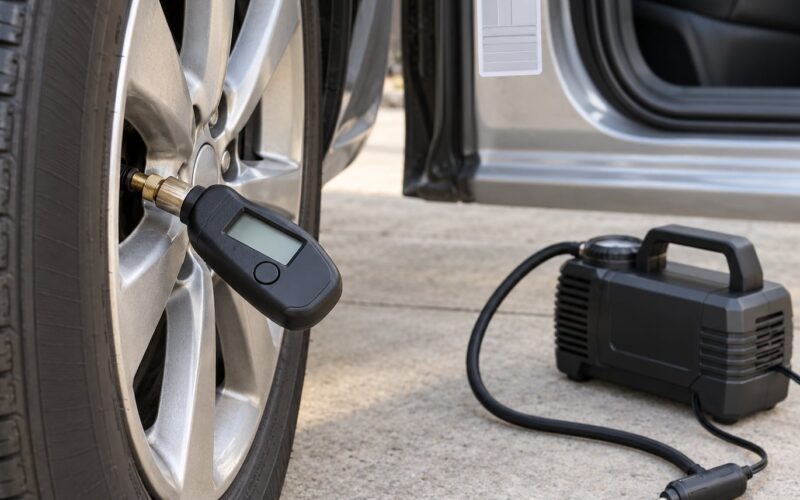
Tires and brakes. Check tread depth and pressure before departure, look for sidewall damage, and make sure the spare is present and serviceable. Inspect brakes on a long descent, since mountains test them hard. If your vehicle has off-road capability, the rules are explicit: staying on designated roads protects tires, and the park is responsible for the damage when you are not.
Navigation without signal. Download the entire corridor offline, including the interstates between parks, and carry a paper map as a backup. Test the offline maps in airplane mode before you leave home. Charging matters more than people expect; a phone at 4 percent with no signal is a real problem on a long forest road.
Water, food, and clothing. Carry more water than the forecast suggests, because high desert heat is not the only risk; altitude and exertion matter too. Bring layers even in summer, because park nights get cold quickly at elevation. Include a first aid kit, sun protection, and a hat that works in real sun rather than decorative sun.
Wildlife and food storage. Know the park’s storage rule before you arrive — it varies, and a cooler with a hard-shell lid is not always accepted. Keep wildlife at a real distance, never feed an animal, and never approach on foot. Bear spray is cheap and the rule at many parks is that you carry it on any trail where bears are present.
Altitude and health. High-elevation parks put most visitors at 7,000 to 10,000 feet, where headaches, nausea, and fatigue are common, especially for people arriving from sea level. Give yourself a lower first day at high elevation, drink water, limit alcohol, and slow down if symptoms show. Anyone with heart or lung conditions should talk to a clinician before the trip, and severe symptoms mean going down, not pushing through.
6. Handle Food, Lodging, and Park Logistics
Decide where you sleep before you plan activities, because sleeping is what everything else fits around. Each option trades money for effort, and which trade suits you depends more on your group than on your budget.
- Developed campground — usually the best balance of cost and access. Shower and restroom facilities vary widely, so check the specific site description before booking.
- Backcountry camp — no road access, real solitude, and a permit system. Build in a day of buffer around a bad trailhead approach.
- Park lodge — the easiest and most expensive, often the only place inside the park, and frequently the first to sell out.
- Gateway town hotel or rental — more choice, restaurants and a laundromat, at the cost of a longer daily drive.
- Bo dispersed camping or designated campground — useful where distances between parks are long and in-park sites are gone.
For meals, a gateway town usually has a supermarket, a few family restaurants, and short kitchen hours. Plan to eat before 6pm or after 8pm in smaller towns, and keep at least one full day of nonperishable food in the vehicle as insurance. Never store food in the car at a trailhead overnight unless the park’s rules allow it.
Know the practical service questions before you pick a base. Where will you do laundry, will a campground have hot showers, where do you dispose of trash when the campground has no bins, is there a grocery store in town or one thirty minutes back up the highway. These small things decide whether the trip feels smooth or constant friction.
On booking timing, be selective about what you lock in. Hard-to-get items — timed entry, park campgrounds, park lodges, holidays and weekends inside a park — should be booked as soon as the window opens. Flexible items like a second hotel a day away, or a campsite in a nearby town, can stay flexible and give you room to reroute around a closure.
7. Review the Plan Before Leaving
The final review is a one-hour pass the week before departure, and its purpose is to find the single thing that would break the trip. Work through it and you will catch the missed confirmation number before you are 200 miles from a signal.
- Documents — license, insurance, registration, park pass, and travel insurance details, all in the car and all on your phone.
- Reservations — every confirmation number with its window, gate, and cancellation policy, saved offline and printed.
- Maps — the offline download tested in airplane mode, plus a paper map covering the full route.
- Weather and road conditions — the forecast for each park’s dates, the park alert pages bookmarked, and high-elevation road status confirmed for the specific week.
- Vehicle and fuel — tires checked, spare present, fluids topped off, roadside coverage active.
- Kit — water, food, first aid, headlamps, layers, sun protection, fire extinguisher, and required bear storage.
- Contacts — emergency contact card, nearest clinic to each overnight stop, and your satellite messenger if you are going remote.
- Decision points — which park you drop first if the weather collapses, which booking you cancel, and the two-hour cutoff after which you stop driving for the day.
Deciding the droppable park in advance is the most useful item on that list. A delayed departure, a wildfire closure, or a sick traveler becomes a decision rather than a crisis, and the rest of the trip simply shifts to the backup plan you already wrote.
Common Mistakes
Most disappointing park trips trace back to one of these planning errors, and every one of them is cheap to avoid.
Overpacking the itinerary
Ten parks in seven days is a driving trip with photo stops, not a national park road trip. Subtract drive time and a buffer day first, then fill what is left — the arithmetic protects you from the version where you arrive at each park tired and leave without seeing it.
Underestimating mountain roads
Interstate miles are not park miles. Budget hours by road class, add real time for internal park drives, and remember that the longest internal drive of the day can undo an early start.
Trusting mobile service to save you
Cell coverage is unreliable to absent across most park land. Download everything offline, carry a paper map, and treat any plan that requires a phone call from a trailhead as a plan with a single point of failure.
Ignoring reservation rules
Timed entry, campsite windows, shuttle seats, and lodge release dates are not details to check on arrival. Get the exact window dates for every booking, and check the alternative gate or route that does not require a reservation.
Planning every hour of every day
An itinerary with no slack fails the first time a road is slow, an animal stops traffic, or a viewpoint is crowded. One flexible activity per day is not padding; it is the part that absorbs the day.
Arriving at the popular places at midday
Parking lots fill, wildlife is less active, and the light is flat. Entering later in the day from a less-used entrance is a common local workaround, and starting before 8am still beats every alternative.
Believing an AI or search answer without checking
Automated summaries have sent travelers to roads that were closed for the season. Confirm any route, trail, or open-status claim on the park’s own page before you build a day around it.
Skipping the buffer day
Without a spare day, one closed road pushes the rest of the trip and you end up driving tired through the last two days. One flexible day is the cheapest insurance in the whole itinerary.
Frequently Asked Questions
How many national parks can I fit into one week?
Three is comfortable, four is a hard-driving week. Work backwards from seven days: subtract one travel day to get there, one buffer day, and roughly one day of driving between each pair of stops. What remains is about two or three full days split across two or three parks clustered in one region. Four parks works only if two of them are close together, like two neighboring parks sharing a gateway town.
Do you need reservations to enter a national park?
It depends on the park and the date. Many popular parks require a timed entry reservation for a main entrance or a busy corridor during peak season, while other entrances and off-season visits are open to anyone who pays the entrance fee. Some parks and sites never require it. Check the current entry requirements on the official park page for your specific dates, and confirm whether a reservation exists for the gate you plan to use.
How far in advance should I book campgrounds and lodges?
Book the moment each window opens. Many campgrounds take reservations on a rolling schedule six months ahead, so the release date depends on the site and the season, and the best sites go the same day. Some park lodges release rooms once a year on a single date and fill quickly. Timed entry reservations typically appear weeks or months ahead for peak season. Add the exact release date to your calendar the moment you find it.
Should I rent an RV for a national park road trip?
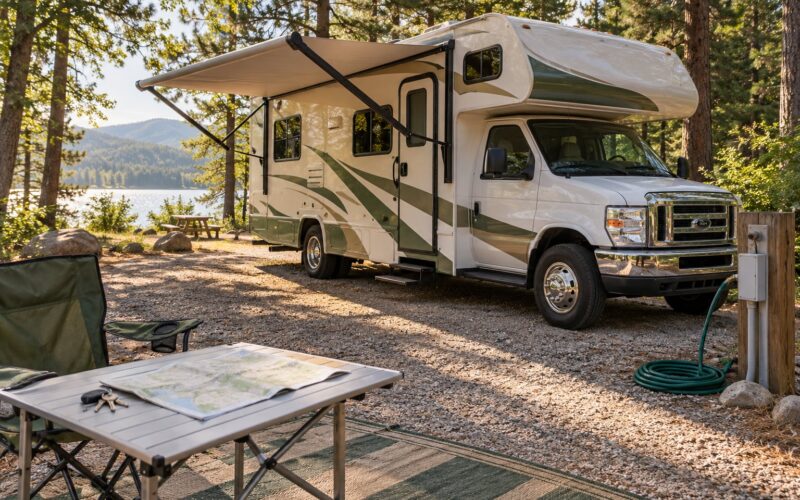
Rent an RV if you want a self-contained trip with a kitchen, comfortable beds, and less packing, and if you are comfortable with slower driving, a bigger fuel bill, and length restrictions in parking lots and garages. For a car-based trip, a car plus strategically placed campsites and lodge nights covers the same parks with more speed and easier parking. Campervans sit in between and work well for couples. Check clearance limits before routing anywhere.
Is there cell service in national parks?
Sometimes, and you should not plan around it. Visitor centers, lodges, and main developed areas often have coverage, while canyons, forest roads, backcountry trails, and most of the land between parks have none at all. Download offline maps for the entire route, save every confirmation number for offline viewing, and carry a paper map. If you will be far from coverage, a satellite messenger is worth the extra cost.
What do I do when a road or trail closes mid-trip?
Switch to the plan you wrote before you left, not on the roadside. Every park on your route should have a named backup: an alternative entrance, a different road, a shorter version of the same trail, or a nearby town to sleep in. Check the park alert page, ask a ranger or visitor center staff, and adjust the day rather than the whole trip. Roads like high-elevation routes are the most likely to be closed, so keep your first day off them.
Conclusion
Start tonight with the two things that cannot be fixed later: count your real days, then find the booking release date for timed entry or the campground you want. Set that reminder the moment you know it.
Everything after that follows order — choose the parks, set the route in driving hours, verify the rules, book hard items first, build one good day at a time, and leave one loose day to absorb whatever the season throws at you. A trip planned that way is still a trip, and it is the one you will actually remember.