Yes — your phone number stays with you when you move to an eSIM, because the number lives on your carrier’s account rather than on the SIM card itself. Learning how to keep your phone number while using an eSIM comes down to one of three routes: converting your own carrier’s physical SIM to an eSIM, adding a travel eSIM as a second line, or porting your number into a new carrier’s eSIM.
There are three situations worth separating before you touch anything on your phone, and each one behaves differently:
- Converting your existing line to an eSIM. Your carrier moves the same number onto an eSIM profile on the same phone or a new one. This is the cleanest option and the one most carriers handle in minutes.
- Adding a travel eSIM as a second line. Your existing number stays untouched on the home SIM while the eSIM handles data. Most travel eSIMs are data-only, which means they arrive with no number at all.
- Porting your number to a different carrier’s eSIM. You hand the number to a new carrier, who issues an eSIM that carries the same digits. This one needs your account number and transfer PIN, and it is the only route that changes carriers.
Why the fuss? Your number is the address for your SMS verification codes, WhatsApp and iMessage sign-ins, banking apps, delivery alerts and work single sign-on. The number is usually attached to the account and one line at a time, so if it stops, every one of those stops with it.
The whole job takes roughly 15 to 30 minutes once the phone is compatible. The slow part is usually hunting down account credentials, so gather those first.
Table of Contents
- What You Need Before You Change Service
- How to Keep Your Phone Number While Using an eSIM: Step by Step
- 1. Check Whether Your Number Can Move
- 2. Choose the Right Kind of eSIM
- 3. Prepare the Phone and Account
- 4. Request and Install the eSIM
- 5. Activate Service and Keep Your Phone Number
- 6. Test Calls, SMS, and Mobile Data
- 7. Keep a Backup Before and During Travel
- Common Mistakes and How to Fix Them
- Frequently Asked Questions
- Does an eSIM keep my existing phone number?
- Can I keep my old number when switching to a travel eSIM?
- Can I use an eSIM for calls and SMS while travelling?
- Will two-factor authentication still work after changing eSIMs?
- Can I use two eSIMs on the same iPhone or Android phone?
- What should I do if my eSIM activates but my number does not work?
- Conclusion
What You Need Before You Change Service
Before you open any settings, collect the following. Most failed eSIM activations fail here, not in the phone’s menus.
- A compatible, carrier-unlocked phone. It needs eSIM support and it must not be locked to another carrier. Recent iPhone models sold in the US have no SIM tray at all, so an eSIM is the only option on those devices.
- Your carrier account details. Account or customer number, the transfer PIN (sometimes called an account PIN or port-out PIN), the billing postcode or address on file, and the account holder’s name.
- Identity verification. Carriers check the account holder’s details before issuing a port, and family plan lines sometimes need the main account holder to approve.
- A payment method already on file, or a way to add one, since some carriers re-authorise billing when a port is submitted.
- The new eSIM itself — either a QR code and activation code from your carrier, or a travel eSIM app and the profile it installs.
- Wi-Fi access and free storage, because activation downloads a profile and needs a connection.
- A backup of your verification methods. Save your account recovery emails, authenticator app codes, and the passkeys or backup codes you rely on.
- Your itinerary, if the change is for travel, so you know when the line will be quiet.
The four words people mix up are worth separating before you go further, because they lead to different setups.
| Term | What it is | Carries your number? |
|---|---|---|
| Physical SIM | A removable nano card in a tray. Swapping it means the number is on the account behind it, not the card. | Yes, if the line stays with that carrier |
| eSIM | A digital SIM profile installed in the phone by QR code, activation code or carrier app. | Yes, when it is issued for your existing line or a ported number |
| Dual-SIM phone | A phone that holds two active lines at once — one physical and one eSIM, or two eSIMs on some models. | Both lines keep their own numbers |
| Travel eSIM | A prepaid eSIM bought for one trip, usually data-only with no voice or SMS. | No — most issue no number at all |
That last row causes most of the disappointment in this topic. A travel eSIM is a data pipe, not a phone line.
How to Keep Your Phone Number While Using an eSIM: Step by Step
Menu names change between iPhone generations, Android manufacturers and carrier app versions, so treat the paths below as the common route and confirm on your own device. What does not change is the order of operations.
1. Check Whether Your Number Can Move
Find out who your current carrier is and confirm you are the account holder. Then ask that carrier whether the line can be converted to an eSIM or ported out, and whether the number is eligible at all.
Settle any outstanding balance first. Carriers routinely block ports and eSIM conversions while an invoice is unpaid or while the line is under a device payment plan. Note any account restrictions, such as a line being locked to a financed phone.
If you only want travel data, ask whether a data-only eSIM is enough. That keeps your home line exactly where it is and avoids a port entirely.
2. Choose the Right Kind of eSIM
Pick based on whether you need calls, SMS, or only mobile data. The table below is the decision in one place.
| Route | Same number | Calls and SMS | Best when |
|---|---|---|---|
| Convert your carrier’s line to eSIM | Yes | Yes | You’re replacing your phone or want one less tray to worry about |
| Travel eSIM as a second line | Home number untouched | Usually no | You need cheap data abroad and want your number still active at home |
| Port to a new carrier’s eSIM | Yes | Yes, if the new plan includes them | You’re changing carriers, plan or country setup |
| Dual-SIM with home SIM plus eSIM | Yes | Yes on the home line | You want calls and verification codes while data runs on the eSIM |
If your verification codes arrive by SMS, treat the data-only option as a complement, never a replacement.
3. Prepare the Phone and Account
Confirm the device is unlocked and eSIM-capable, then check the carrier’s compatibility list rather than assuming. Some carrier-locked phones accept only that carrier’s eSIM, and some older models that support eSIM only support it on certain carriers.
Sign in to the carrier’s app or website over Wi-Fi. Confirm the account number, transfer PIN and billing details are correct, since a wrong postcode is one of the most common reasons a port request bounces back.
Switch off any existing VPN, make sure the phone has a few hundred megabytes free, and update the operating system. iOS and Android updates change the SIM menus often enough that an old build can hide options entirely.
4. Request and Install the eSIM
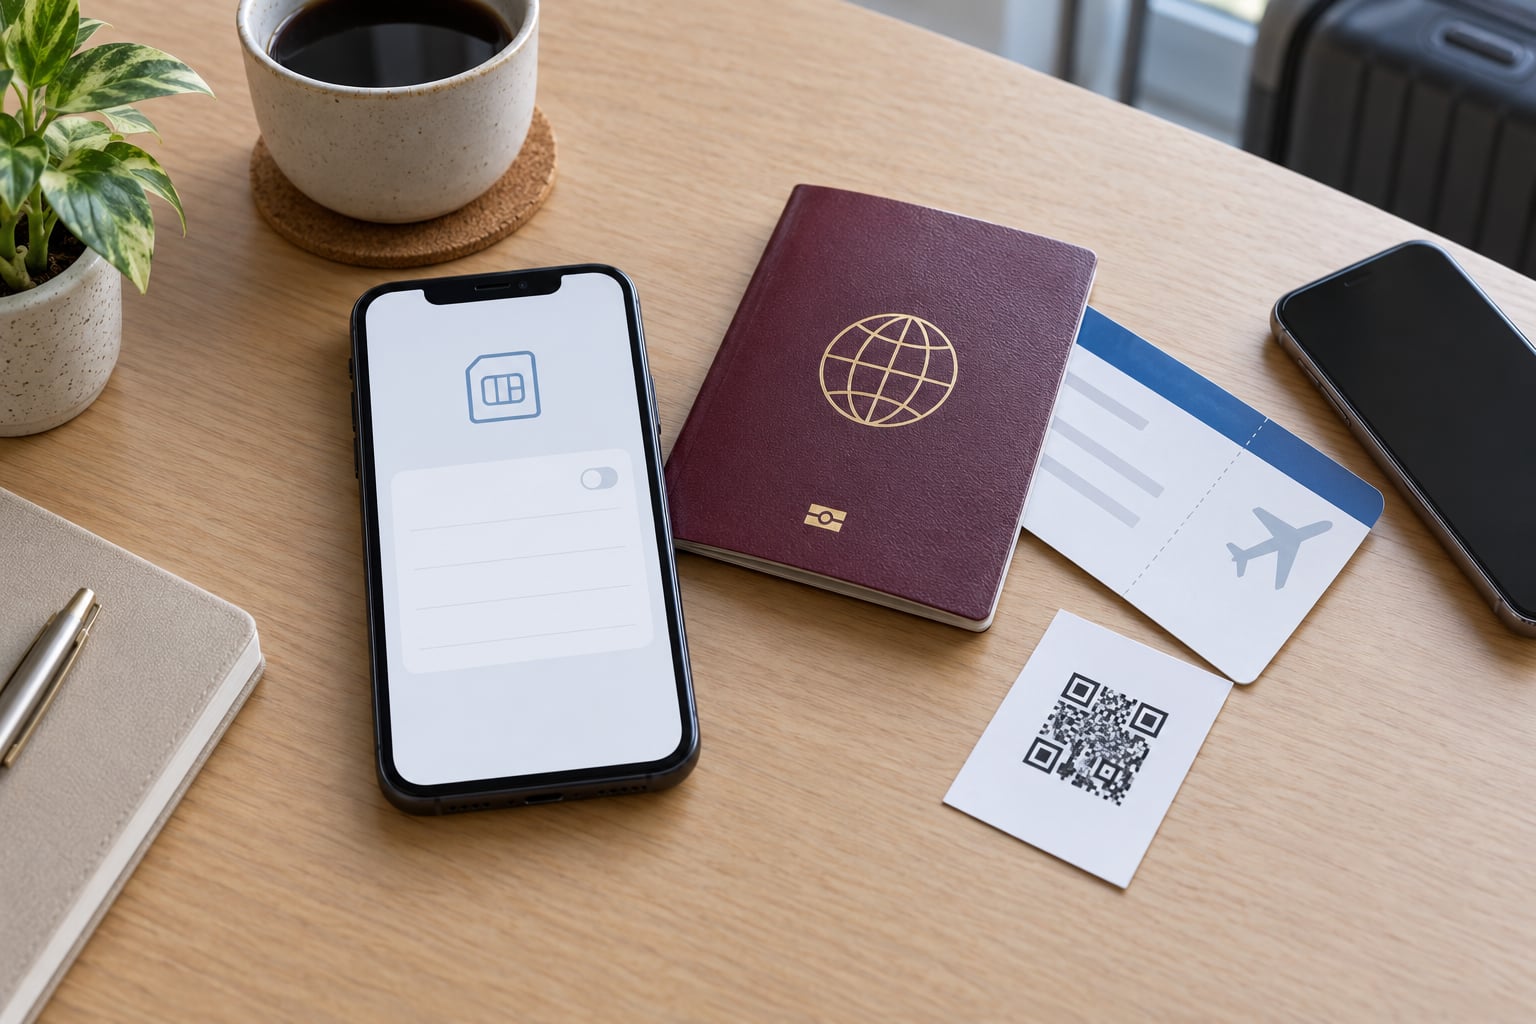
For a conversion on iPhone, open Settings > Cellular, tap Convert SIM Card to eSIM (wording varies by carrier), confirm, then wait for the profile to finish. For a new eSIM, tap Add eSIM and scan the carrier’s QR code.
On Android, look under Settings > Connections > SIM manager, or Settings > Network & internet > SIMs on some makers. Choose Add eSIM or Download SIM, then either scan the QR code with the camera or enter the activation code in the carrier’s app.
A successful install shows the line listed as active in the SIM or cellular settings, with its label, plan name and number. Do not delete or deactivate the old SIM yet — the new profile can install cleanly and still fail to carry service while the old line is competing for it.
Treat the QR code and activation code as sensitive. Anyone who photographs your screen has what they need to install the profile, so never share a screenshot of the activation screen in a forum or chat.
5. Activate Service and Keep Your Phone Number
These are two different actions and confusing them is how people lose service for a day. Activating an eSIM switches the device onto a profile your carrier already set up. Porting moves the number itself from one carrier’s account to another’s.
For a conversion or a same-carrier replacement, the number follows automatically because it never leaves the account. For a port, you submit the account number, transfer PIN and billing address to the new carrier, and they do the transfer on their side.
When you request the port, ask the new carrier to run the port and the activation together rather than separately. People who combine the two steps report far fewer gaps in service than those who port first and activate afterwards.
Watch one detail closely: porting from outside your home network can fail. Some carriers require the port request to come from the network the number is registered on, which means you may need to submit it before departure or from a Wi-Fi connection at home. If a port fails, the number stays with the old carrier — it is not lost — but you should confirm that in writing with both carriers before you travel.
6. Test Calls, SMS, and Mobile Data
Turn off Wi-Fi and make a call from your number. Then send yourself a text and confirm it arrives. Open the settings screen and check that the line carrying your number is active and enabled for voice and SMS, not just data.
On a dual-SIM setup, the configuration below is the one most carriers recommend for travel. It keeps your number reachable while pushing data onto the eSIM.
| Setting | Set it to | Why |
|---|---|---|
| Cellular data | The travel eSIM line | Keeps home data off the local network |
| Data roaming on the eSIM | On | Required for data outside its home country |
| Data roaming on the home line | Off | Prevents surprise charges while you’re abroad |
| Automatic data switching | Off | Stops the phone silently hopping back to a roaming line |
| Line labels | Rename each line, e.g. Home and Travel data | Makes call and message routing obvious |
Also test in airplane mode for a minute, then off again. That confirms the phone reattaches to the network on its own. If you are porting from outside the country, check the new carrier’s international activation terms before you rely on the line for anything urgent.
7. Keep a Backup Before and During Travel
Keep the old line or a second number working until the new service has proven itself. Many travellers keep a cheap home line alive purely so banking and app verification keeps functioning, which is the whole point of not cancelling anything.
Do not make your primary number the only route to account recovery. Add a backup email, store recovery codes offline, and check which of your accounts also accept a voice call or an authenticator app, since those survive a messaging outage.
Test the new line before you leave the hotel or the airport terminal. Make a call, send a text, load a page with mobile data, and confirm the verification code you need actually arrives.
Common Mistakes and How to Fix Them
Most problems here have a boring cause, and all of them are fixable without starting over.
- Assuming every travel eSIM keeps your number. Most are data-only and issue no number. Fix: read whether the plan includes a phone number and voice and SMS before you buy.
- Deleting the old SIM too early. Removing the profile before the replacement is confirmed can leave you with no service and a number that needs extra steps to restore. Fix: keep the old profile until the new one is active and tested.
- Activating the wrong line. On a dual-SIM phone you can end up calling from or sending verification codes on the line you did not intend. Fix: check which line handles calls and messages in settings, and rename your lines so it is obvious.
- Using a locked or incompatible phone. A carrier-locked device may accept the eSIM profile but refuse to register service. Fix: confirm the device is unlocked and listed as compatible with that carrier’s eSIM.
- Skipping two-factor authentication setup. Switching numbers mid-setup strands the confirmation code. Fix: finish the new number’s authentication first, then retire the old one.
- Confusing a QR code with a link. A screenshot of a QR code is not an activation link, and vice versa. Fix: use the carrier’s app or its documented route, and re-request the code if it expires.
- Forgetting that some plans are data-only. Fix: assume no voice and no SMS until the plan says otherwise in writing.
If a port fails, the number stays where it was. Contact both carriers, ask for the reason, and correct it — usually a mismatched postcode or a wrong transfer PIN — then resubmit. If an eSIM profile disappears after a phone swap, check the old device first; the profile can usually be reinstalled from the carrier’s app without changing the number.
One more practical tip: photograph the settings screen showing your line, number and plan before you fly. If something goes wrong at an airport counter, that record saves an argument.
Frequently Asked Questions
Does an eSIM keep my existing phone number?
Yes, in most cases. When your carrier converts your line to an eSIM or issues you a replacement eSIM for the same line, the number stays on the account and moves with it. The exception is a travel eSIM bought as a separate data plan, which normally arrives with no number at all. Check whether the plan you are buying includes a phone number before you order.
Can I keep my old number when switching to a travel eSIM?
Yes, because the travel eSIM sits alongside your existing line rather than replacing it. Keep your home SIM or home eSIM active for calls and SMS, and use the travel eSIM for data. Turn data roaming off on your home line so it does not rack up charges, and disable automatic data switching so the phone does not silently hand data back to the roaming line.
Can I use an eSIM for calls and SMS while travelling?
Only if the plan includes them. Travel eSIMs sold for data are the common case and give you no local number, which means no inbound calls and no SMS verification codes from services that need a number. A carrier-issued eSIM that carries your own number handles calls and SMS normally, subject to that carrier’s international roaming terms.
Will two-factor authentication still work after changing eSIMs?
It will, as long as your number is active on the line you keep. Verification codes travel over that line’s SMS, so a data-only travel eSIM will not receive them and cannot replace your number. Set up the new arrangement while the old line is still working, and add an authenticator app or backup codes as a second route in case a code fails to arrive.
Can I use two eSIMs on the same iPhone or Android phone?
Most current phones support two active lines, but the combinations differ. Recent iPhone models can run two eSIMs at once, while older models pair one physical SIM with one eSIM. Some recent US iPhone models have no SIM tray at all, so they are eSIM-only. Check your specific model’s specifications, because the number of simultaneous lines varies by model and region.
What should I do if my eSIM activates but my number does not work?
First confirm which line is set for calls and SMS, since an active eSIM can carry a plan while your number sits on a line you have switched off. Then check that any transfer request has actually completed and that the account number, transfer PIN and billing address matched what your old carrier has on file. If the port was submitted from outside the home network, ask both carriers whether that restriction caused the failure.
Conclusion
Start by asking your current carrier whether your line can be converted to an eSIM or ported, and get your account number and transfer PIN in writing before you travel. Install the new eSIM while the old line is still active, then test a call, a text and mobile data before you rely on it anywhere.