There is no trick that guarantees a visa, and anyone promising one is selling something. What does work is removing every doubt a consular officer could have about your finances, your itinerary and your reason for coming back, because that is where the large majority of first-time refusals start. If you learn how to get a travel visa approved the first time, most of the work happens in the two weeks before you submit anything.
The whole process runs about three stages: you apply through the destination country’s embassy, consulate or authorised visa centre; a consular officer reviews your file and either approves it, asks for more evidence under section 221(g), or refuses it under section 214(b) on the grounds that they doubt your intention to depart. You cannot argue with that decision at a counter. You can only present a file so complete and so consistent that the doubt never forms.
One filter comes before any of this advice. If your nationality qualifies for a visa waiver programme, or you already hold a valid US, Canadian or UK visa or residence permit, you may be able to travel without applying at all. Check that first, because it removes the entire application from your trip planning.
What follows is the process as it actually runs, destination by destination, with the checks that catch the majority of problems before they turn into a refusal. I have laid it out in the order you should actually work through it.
Table of Contents
- What You Need
- Step-by-Step
- Step 1: Confirm the Exact Visa Rules for Your Destination
- Step 2: Gather and Verify Your Documents
- Step 3: Complete the Application Accurately
- Step 4: Prepare for Biometrics or an Interview
- Step 5: Submit, Track, and Respond Promptly
- Step 6: Check the Visa Before You Book
- Common Mistakes
- Frequently Asked Questions
- Can I apply for a US visa online?
- How much money do I need in my bank account for a visa approval?
- What are the stages of visa processing?
- How do I prove strong ties to my home country?
- Can you get a visa with no travel history?
- What is the success rate of appealing a visa refusal?
What You Need
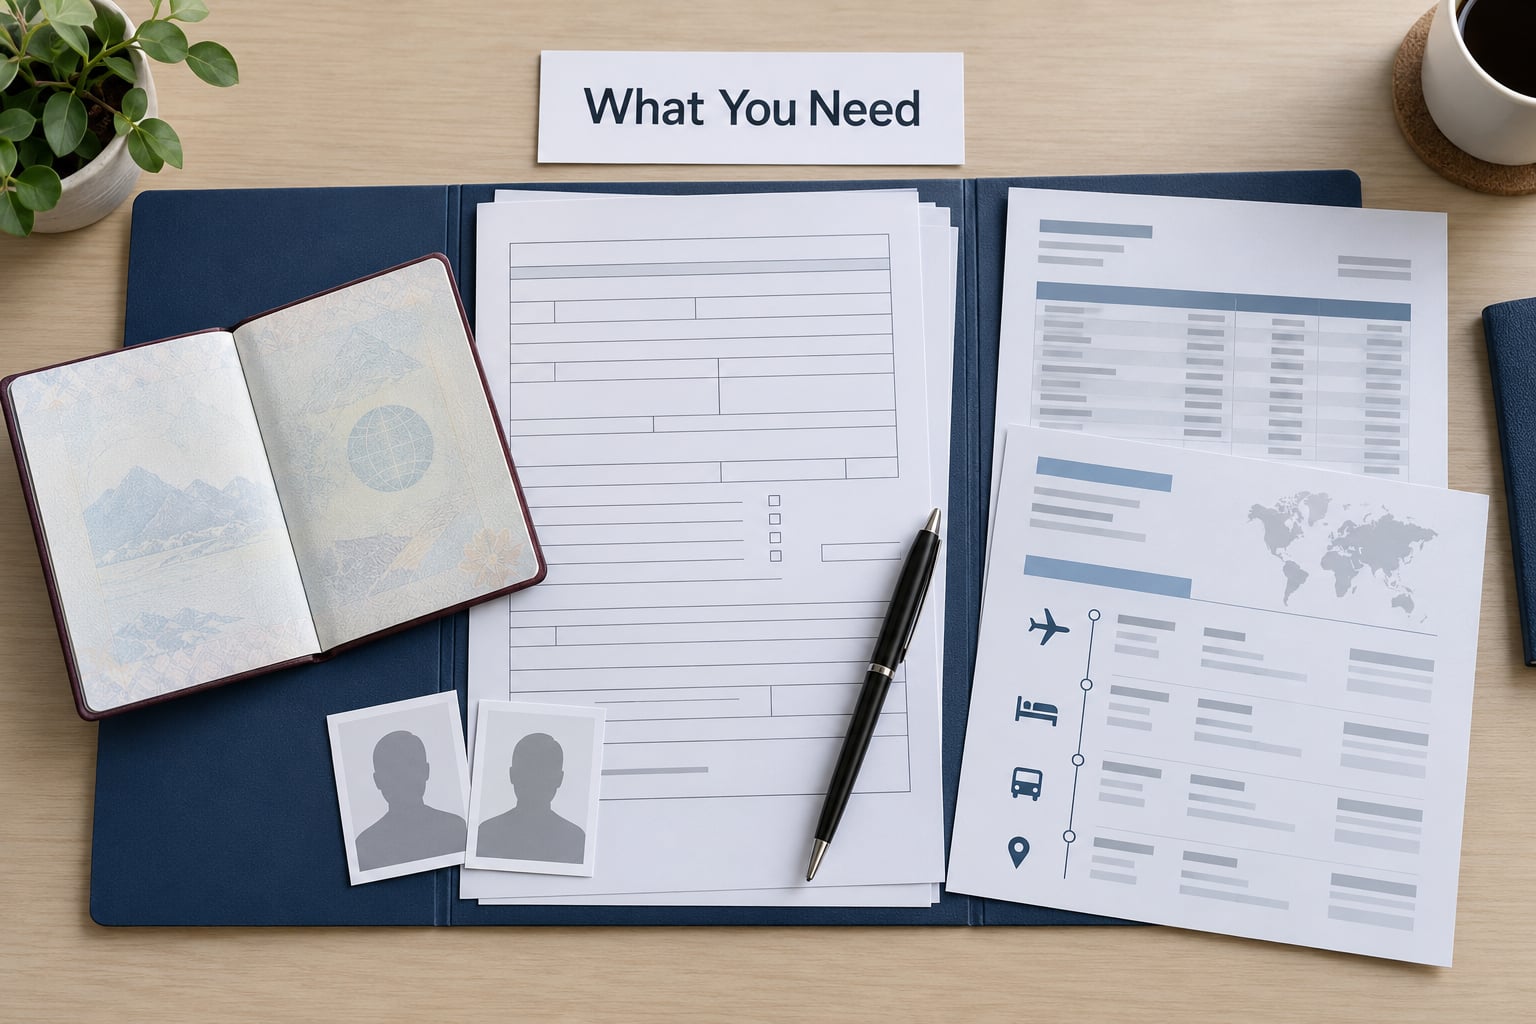
Every application is built from five kinds of evidence. If you gather all five before you start filling in forms, you will not need to go back and hunt for something at the appointment counter.
Identity. Your passport, with at least six months of validity beyond your planned return date and one or two blank pages depending on the destination. You also need passport photographs taken in the last six months against a plain light background, in the size the specific consulate asks for. Many countries now photograph you on the day at the centre, but a few still ask you to bring printed copies.
Finances. Bank statements, typically covering the last three to six months, plus proof of the income behind them: pay slips, an employment letter, business accounts or a sponsor’s letter and bank records. The statements should show a real, stable balance with regular movement. A large lump sum that landed two weeks before your application reads as an attempt to solve the problem rather than proof of anything.
Home-country ties. These are the documents that answer the question every officer is really asking. An employment letter on company letterhead stating your role, start date, salary and approved leave. A property deed or rental agreement. Marriage and birth certificates for dependants. Enrolment letters for children in school. Membership of a club, a religious body or a professional register.
Travel details. A day-by-day itinerary, confirmed accommodation with addresses, a return flight booking, and travel insurance for the whole stay. If you are visiting someone rather than a hotel, their invitation letter with their address, their status in that country and a copy of their ID or residence permit.
Application paperwork. The correct form for that specific visa type, completed in full, plus the fee receipt and your appointment confirmation. Some destinations require an additional form; the UK and Canada both have separate schedules. Some require civil documents to be translated by a certified translator or legalised with an apostille.
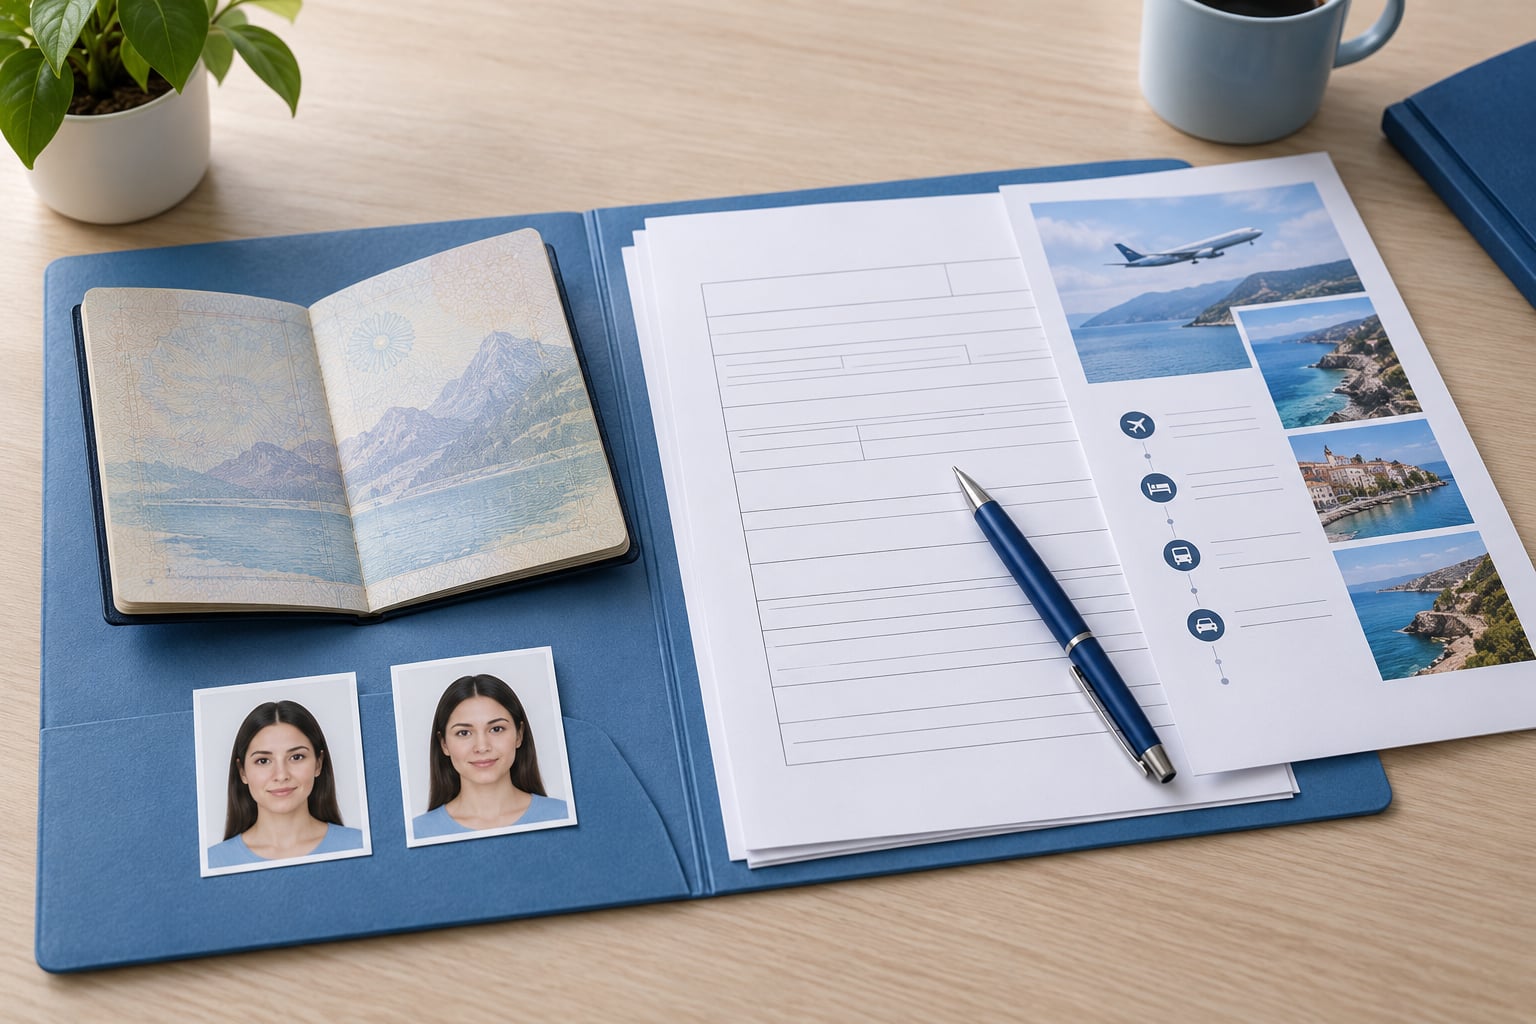
You will also want a plain folder with two copies of everything, ordered the way the consulate’s checklist lists them. Officers work fast and in order, and a document out of sequence is a document that does not get read properly.
Step-by-Step
The process below is the one that runs from checking the rules to holding a stamped passport. Work through it in order, and you will learn how to get a travel visa approved the first time simply by removing the avoidable causes of delay.
Step 1: Confirm the Exact Visa Rules for Your Destination
Start on the destination government’s own embassy or consulate site, not a blog and not an agent’s page. Rules differ by nationality, purpose and place of application, so the answer for someone in Lagos is not the answer for someone in London.
You need five answers before you touch a form: which visa category applies, whether you apply directly or through an authorised centre such as VFS Global, what the current processing time is, what the fee is, and how long the visa you are applying for actually lets you stay. Write them down somewhere you will see them daily.
You will know you have done this correctly when you can state, without guessing, which consulate has jurisdiction over you and how the appointment gets booked.
For a US application, the online form is the DS-160, and the fee and appointment are handled separately. You complete the DS-160 online, then pay the mandatory fee and schedule a biometric appointment. You cannot skip the fee step and still book, which trips up a lot of first-time applicants.
Step 2: Gather and Verify Your Documents
Build the document set as a checklist and work down it line by line, rather than pulling whatever is in a folder. The five categories above give you the list; now match it against what you already have and mark what is missing.
The check that matters most is consistency. Your name must appear identically on the passport, the form, the bank statement, the employment letter and the itinerary. Surnames get transliterated differently across systems, and an applicant who writes a slightly different version on the form invites a question they do not need.
Your passport number must match everywhere it appears, and your date of birth must match the passport exactly, not the birth certificate. If a document needs translation or an apostille, that has to be arranged now, because certified translators and notaries are not same-day services in most countries.
You will know the file is ready when every line of the official checklist has a document against it, and you could explain each document in one sentence if an officer asked why it is there.
Step 3: Complete the Application Accurately
Type into the form exactly as your passport reads. Every field gets answered, including the ones that seem irrelevant; a blank field is read as sloppiness, and a wrong answer is read as a discrepancy.
Keep your dates coherent across every document. The dates on your form, your flight booking, your hotel booking and your employment letter’s approved-leave period should all describe the same trip. If your form says you are staying ten days, the itinerary should show ten days.
Save every confirmation: the application reference number, the fee receipt and the appointment booking. These are how you chase a file, and how you prove you filed once rather than twice. The most common early mistake in a first-time application is a data error that the applicant never rechecks, because nobody reads their own form the way a stranger will.
Step 4: Prepare for Biometrics or an Interview
Biometrics means fingerprints and a photograph, taken at the appointment. Wear nothing on your hands if you have a medical condition that affects skin texture, and expect the whole thing to take under half an hour once you are in the room.
The interview is where most applications are decided, and it is usually two to five minutes long. The questions are almost always these four: why do you want to travel, how long are you staying, how will you fund the trip, and what will you return to.
Answer in short, plain sentences. “I am going to Lisbon for ten days in April to visit my sister, and I have annual leave approved from March through May.” Calm, factual, and finished. Do not over-explain, do not memorise a speech, and never volunteer information the officer did not ask for.
Bring originals of the core documents even when you have submitted copies, plus your appointment confirmation and passport. Know which of your documents is the one that proves each part of your answer, so that if a follow-up question comes you can reach for the right paper instead of shuffling a pile.
The single worst thing to do is act uncertain about your own plans. Officers read hesitation as a reason to look harder. If you have decided the trip, sound decided.
Step 5: Submit, Track, and Respond Promptly
Submit through the route the consulate specifies, whether that is a mail-in application, an in-person appointment or an outsourced centre. Keep your tracking or reference number where you can find it, and check the status rather than assuming silence means nothing.
If you receive a request for additional evidence under section 221(g), that is not a refusal. It means the officer cannot complete the assessment without one more document. Respond within the stated window, usually short, with exactly what was asked and nothing extra that might open a new question.
Do not file a second application while one is pending unless the consulate tells you to. Duplicate files confuse record systems and often make things slower. And do not book non-refundable travel until the visa is in your hand, which is the most expensive mistake people make while waiting.
You will know it worked when the tracking status moves from submitted to issued and a stamped or sticker visa is returned to you.
Step 6: Check the Visa Before You Book
When the passport comes back, check the visa sticker or entry stamp carefully. Confirm the issuing country, the visa category, the number of entries, the validity window and the permitted length of stay.
These are two different things and the distinction catches people out constantly. A visa can be valid for six months but permit a stay of 30 days per entry. Your permission begins on the date you arrive at the border, not the date the visa was issued.
Check that your name is spelled correctly. If it is wrong, contact the issuing consulate immediately rather than hoping it sorts itself out at check-in.
Also confirm entry conditions you may have missed, such as a return ticket requirement, proof of accommodation, or the need to show a confirmed booking for onward travel. Then book your non-refundable travel, and keep copies of everything in the same folder you used to apply.
Common Mistakes
Almost every first-time refusal traces back to a short list of avoidable errors. Here they are, with the fix.
Inconsistent information. A date on the form that does not match the itinerary, or a different surname spelling on the employment letter. Fix: read your file once with your passport in your hand, checking every name, number and date against the original.
Insufficient or implausible funds. A balance that covers the trip on paper but shows no income behind it. Fix: submit statements covering enough months to show a pattern, and include the payslips or business accounts that generate that balance.
A vague itinerary. Five days listed as a single line with no address. Fix: write a day-by-day plan with real cities, booked accommodation and the reason you chose them. It costs an afternoon and it is one of the strongest documents you can supply.
Unpaid or unbooked accommodation. Fix: use confirmed and paid bookings where you can. Refundable reservations are usually acceptable, but “I haven’t booked anything yet” is not.
Applying too late. Fix: apply well before travel. Some destinations process in days, others take weeks, and appointment slots at outsourced centres run weeks ahead during peak season. Add a generous buffer on top of the published processing time.
Applying through an unofficial agent. Anyone charging an inflated premium, guaranteeing approval, or asking you to pay fees to a personal account is not acting on your behalf. Agents can help you assemble a file, but they cannot influence a consular officer. Use only the payment channels named on the official government site.
No travel history, as a first-time applicant. This is the constraint that weighs on most people reading this, and it is a real one. You cannot manufacture a history, but you can substitute for it with stronger evidence in other directions: verified employment with approved leave, dependants at home, a property in your name, a long and clean banking record, and a clear invitation letter from someone established in the destination country. Applicants on forums consistently report that naming a host and supplying a matching invitation letter materially changed how the interview went.
Contradictory answers at interview. You say ten days when the form says seven. Fix: before the appointment, know your departure date, your return date and your leave dates the way you know your own name.
Two things are worth adding. First, approval is discretionary, and a refusal is not a personal judgement; it is one officer weighing your file on one day. Second, a previous refusal does not permanently damage you. The record stays with your passport, but a stronger, more complete second application is assessed fresh.
If you do get refused, read the code on the refusal notice. Section 214(b) is the common one and means the officer did not believe you would depart. A 221(g) notice is a request for evidence, not a refusal. In both cases the useful move is to identify the one specific gap, close it with a document, and reapply properly, or request the formal motion to reopen where that route exists. You have a right to the reason for the decision in writing, and you should always ask for it.
Frequently Asked Questions
Can I apply for a US visa online?
Partly. You complete the DS-160 form online and pay the mandatory fee through the official portal, but you cannot finish the whole process online. You must attend an in-person appointment for biometrics and, for most first-time applicants, an interview at a US embassy or consulate. Use only the official travel.state.gov site, and remember the form is filled in by hand, not auto-populated by the site.
How much money do I need in my bank account for a visa approval?
There is no fixed figure, and any source quoting one is guessing. What matters is that your balance comfortably covers your trip and that the income behind it is visible. Submit several months of statements showing regular movement, plus payslips, a business account or a sponsor letter. A large deposit that arrived weeks before your application is treated with suspicion, not confidence.
What are the stages of visa processing?
Five, usually. You submit the application and pay the fee, attend biometrics, attend an interview if one is required, wait for a decision, and receive your passport with the visa issued or refused. Some applications, particularly renewals, skip the interview stage. A 221(g) request for additional evidence inserts an extra step between the interview and the decision.
How do I prove strong ties to my home country?
With documents that show a life you would be giving up to leave. In practice: an employment letter stating your role, salary and approved leave, a property deed or long-term lease, marriage and birth certificates for dependants, school enrolment letters for children, and a long clean banking record. A single tie is thin. Three or four different kinds together read as a life actually rooted in your country.
Can you get a visa with no travel history?
Yes, it just takes a stronger file. Officers assume an untravelled applicant is more likely to overstay, so you compensate with the rest of the evidence. Verified employment with approved leave, dependants, a property in your name and a well-evidenced balance do most of the work. You can also build credibility over time by travelling first to destinations with easier entry requirements.
What is the success rate of appealing a visa refusal?
No destination publishes a reliable figure, and a formal appeal is not the normal route. Most applicants are better served by understanding the refusal reason and reapplying with the specific gap addressed. If the decision appears based on a factual error, request the official motion to reopen where that process exists, and include the document that shows the error.
Start with the one document you are least sure of. For most first-time applicants it is the employment letter or the bank statements, and those two are also the two that do the most work in an interview. Fix those first, build the rest of the file around them, and give yourself more time than the published processing window suggests.
Requirements change, and every destination, nationality and visa type carries its own rules, so treat the official embassy or consulate page as the only source that counts. Check the current processing time on October 2026 before you book anything non-refundable.